Birthday fairy garden, entry #3 for contest from Fairygardens.com

With fall quickly approaching, my summer fairy gardening is coming to a close. What better time to look through what has been created this summer than a cold, rainy day such as today? To make the walk down memory lane even more fun, the folks over at Fairygardens.com are holding their annual fairy garden contest, which is a great way for everyone to come together and share their creations over the past summer. It’s sort of a “harvest” of great fairy garden ideas!

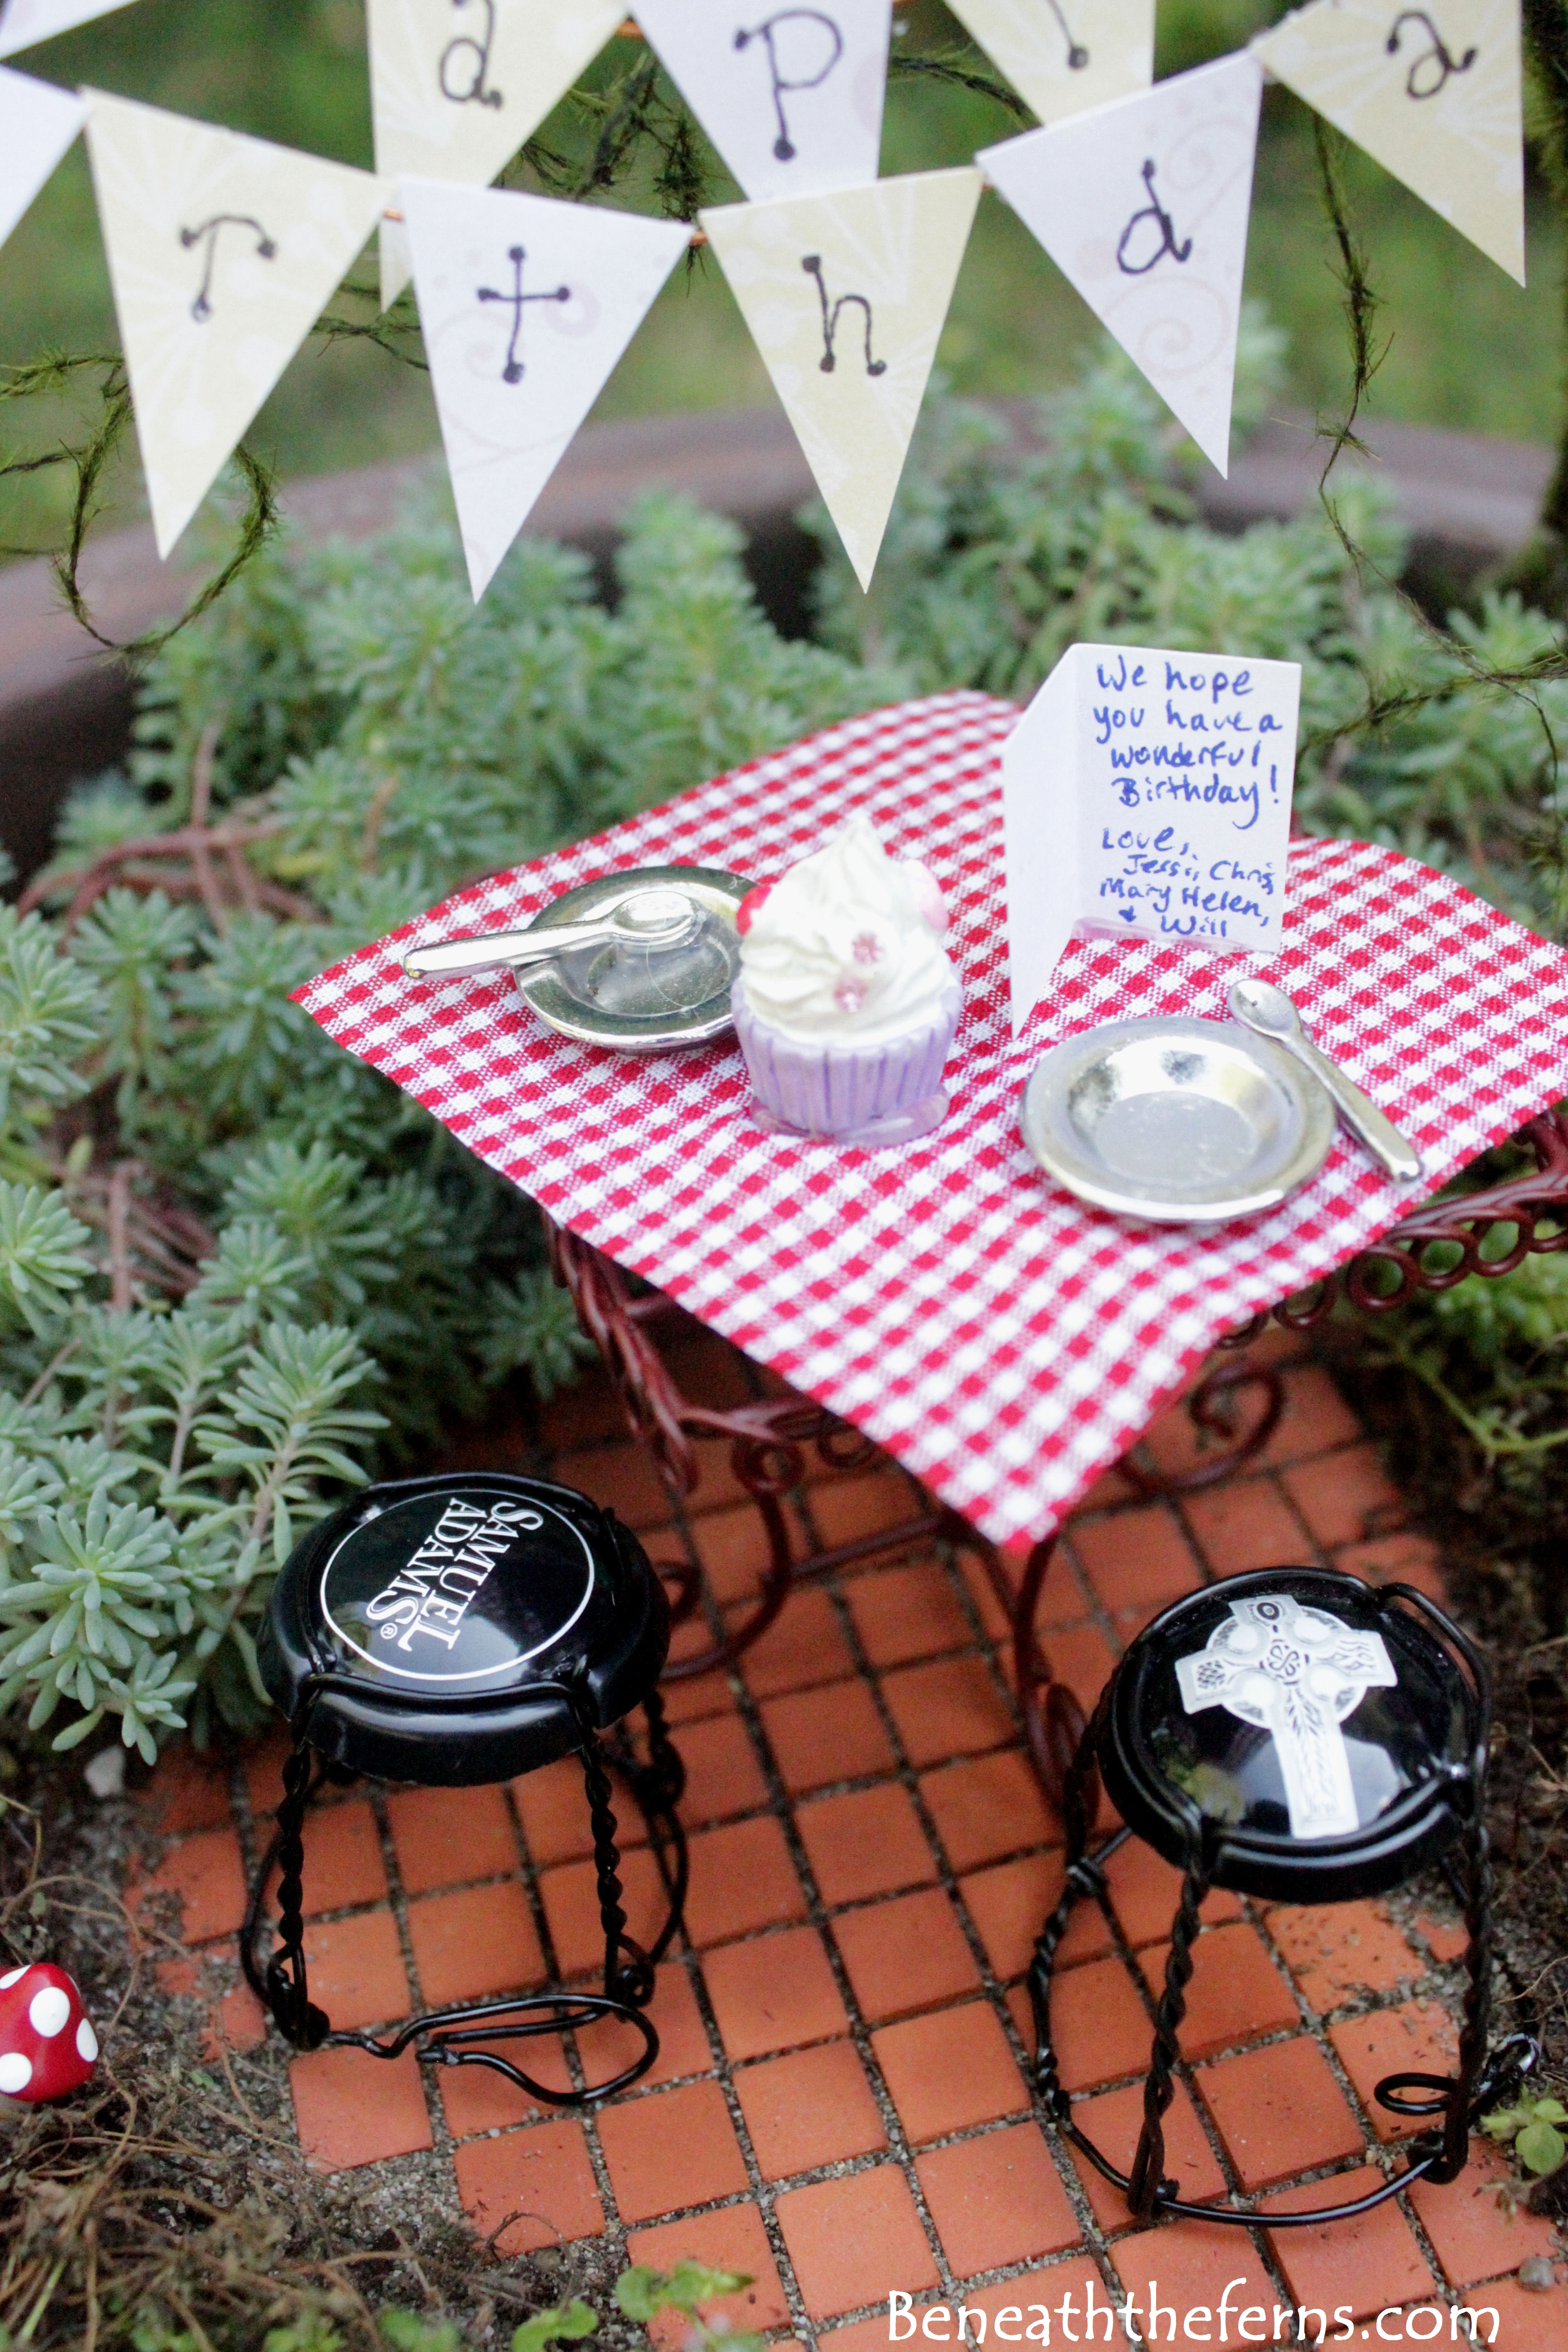
Here is my entry #3, a birthday inspired fairy garden I made for my mom. We don’t live as close to each other as we used to, so I made a little “picnic” table where our fairies can  sit together and share a giant birthday cupcake!

Miniature fairy gardens pathway birthday theme

Miniature fairy garden birthday theme pathway from efairies
The chairs are made from the tops of really expensive beers that my hubby drank… And there is even a miniature card for her.

Miniature fairy garden birthday theme bird house
I made a matching birdhouse and birdbath, I love how the copper roof on the birdhouse looks!

Birthday fairy garden theme with miniature picnic table
The plants I put in here had a bald patch, so I filled in the area with some little mushrooms!

Miniature fairy gardens summer accessories birthday theme

I was happy with how the garden turned out, and really happy to be able to give it to my mum! Happy Birthday Mom! ♥

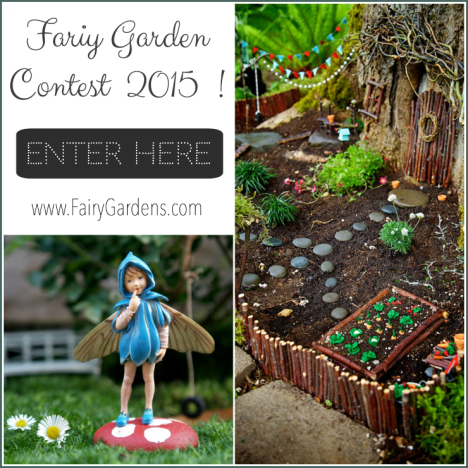
Want to see more fairy gardens, or enter your own in the contest? (Come on, it’ll be fun!) Visit www.fairygardens.com/contest/ or click the picture below to see what others have created!

Fairygardens.com fairy garden contest

Advertisement

Fairy house pictures: The Fairy Tower

I started this three story fairy house in December, so I’m sooo excited to see some real progress! As a full-time teacher and a full-time mom of a toddler, I don’t always have time to spend on my own hobbies. Maybe that’s why this feels like I really got something accomplished! Plus, I’m due with our second baby (a boy!) in early June, so getting this roof done was the last thing on my to-do list before he gets here! I guess I feel like I’m ready to dive into that crazy bleary-eyed-up-all-night-and-day mommy mode, but I really hope I can get more done on this house this summer…

The fairy house is made from stacking cardboard boxes together, then putting paper mache over the entire house. After many coats of paper mache and paint, I’ve finally started adding some details…

Fairy gardens house miniature scale tower by beneath the ferns close up


The miniature shake shingles are cardboard that I’ve painted, then cut apart. The windows are a design that I drew up, and my Dad kindly cut out of wood with his laser cutter (Thanks Dad!). Here are more pictures of the process…

Fairy house in progress by Beneath the Ferns stave house


Getting all the shingles glued on took much longer than I anticipated!
Fairy house miniature shake roof fantasy beneath the ferns


But I got them done!
Fairy gardens house miniature scale tower by beneath the ferns two
I found the finial on the top on clearance last year at Hobby Lobby… I thought it gave the fairy house a nice, stately look.

Fairy gardens house miniature scale tower by beneath the ferns


The “door” on the left side of the picture below is going to be attached to a bridge that the fairies can walk across to another building.

Fairy gardens house miniature scale tower by beneath the ferns three

Fairy gardens house miniature scale tower by beneath the ferns four


I need to create some doors for the balcony porch…

Fairy gardens house miniature scale tower by beneath the ferns close up front

I really want to live inside! Now I have to paint the underside of the shingles, add more doors and windows, and decorate the inside. I won’t be done for a while, but at least it gives me something to plan when I’m up for a midnight feeding!

Those are the most recent pictures, but if you want to see the whole process, check out this page here: Fairy Tower Page

Thanks for looking, and if you want to see the next photos of the process, feel free to subscribe and visit again ♥

~Jessi


Tutorial: How to make a mini leaf basket

Fairy gardens must be a lot of work for those little beings to maintain! I thought these baskets might lighten their loads a little…

Fairy basket tutorial miniature from beneath the ferns #miniature #fairyhouse #fairygarden #beneaththeferns

Materials:
1) Dried leaves of various sizes
2) Shallow bowl with water
3) Different shaped pens or containers
4) Natural colored string like cotton or hemp
5) Scissors
Cost: $0.00 (unless you need to go buy the string)

Fairy basket tutorial miniature from beneath the ferns #miniature #fairyhouse #fairygarden #beneaththeferns 7

Make sure the containers you are going to mold around have straight edges. For instance, because the white knife has a taper to it, you won’t be able to get the leaf basket off once it is dried.

Fairy basket tutorial miniature from beneath the ferns #miniature #fairyhouse #fairygarden #beneaththeferns 2

1) Soak your leaves in water until they are soft and pliable. I usually let mine soak for at least an hour. Also soak the thread you are using, it makes it fit much tighter once you tie it on.

Fairy basket tutorial miniature from beneath the ferns #miniature #fairyhouse #fairygarden #beneaththeferns 3

2) Pick your leaf, and carefully wrap it around your container. Make sure the entire bottom of the container is covered or your basket will have a place to leak the contents. (This part can be frustrating! If you have another pair of hands to help you, that would make this step much easier!)

Fairy basket tutorial miniature from beneath the ferns #miniature #fairyhouse #fairygarden #beneaththeferns 4

3) Tie the wet thread around your leaf (sometimes I also cheat and use a rubber band first, then just cut it off later)

Fairy basket tutorial miniature from beneath the ferns #miniature #fairyhouse #fairygarden #beneaththeferns 5

4) Set your leaf on a flat surface and let it dry completely. Make sure your basket is standing upright so the bottom forms a nice flat base. This will help it stand up later once it is dried.

Fairy basket tutorial miniature from beneath the ferns #miniature #fairyhouse #fairygarden #beneaththeferns 6

Different containers make different baskets…

Fairy basket tutorial miniature from beneath the ferns #miniature #fairyhouse #fairygarden #beneaththeferns 7

5) Once your basket is completely dry, use your scissors to trim the ends of the thread you used. You are done!

Fairy basket tutorial miniature from beneath the ferns #miniature #fairyhouse #fairygarden #beneaththeferns 8

It’s so fun to see what each basket is going to look like! Remember to handle them very carefully…

Fairy basket tutorial miniature from beneath the ferns #miniature #fairyhouse #fairygarden #beneaththeferns 10

Now let the fairies start putting them to use in the pantry…

Fairy basket tutorial miniature from beneath the ferns #miniature #fairyhouse #fairygarden #beneaththeferns 11

Fairy basket tutorial miniature from beneath the ferns #miniature #fairyhouse #fairygarden #beneaththeferns 13

Fairy basket tutorial miniature from beneath the ferns #miniature #fairyhouse #fairygarden #beneaththeferns 12

Fairy basket tutorial miniature from beneath the ferns #miniature #fairyhouse #fairygarden #beneaththeferns 14

Fairy basket tutorial miniature from beneath the ferns #miniature #fairyhouse #fairygarden #beneaththeferns 15

Good luck and have fun! I’d love to see your pictures if you make this project! I’m sure everyone has unique leaves where they live that would make slightly different baskets 🙂

~ Jessi

(Don’t want to forget this? Just pin for later: ♥)
Fairy basket tutorial miniature from beneath the ferns #miniature #fairyhouse #fairygarden #beneaththeferns