One thing I’m always asking myself is what would fairies really make their houses out of? Would it be strictly found objects from nature? Or perhaps more whimsical and manufactured like our own modern housing? I think the truth might be somewhere in the middle, which I try to incorporate in the fairy houses I make.
This tutorial will show you the method I use for making the miniature shake shingles that I put on my fairy houses. It’s a simple process, it just takes a lot of time gluing them onto the house!

Materials you’ll need:
Cardboard
Paints (I use acrylics)
Scissors
Hot glue gun and glue sticks
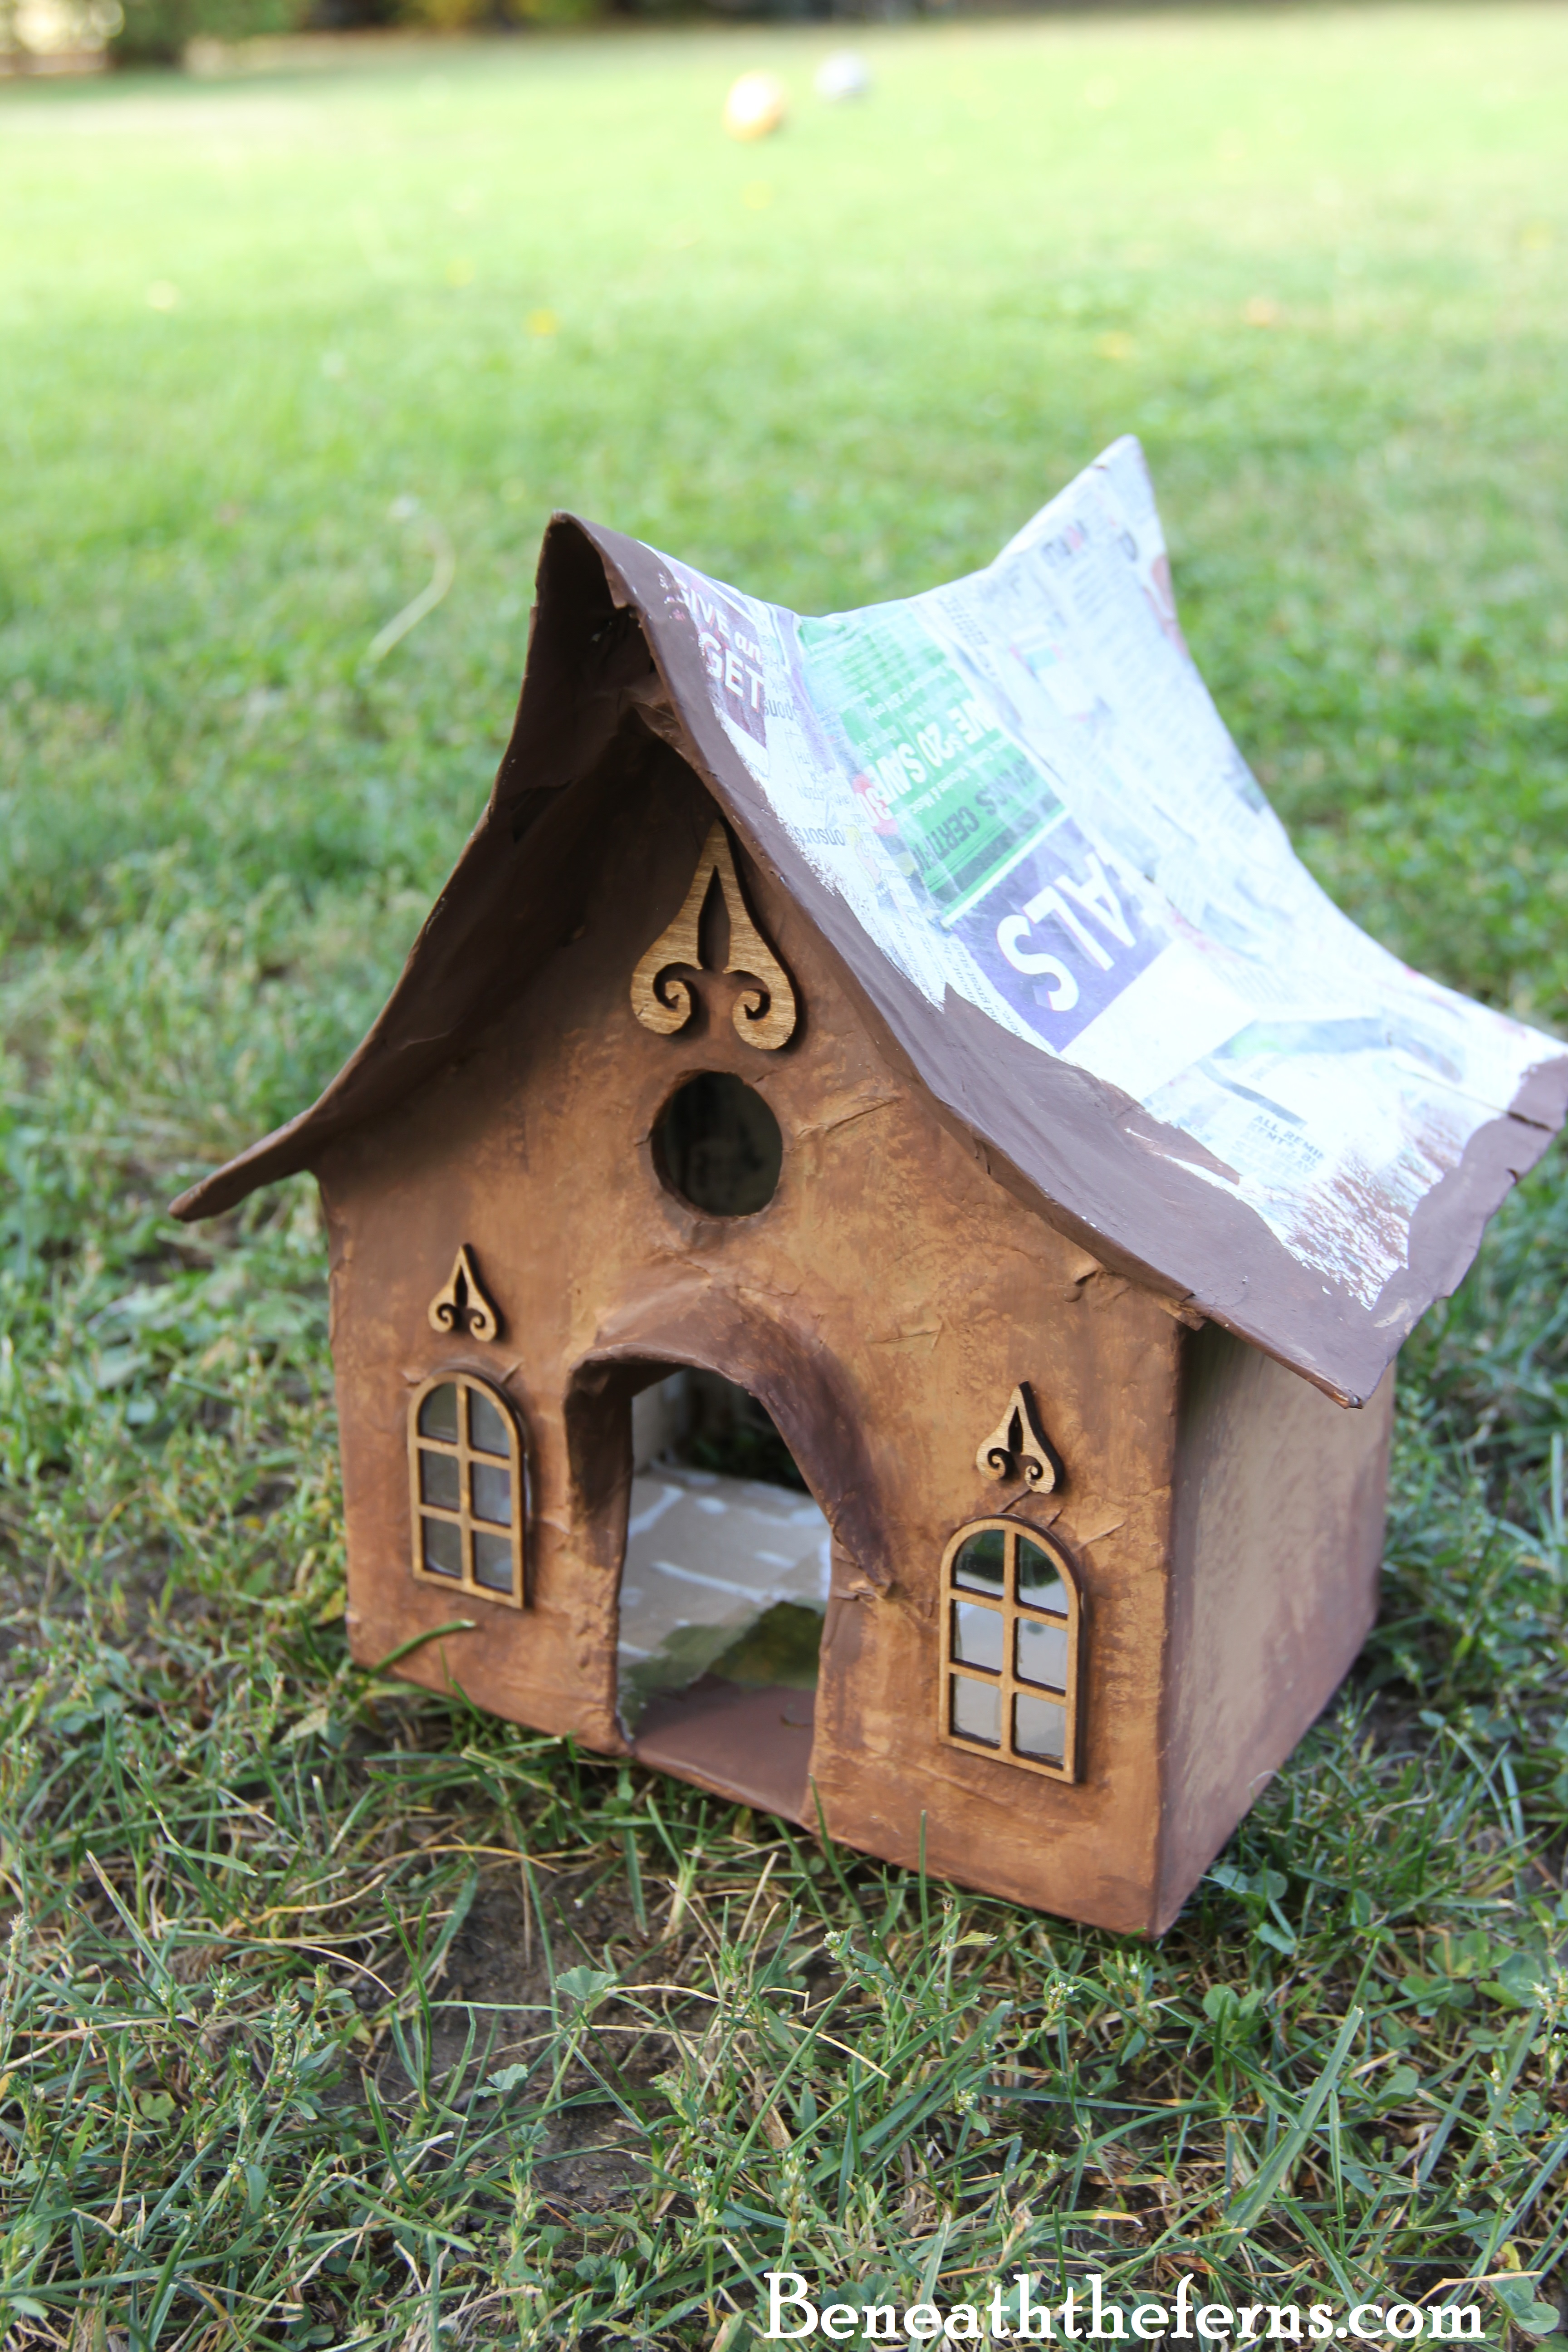
Finished paper-mache fairy house
Step #1: Paint your cardboard using a variety of different paints. I dislike using just one color, as I think it makes the roof look “flat” and unrealistic. Real shingled roofs are going to look different from one side of the house to the other, depending on the sunlight or rain they might get. I try to make sure I have a few light and dark areas on my cardboard. Paint both sides of the cardboard so the pieces that hang over the edge do not have to be painted again..
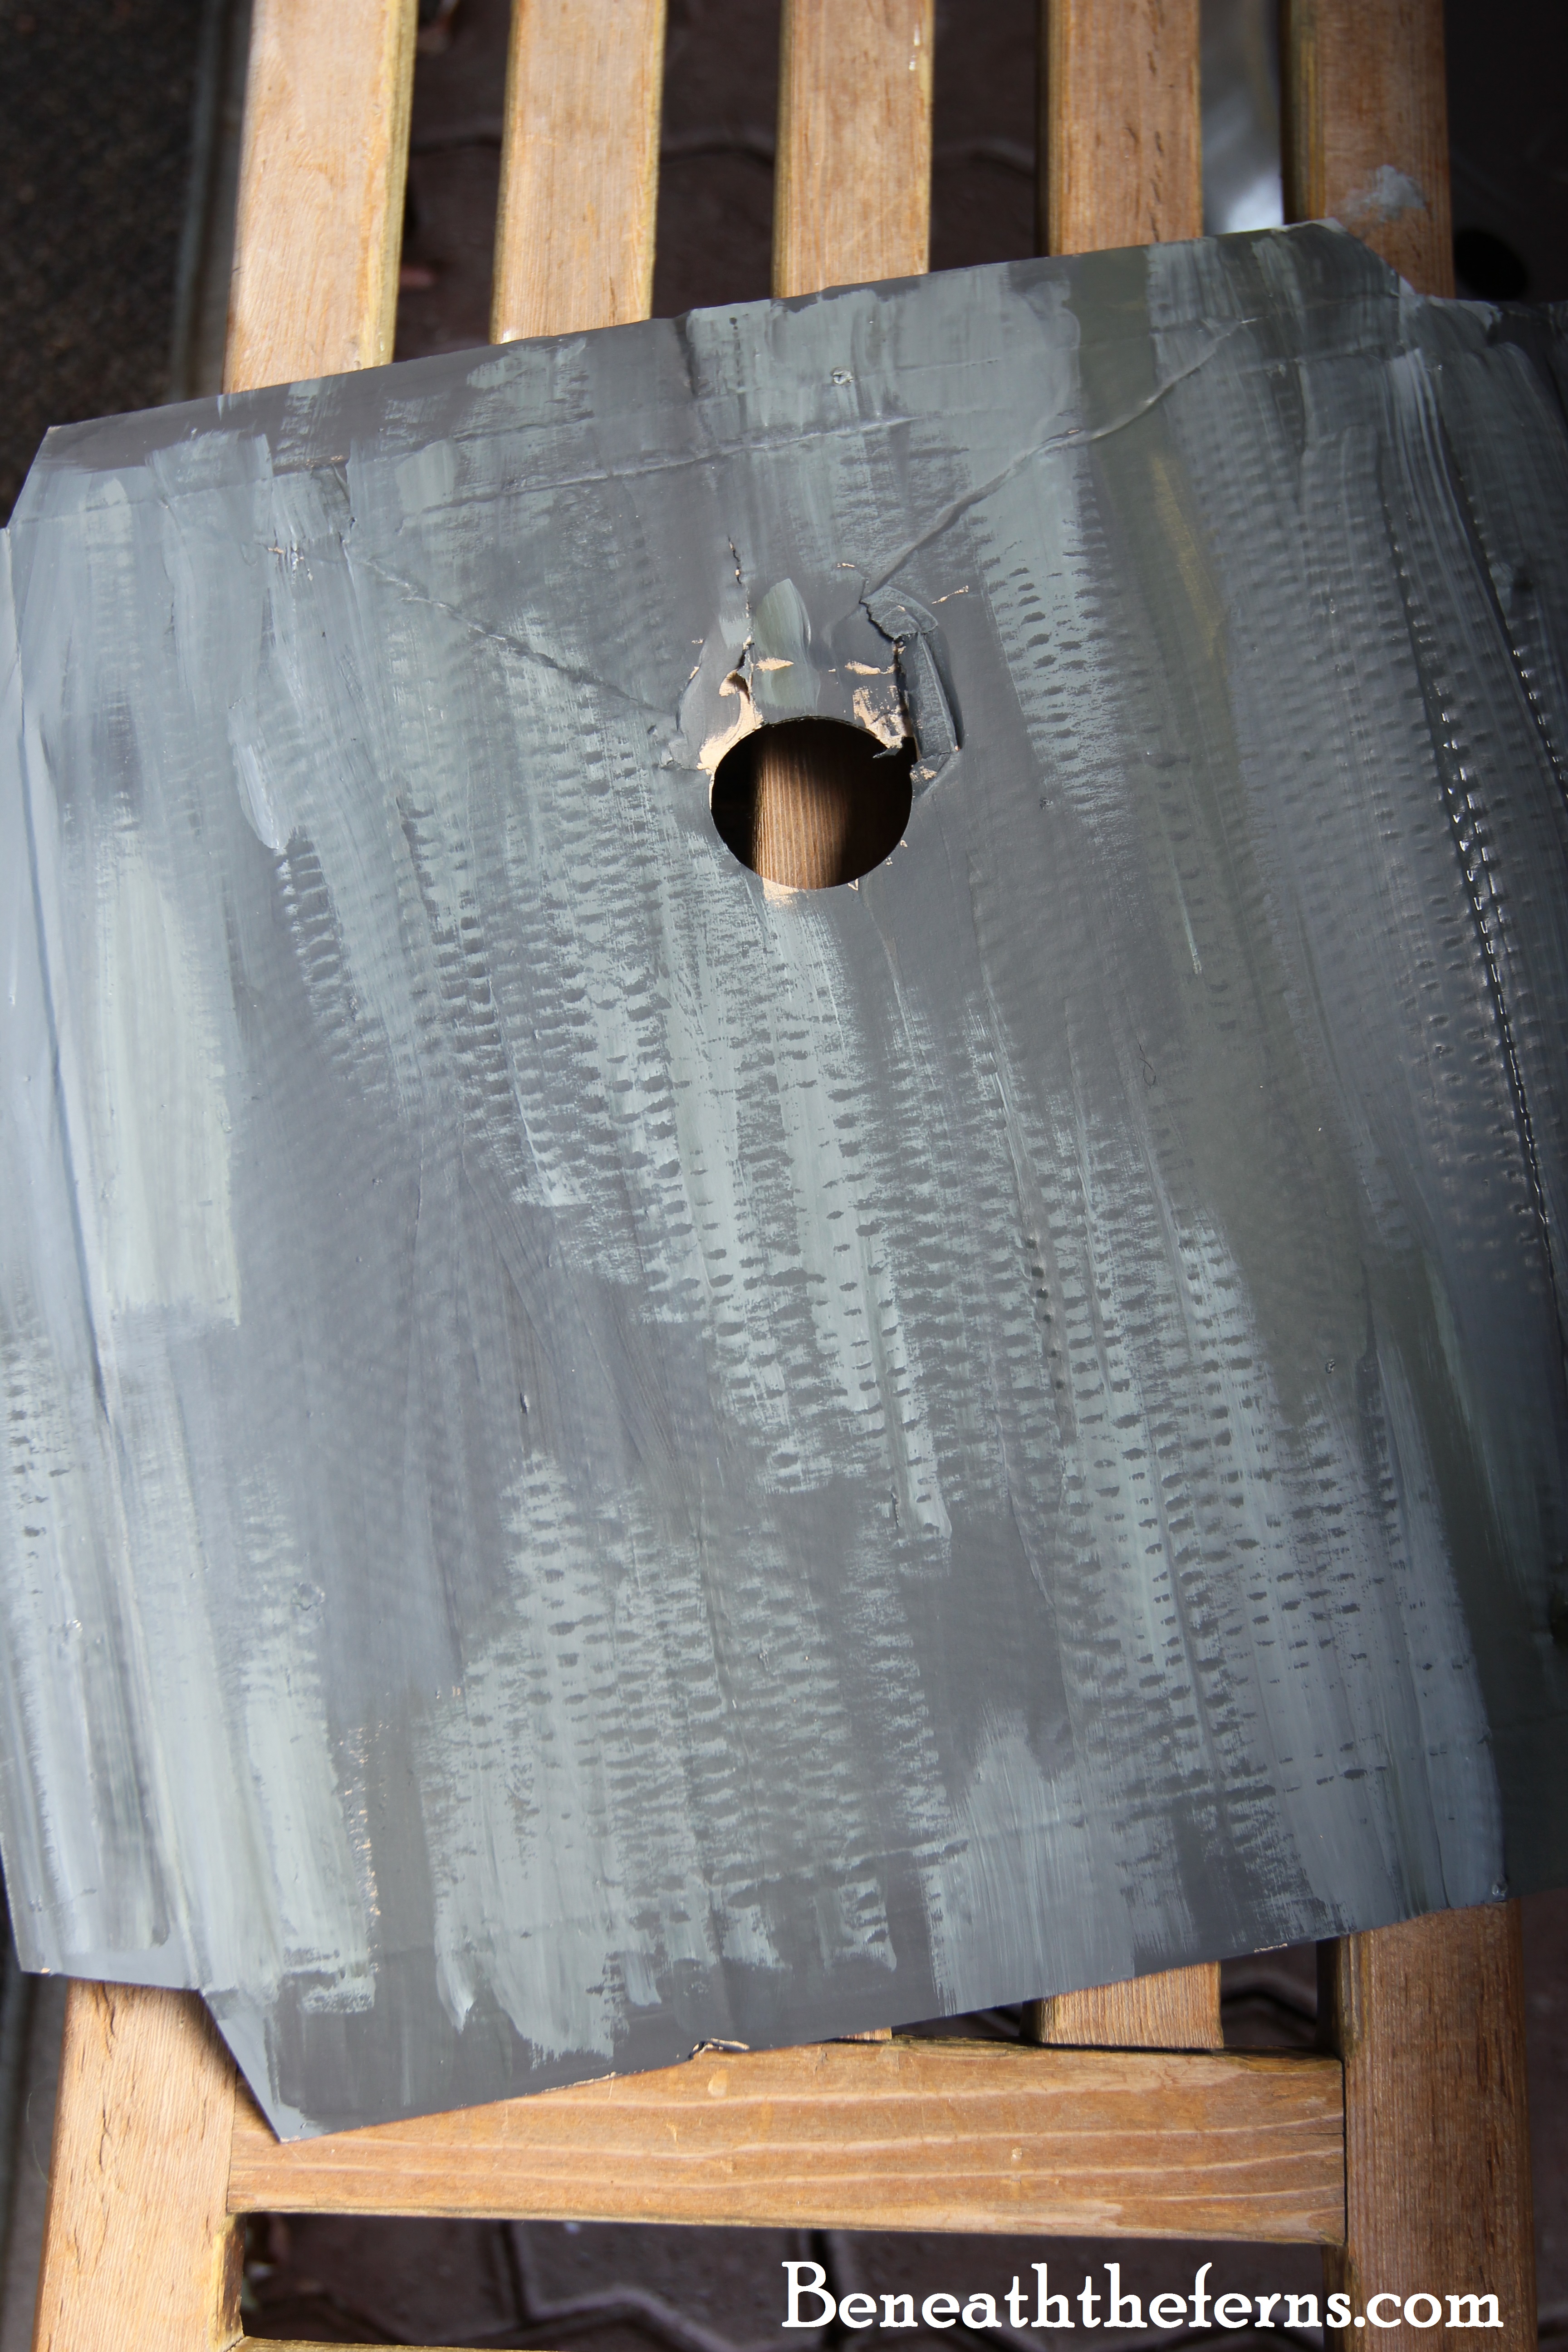
Step #2: Cut out the pieces. Seems simple enough, but again, I like to use a variety of large and small pieces to make the roof look natural. Important…. Save one piece that isn’t cut to make a row of larger shingles for the very top of the fairy house.

Oops, I forgot to paint the back side of this cardboard! That just means I have to paint the edges of the roof when it’s done.

Step #3: Get your house out, warm up your glue gun, and get ready to start roofing!
Start at the bottom and work your way upward. I try to angle my pieces with the direction of the roof. Pieces towards the ends angle outward…
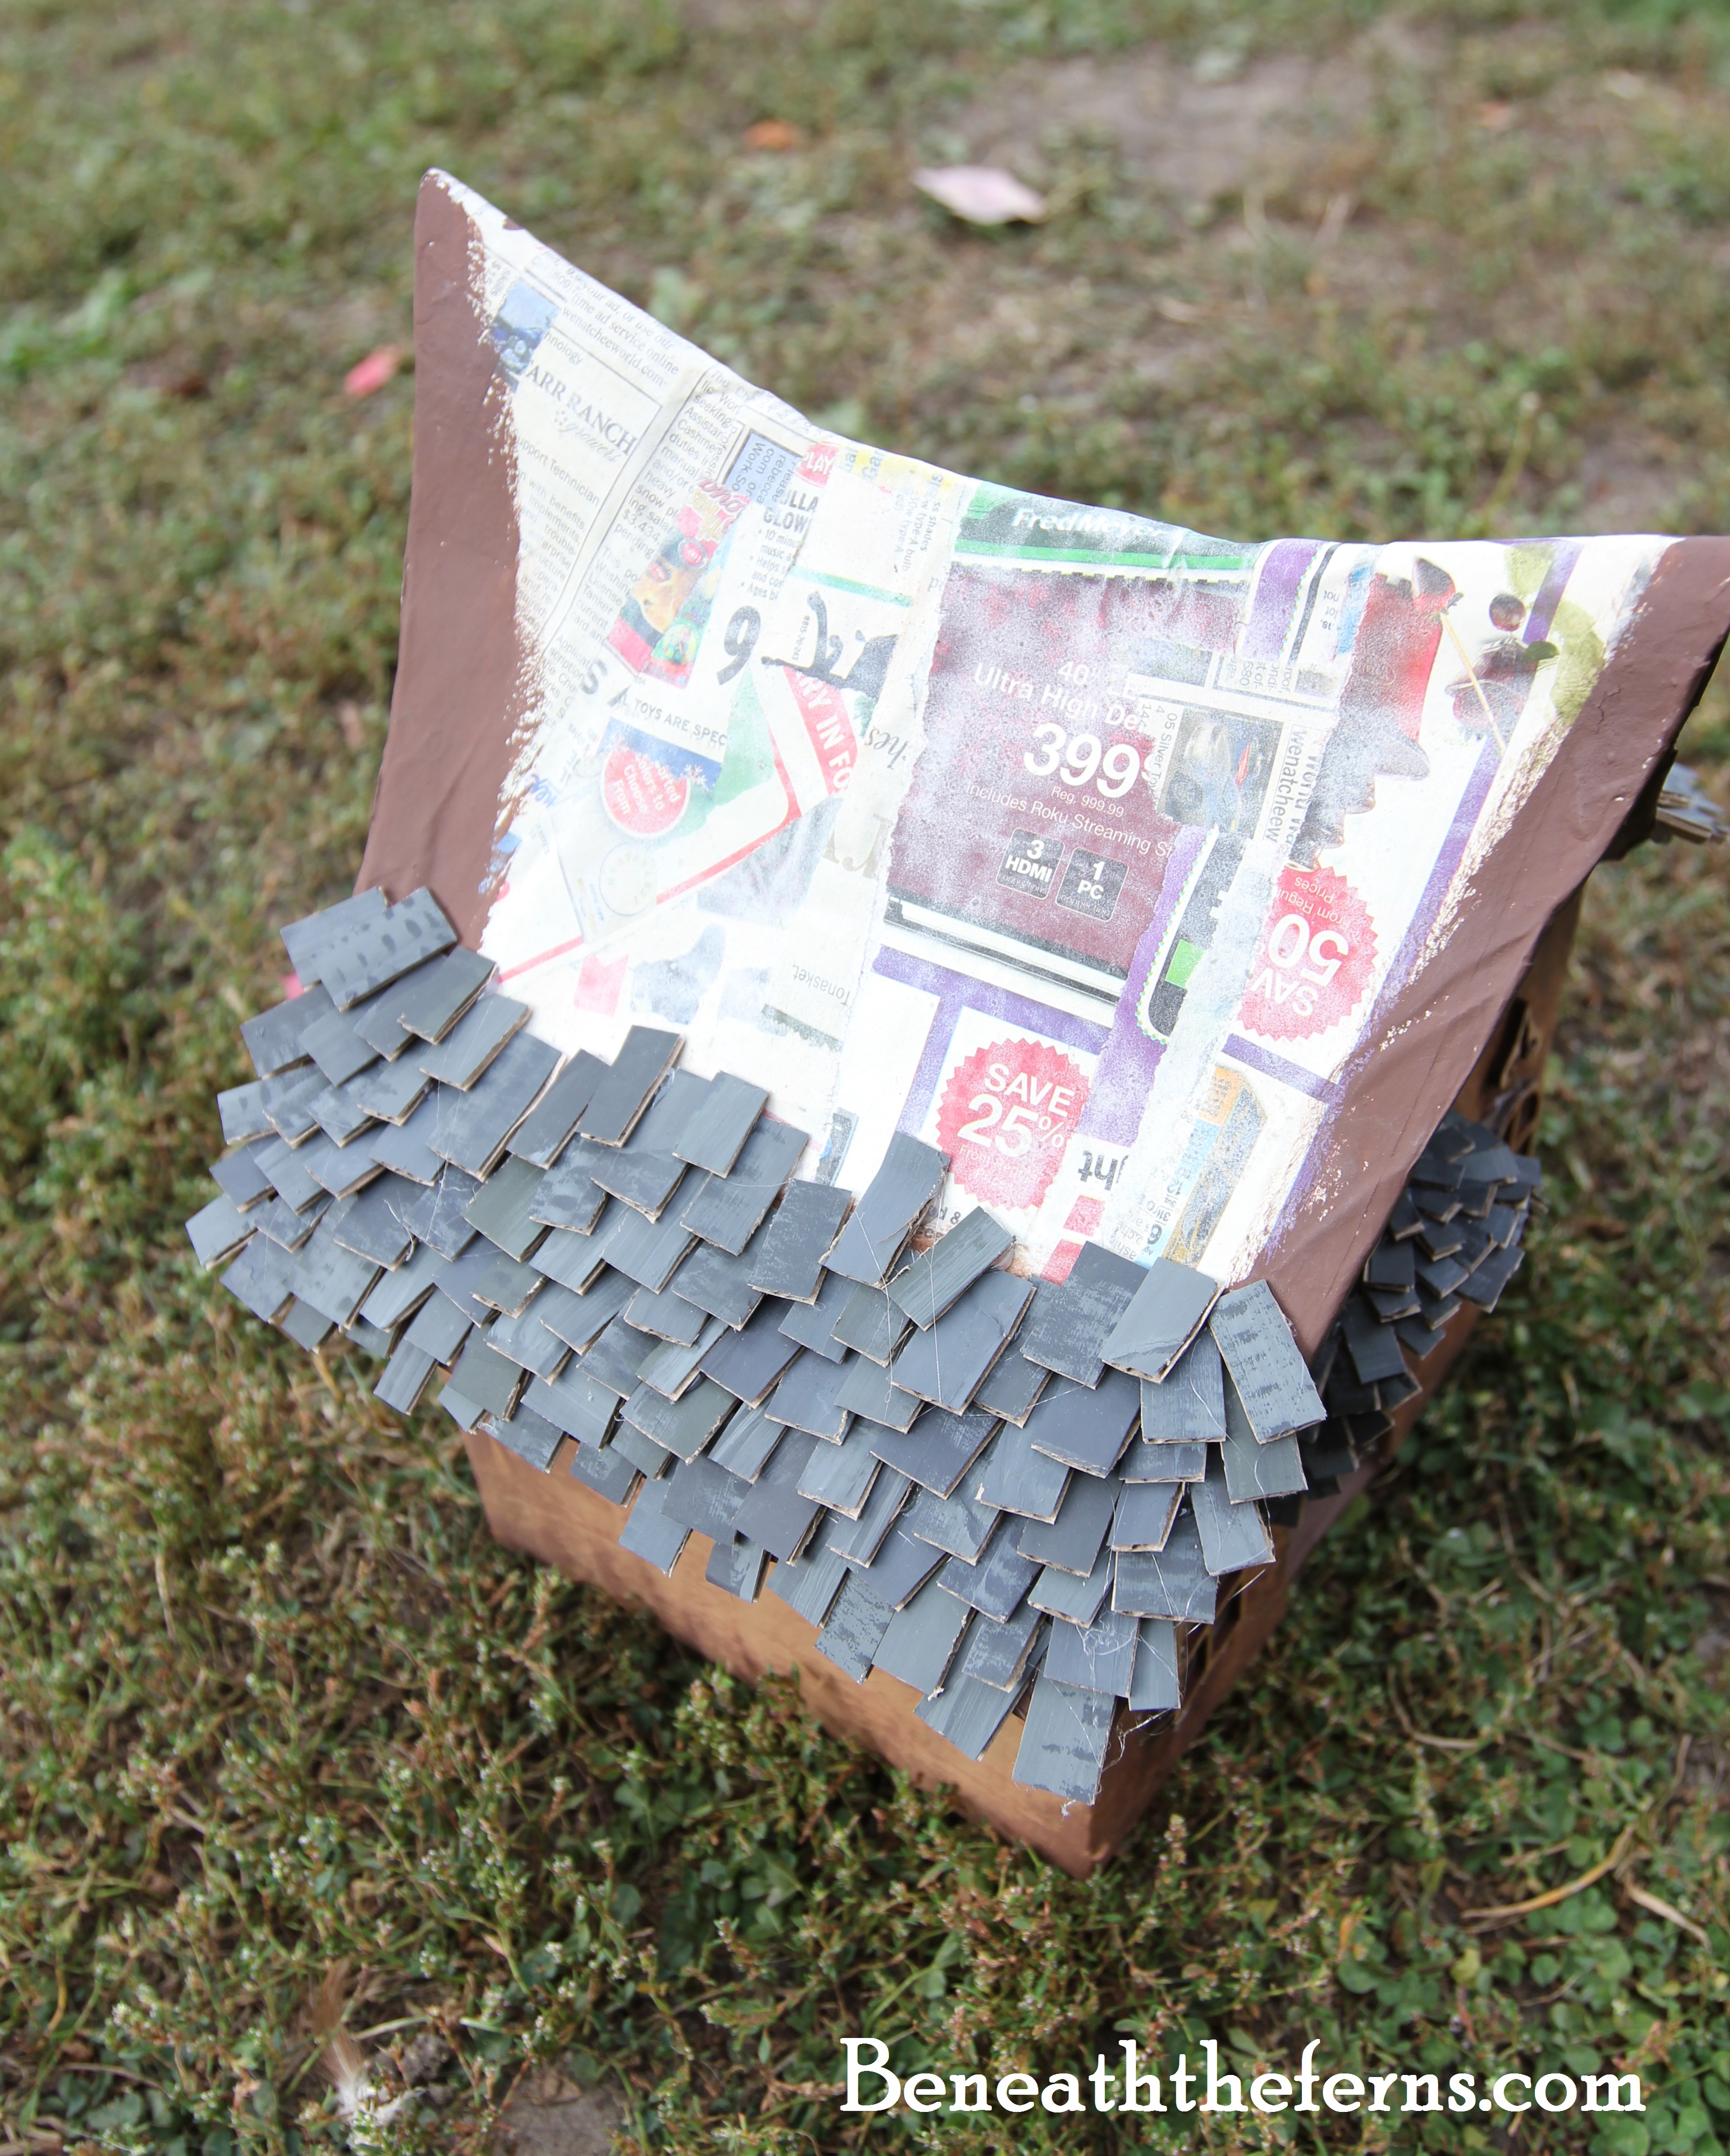
Like this…
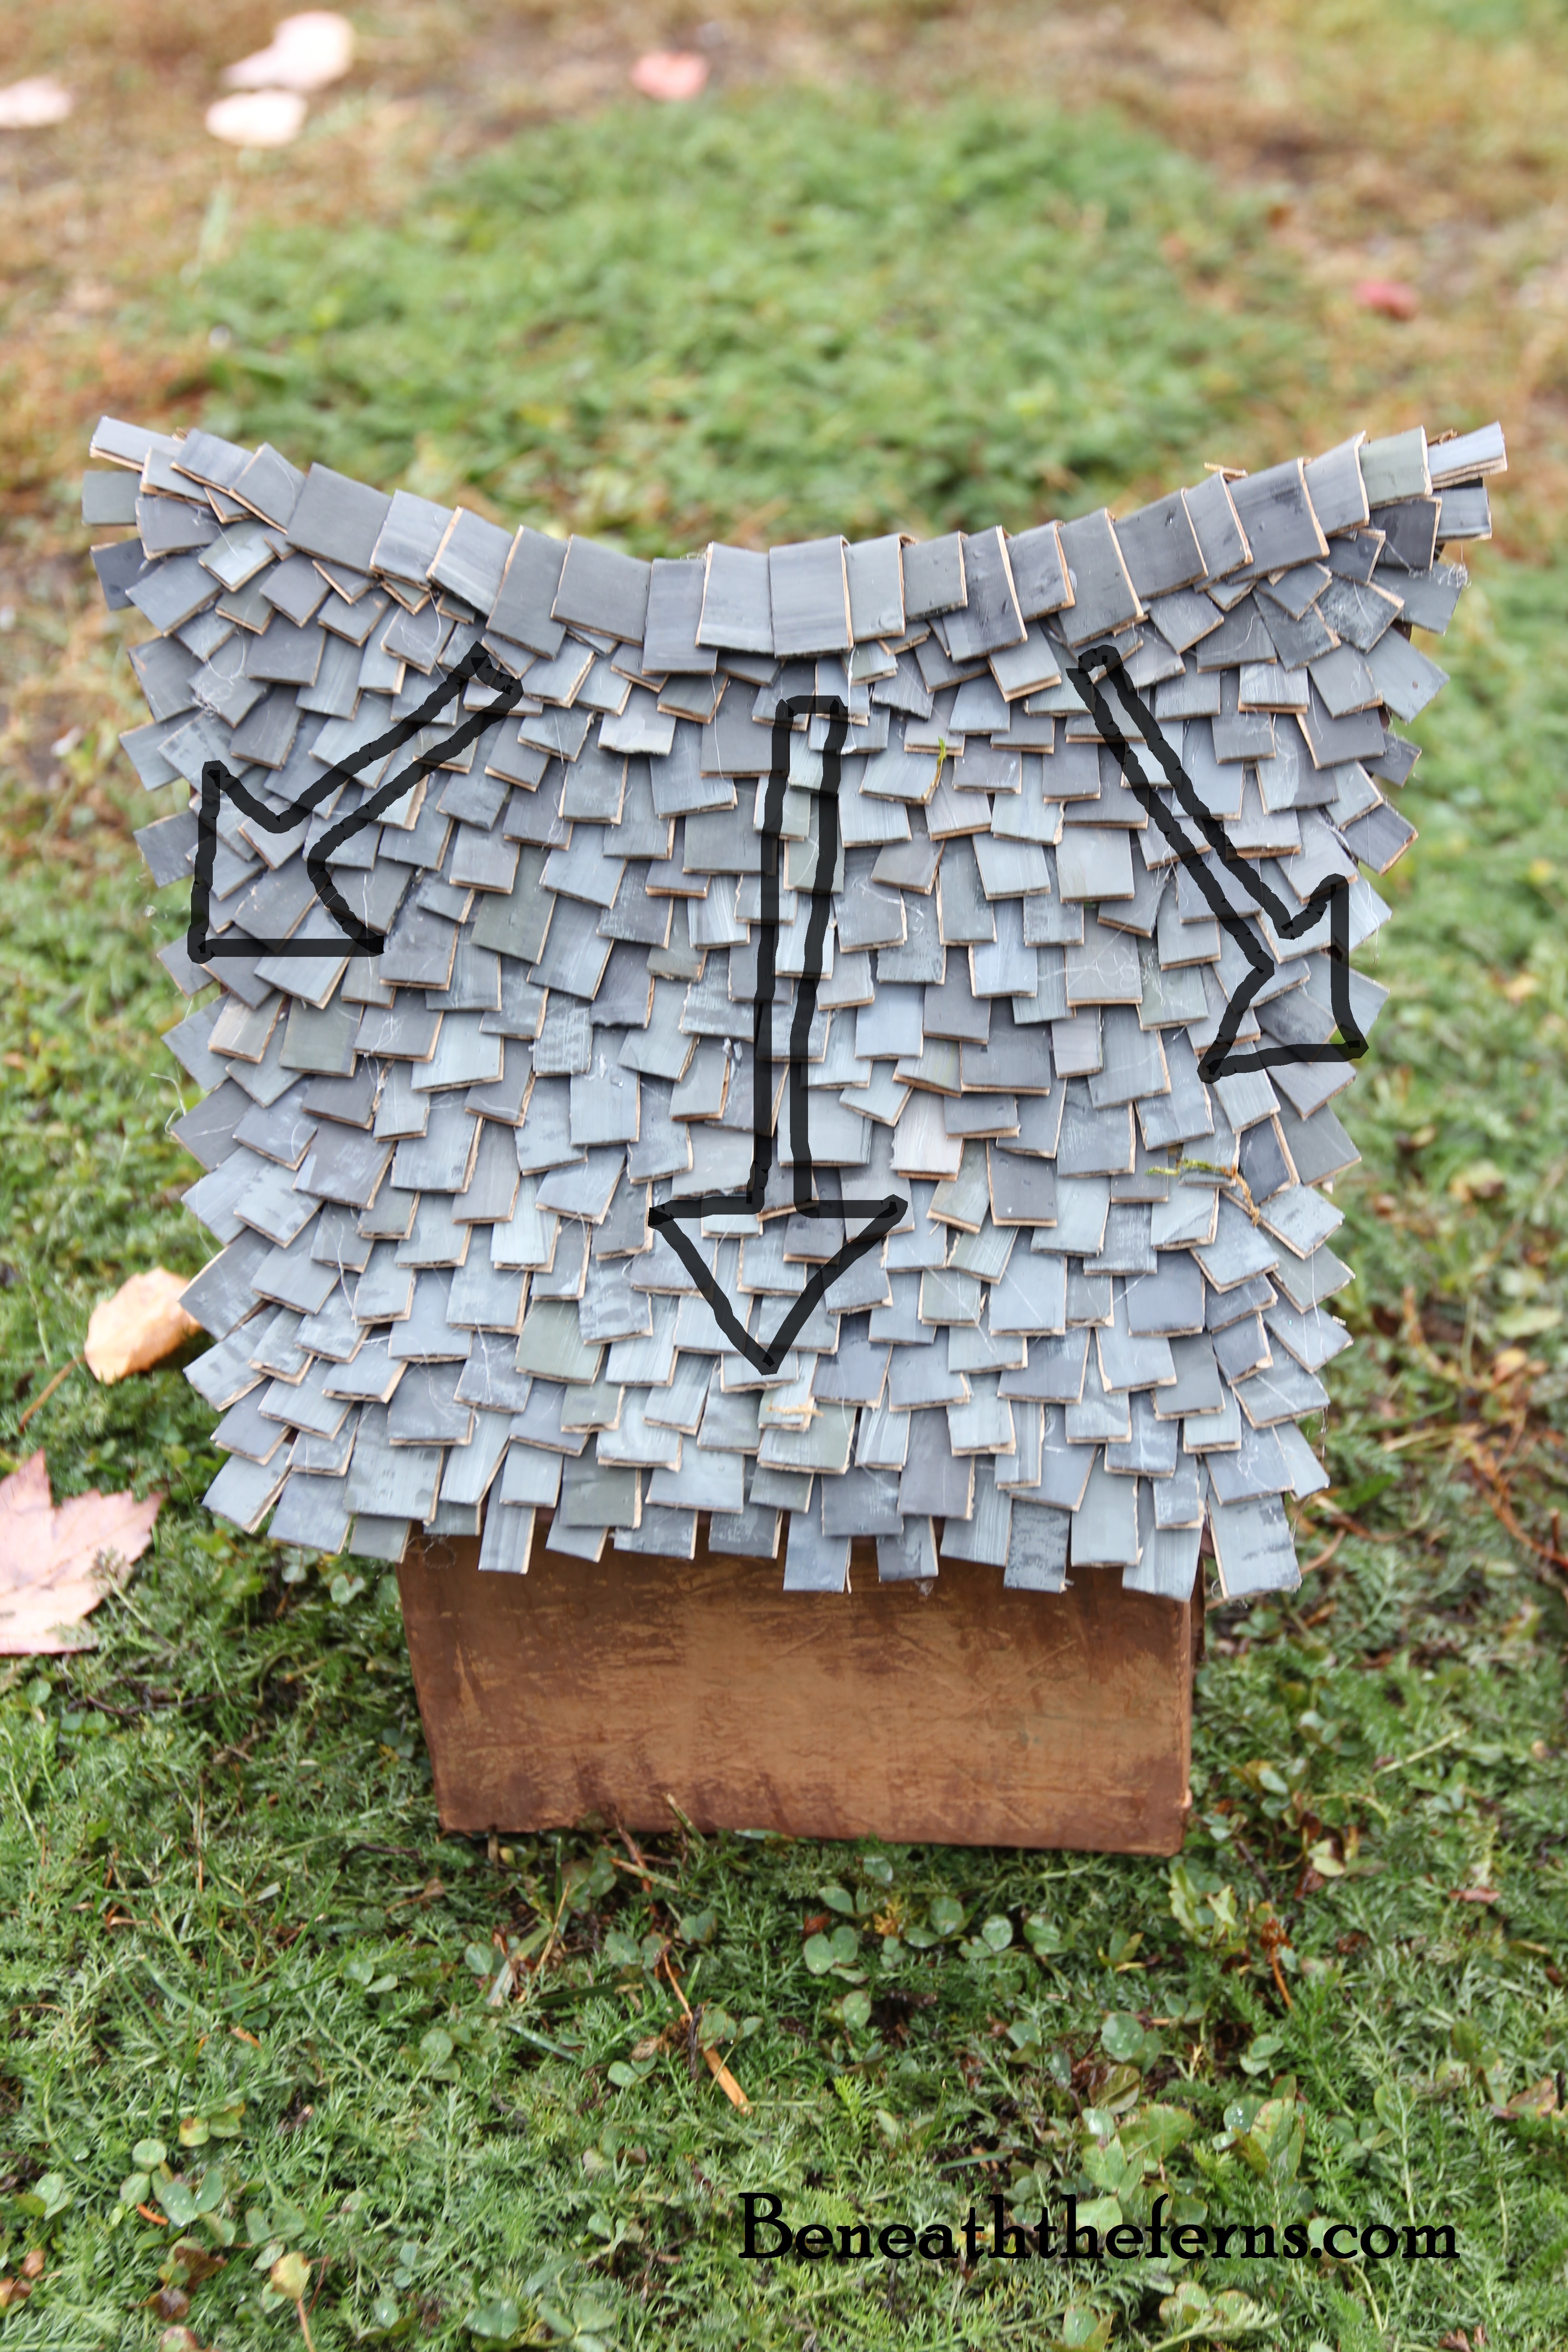
Angling the pieces is especially important towards the top. Also, use smaller pieces towards the top so that you don’t have any gaps without shingles.
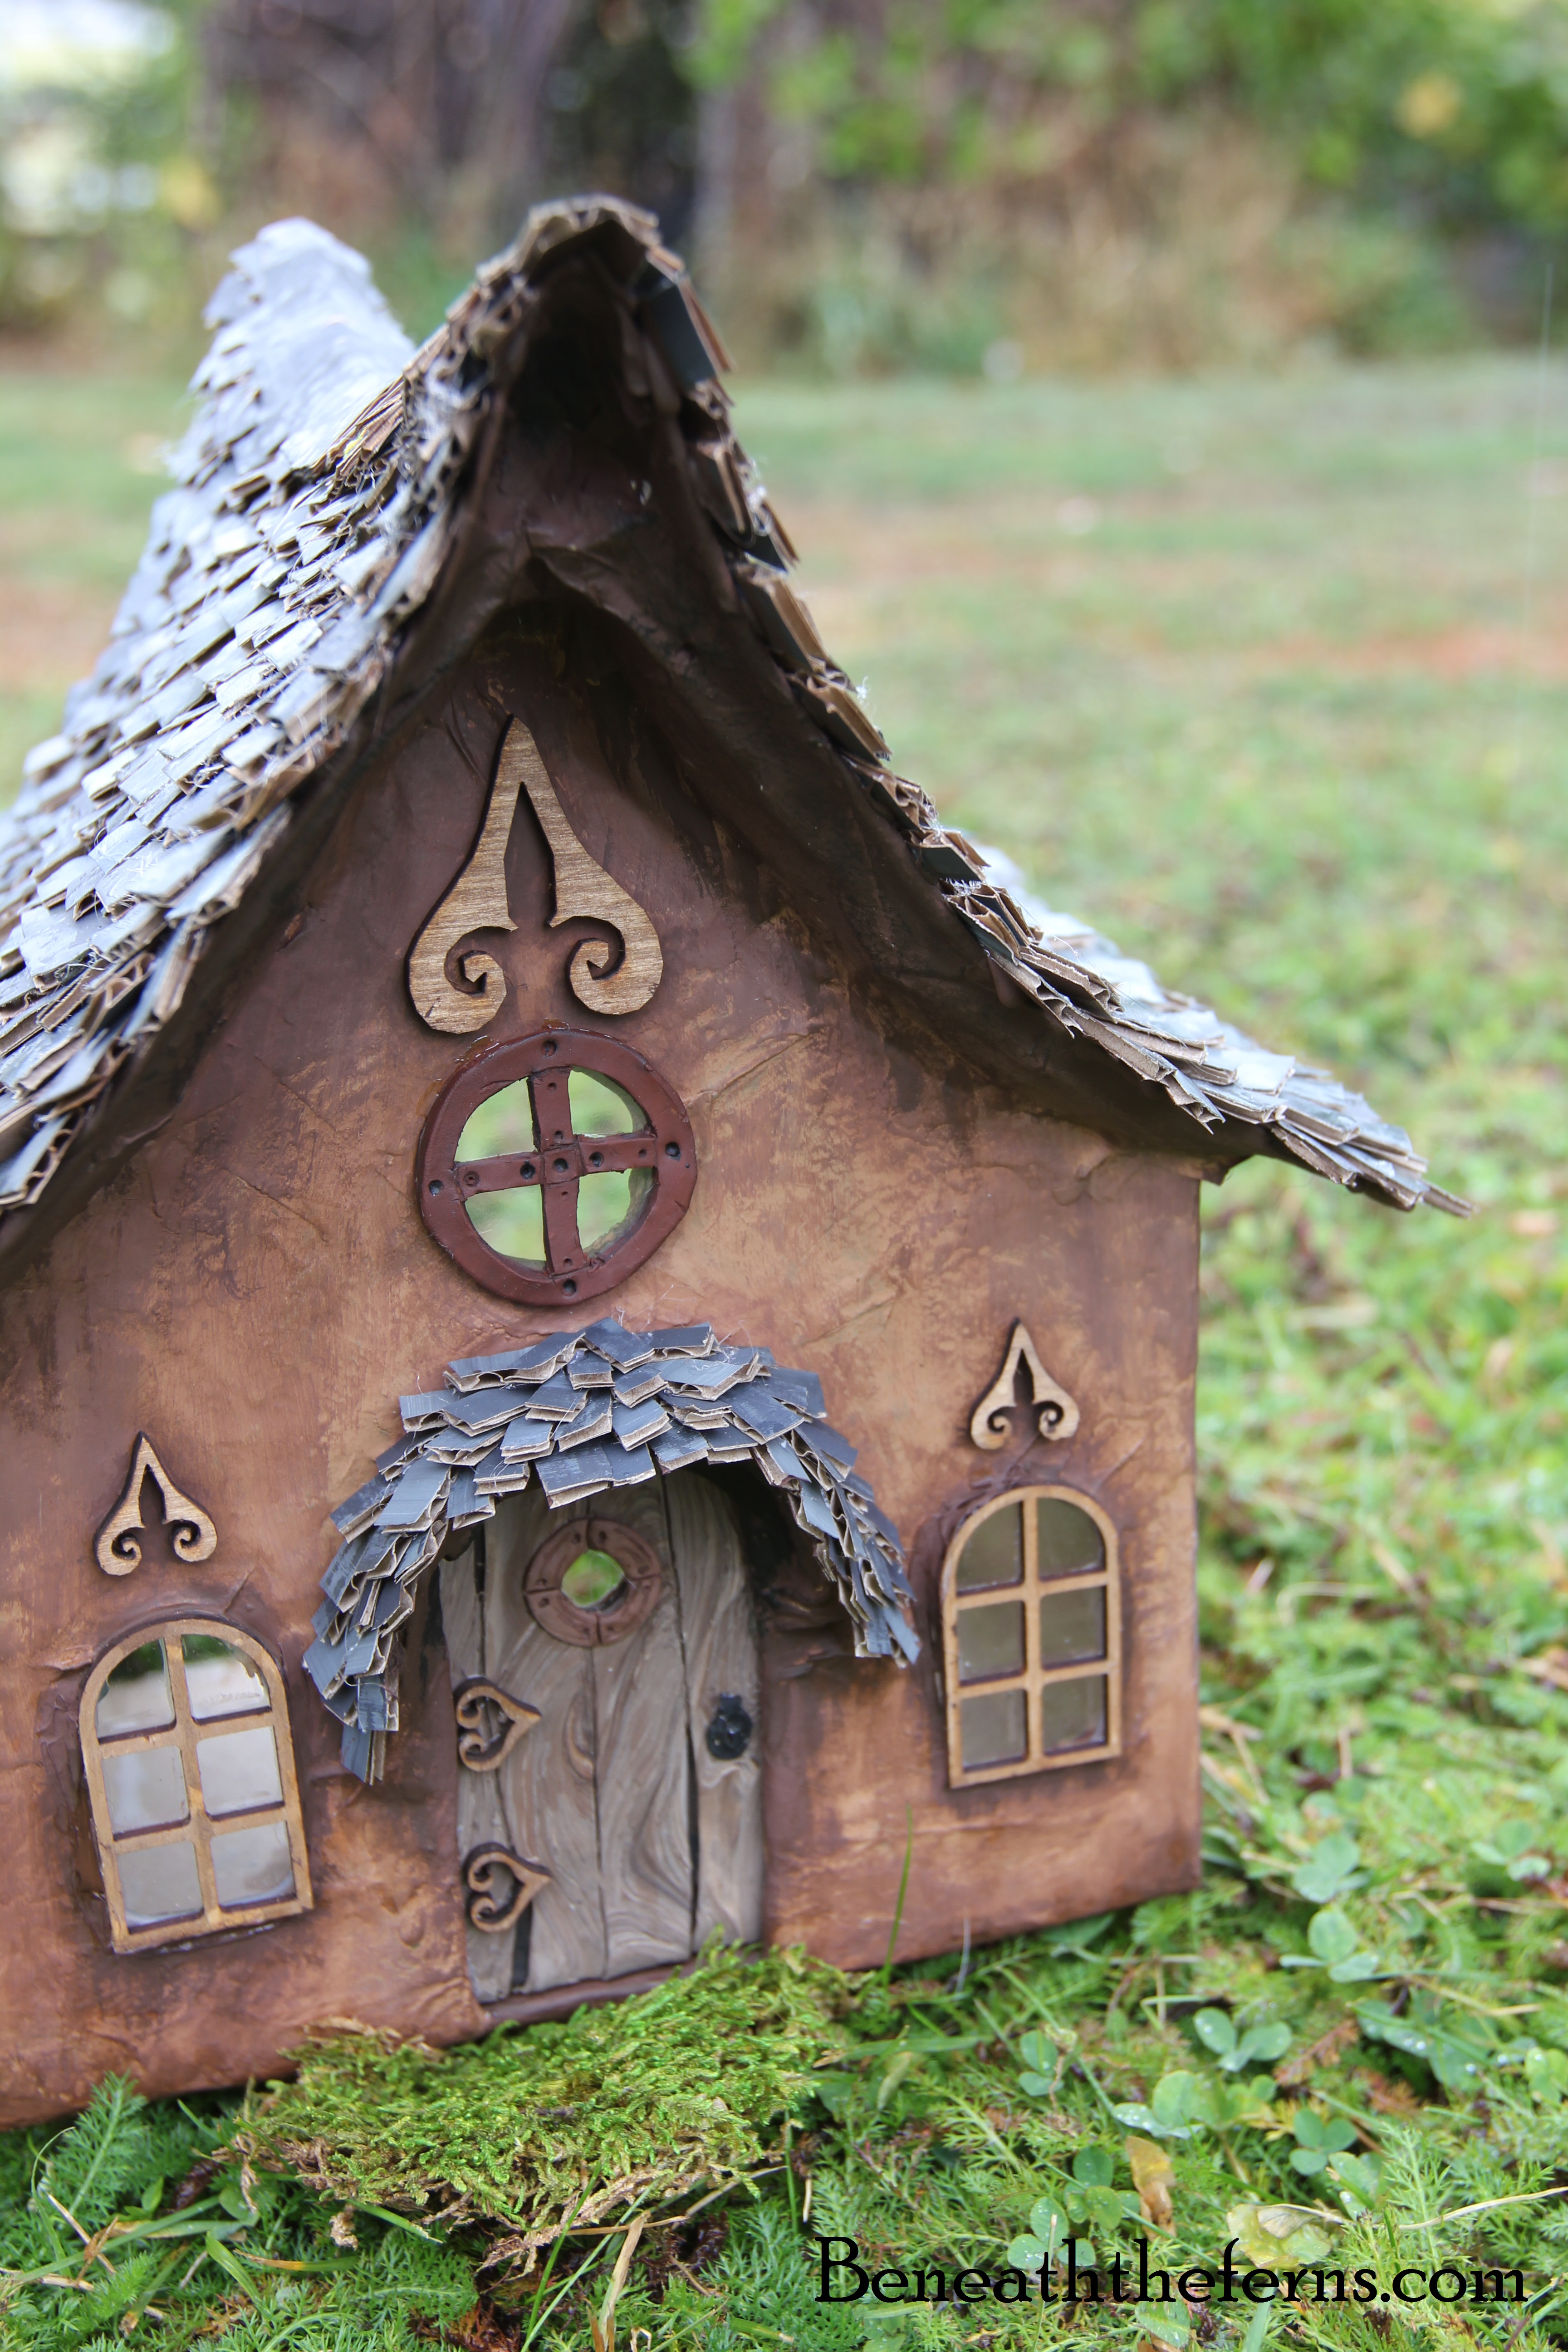
Step #4: Using the scraps of cardboard you saved, cut them into larger pieces for the “spine” of the roof. Start on each end of the house, and end in the middle. A shingle design like this would keep the rain and elements from seeping under the shingles…
Step #5: Using smaller shingles, finish off all the accents around the house. Remember to use the right angles here too.
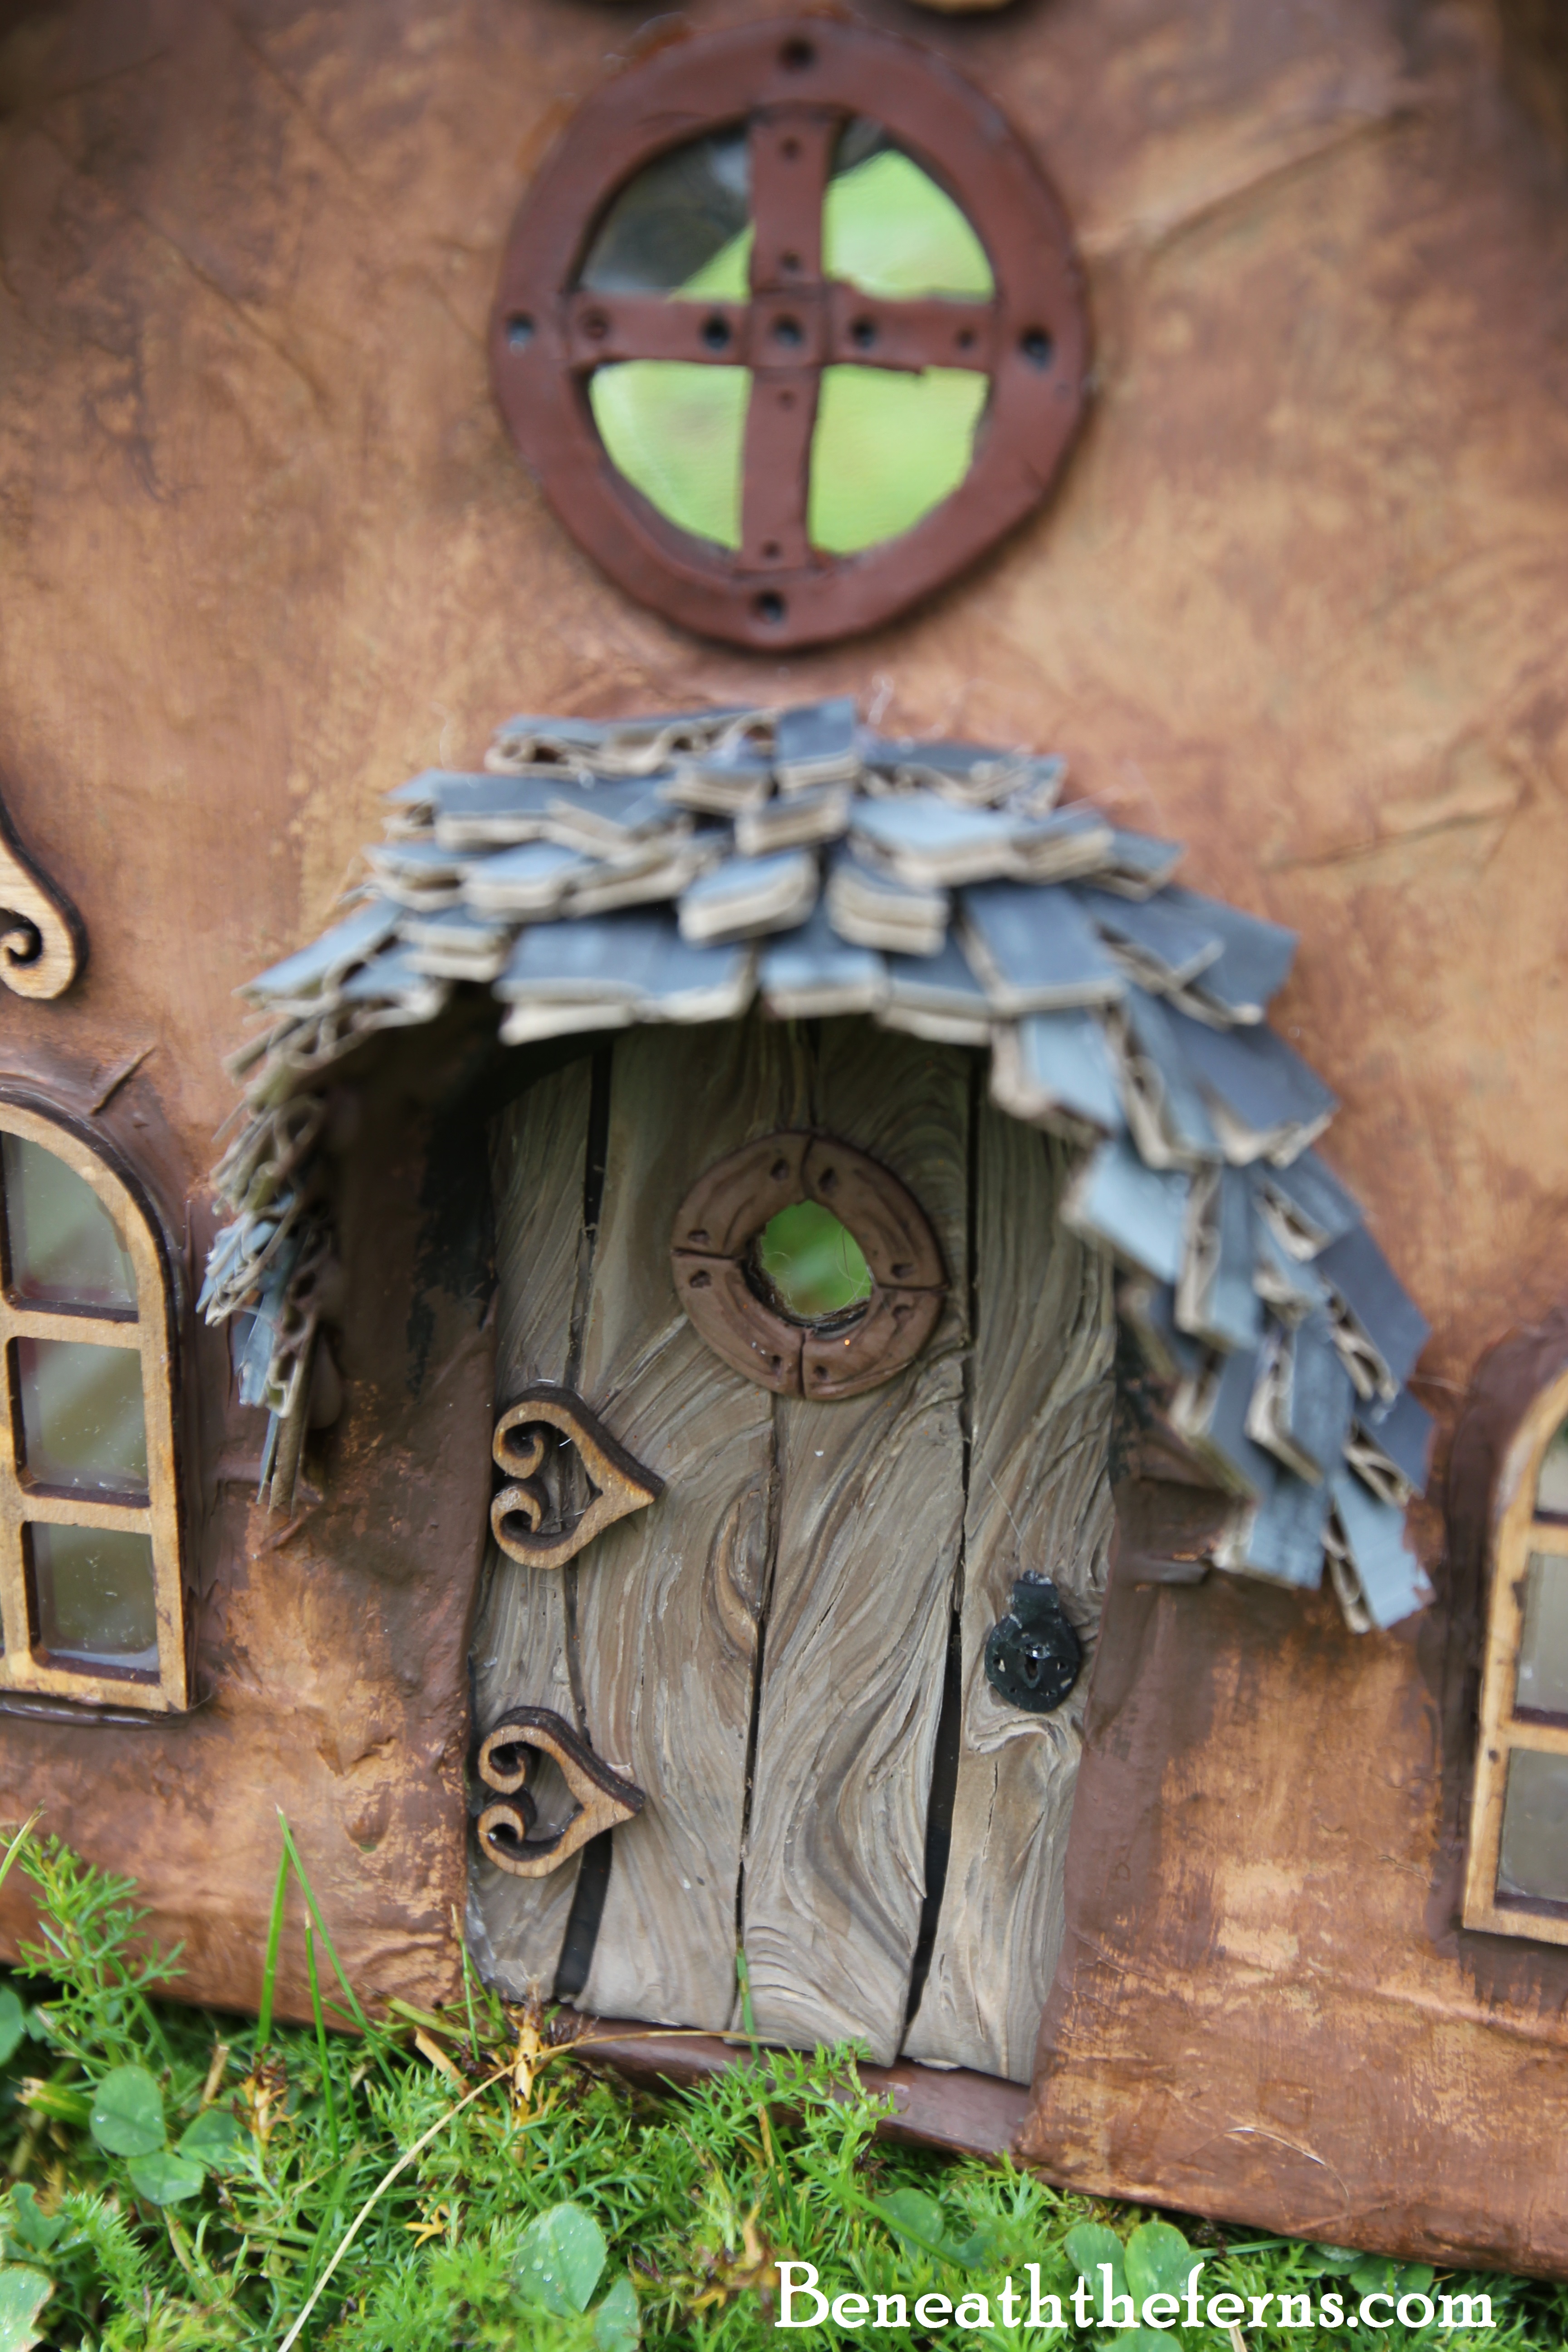
And you’re done!
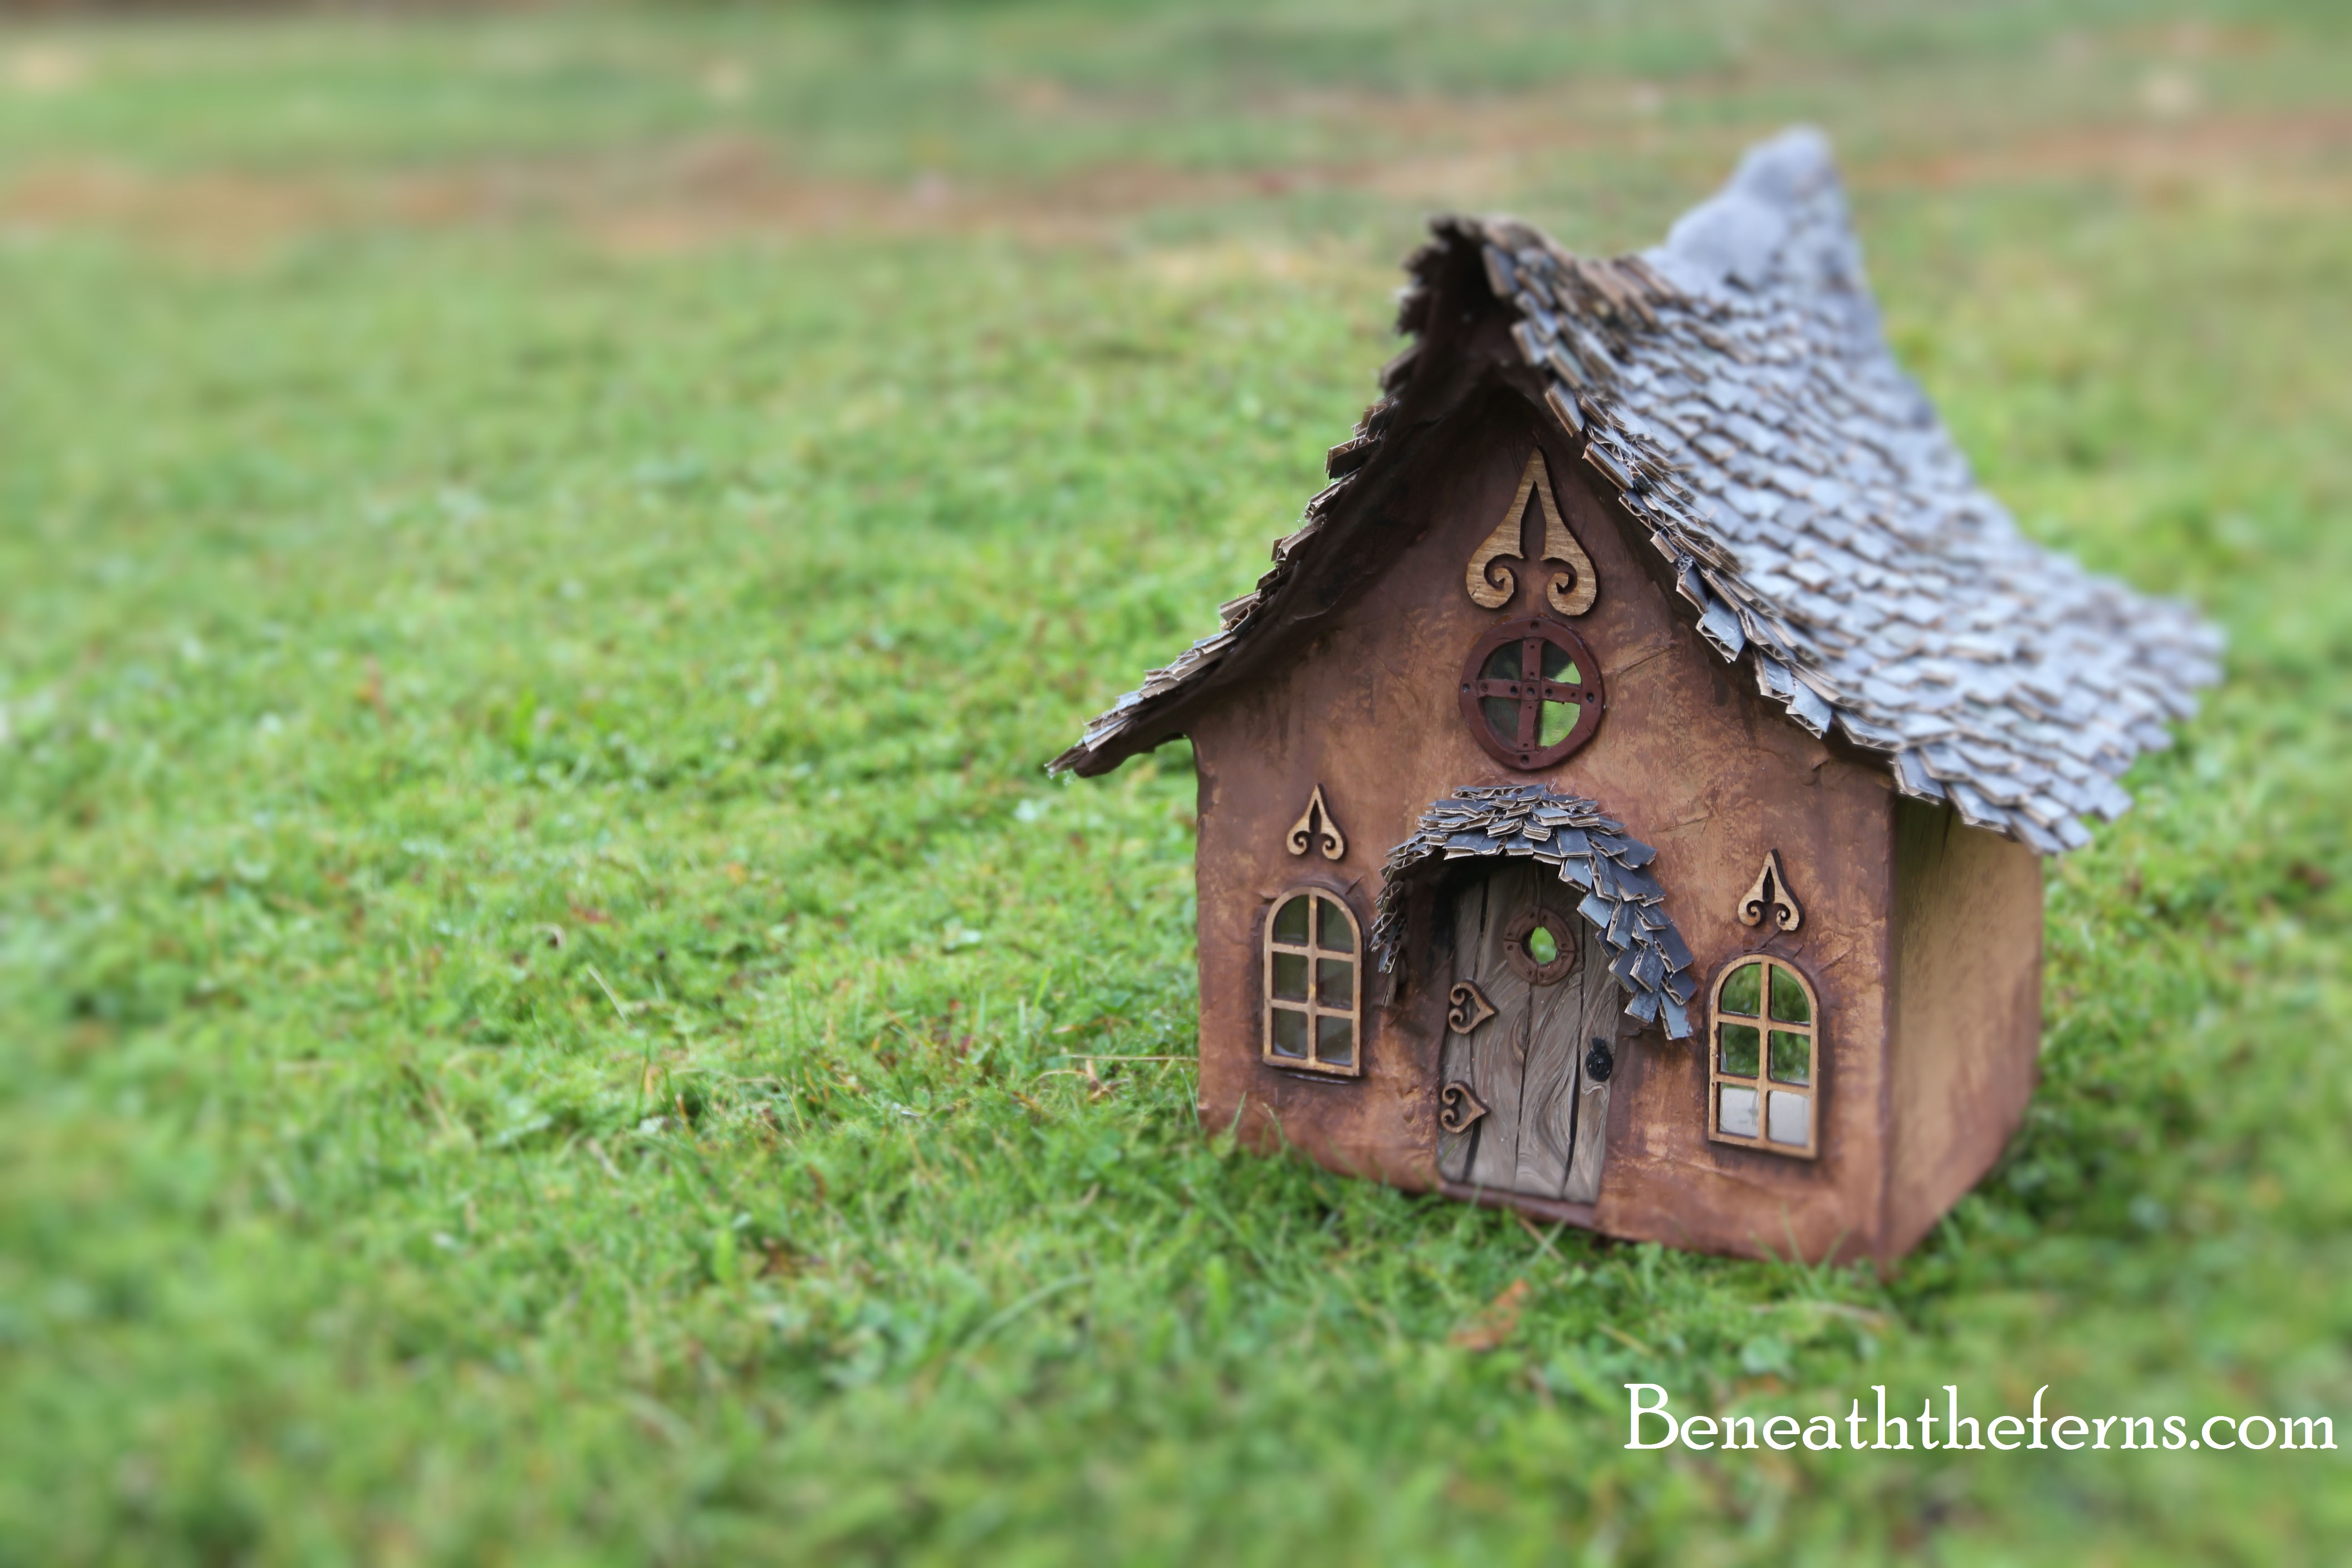
Touch up any areas you need to with paint, and sit back and enjoy your handiwork! I hope this tutorial is helpful, and inspires you in your own way. And please feel free to share any pictures if you try your own roof!
To see more houses I’ve created click HERE.
And to see more tutorials, click HERE.
(Don’t want to forget this? Just Pin for later ♥)

