Tutorial: How to make a mini leaf basket

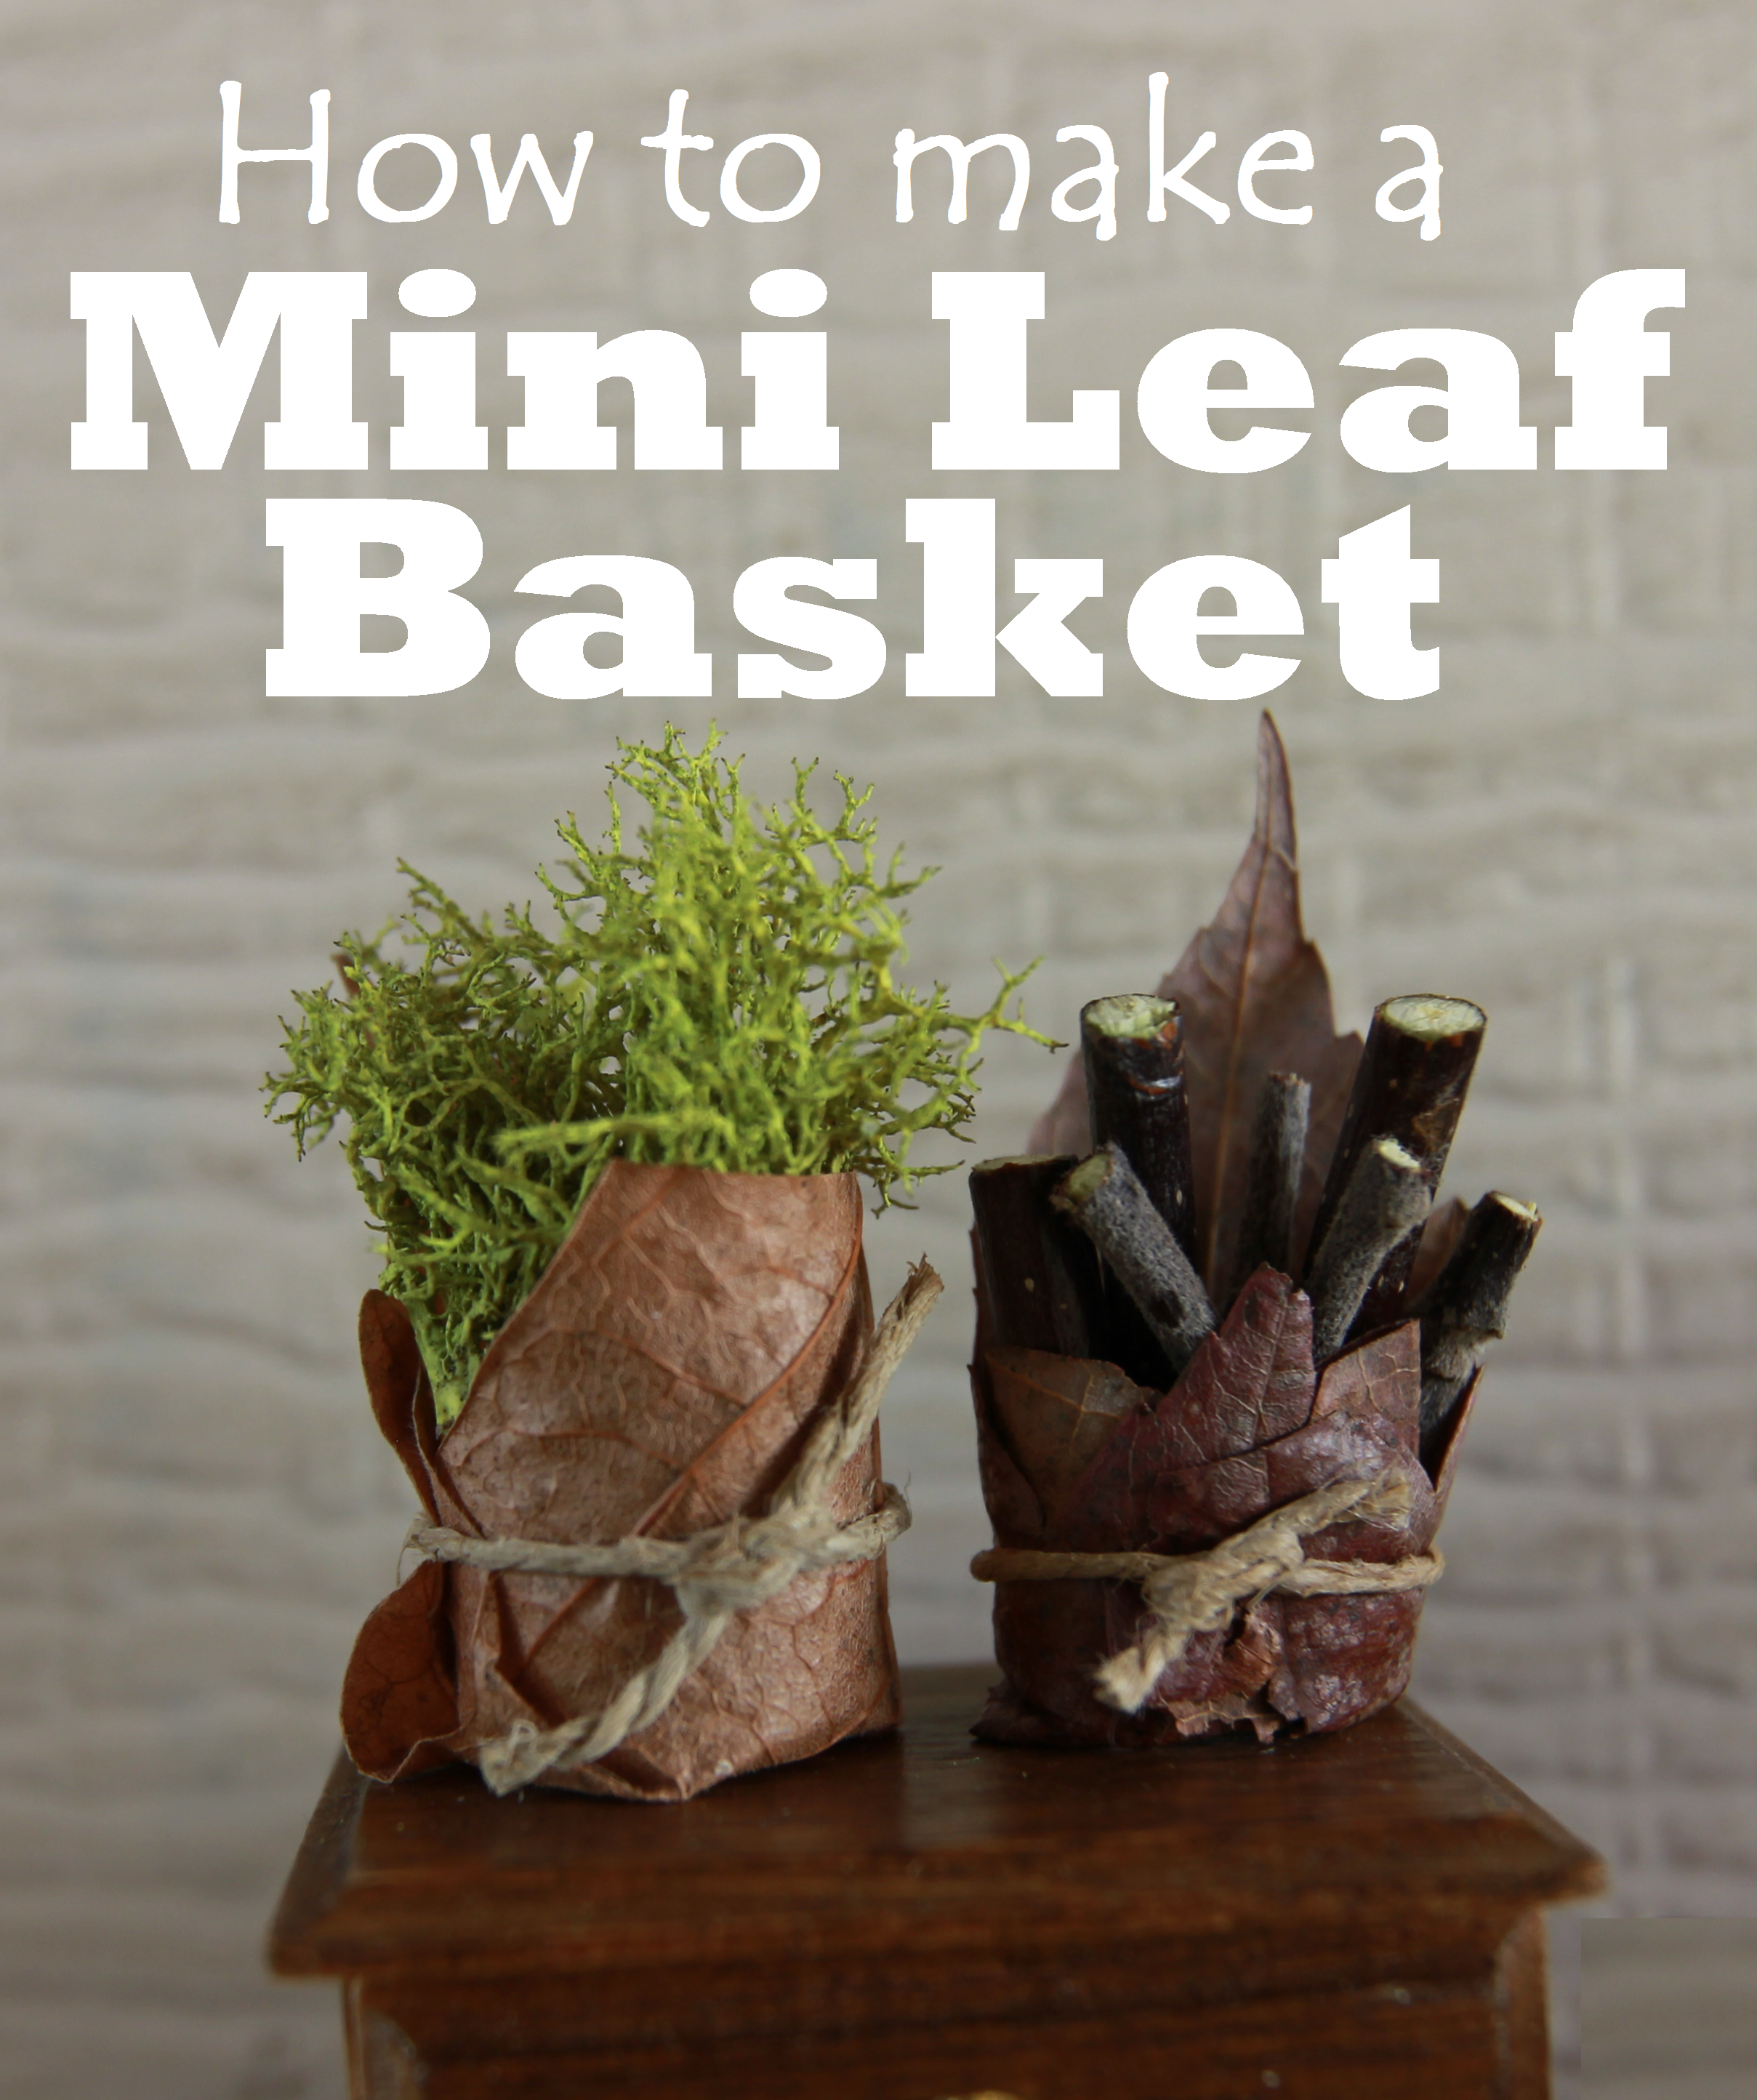
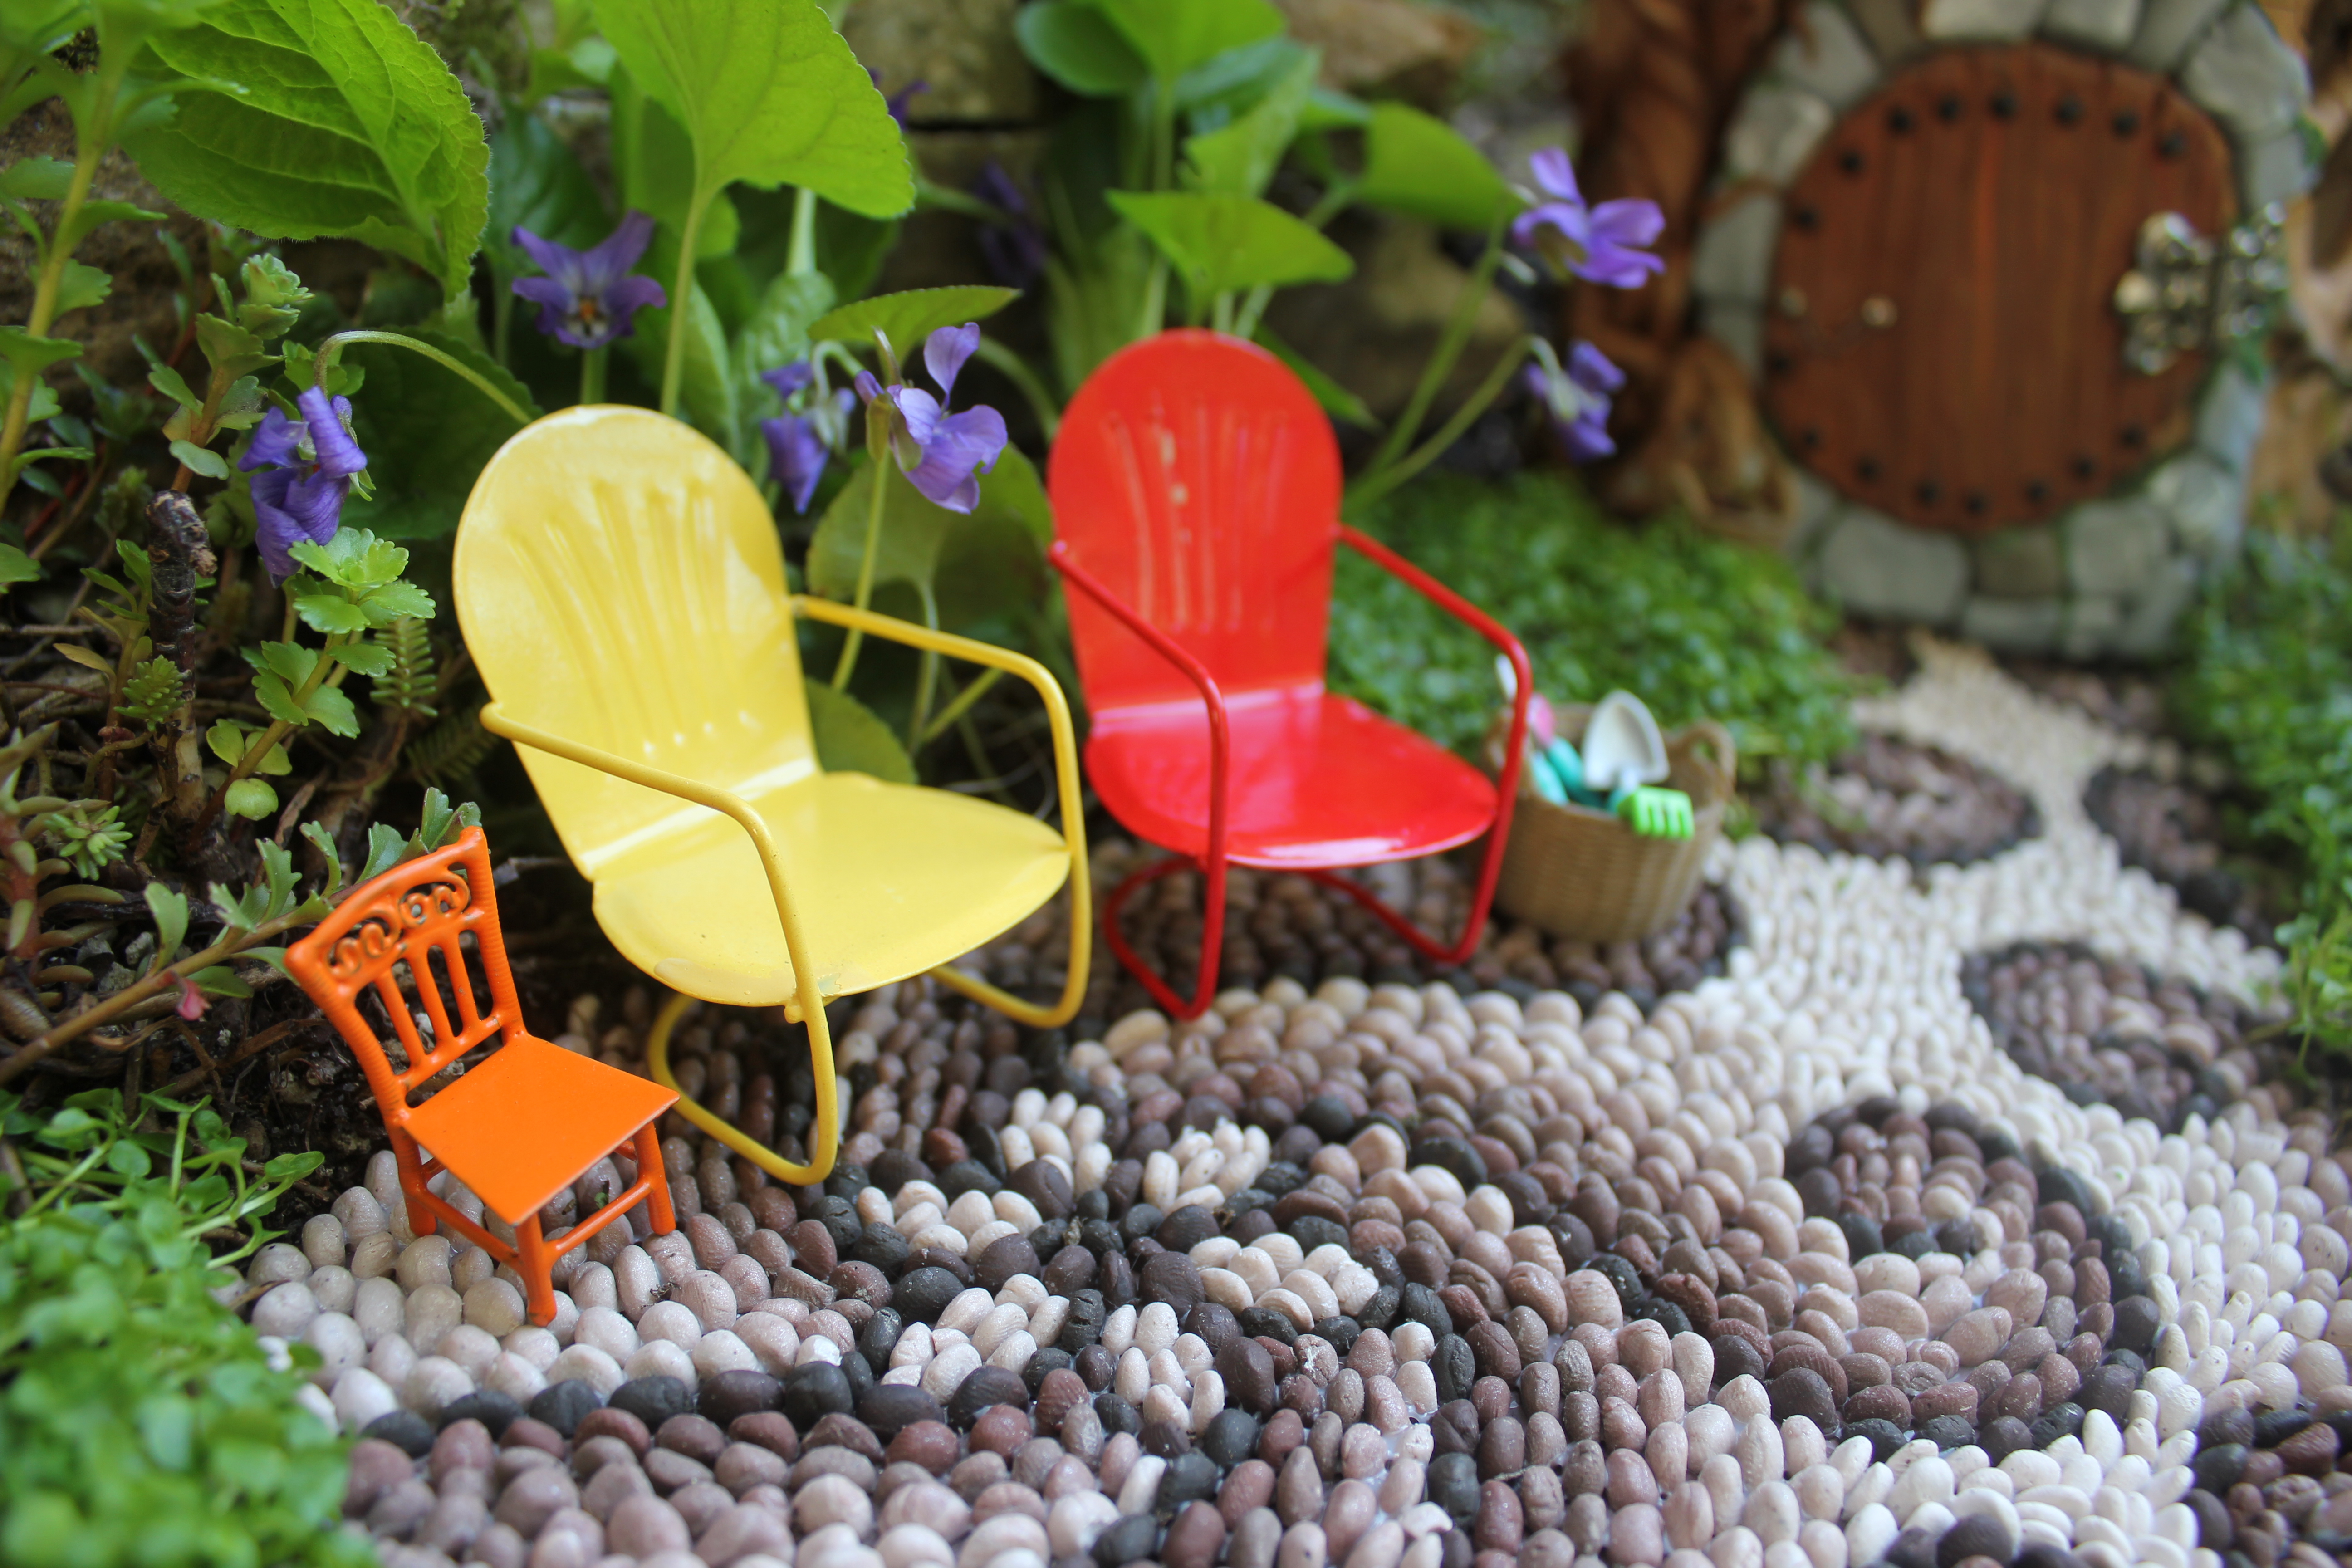
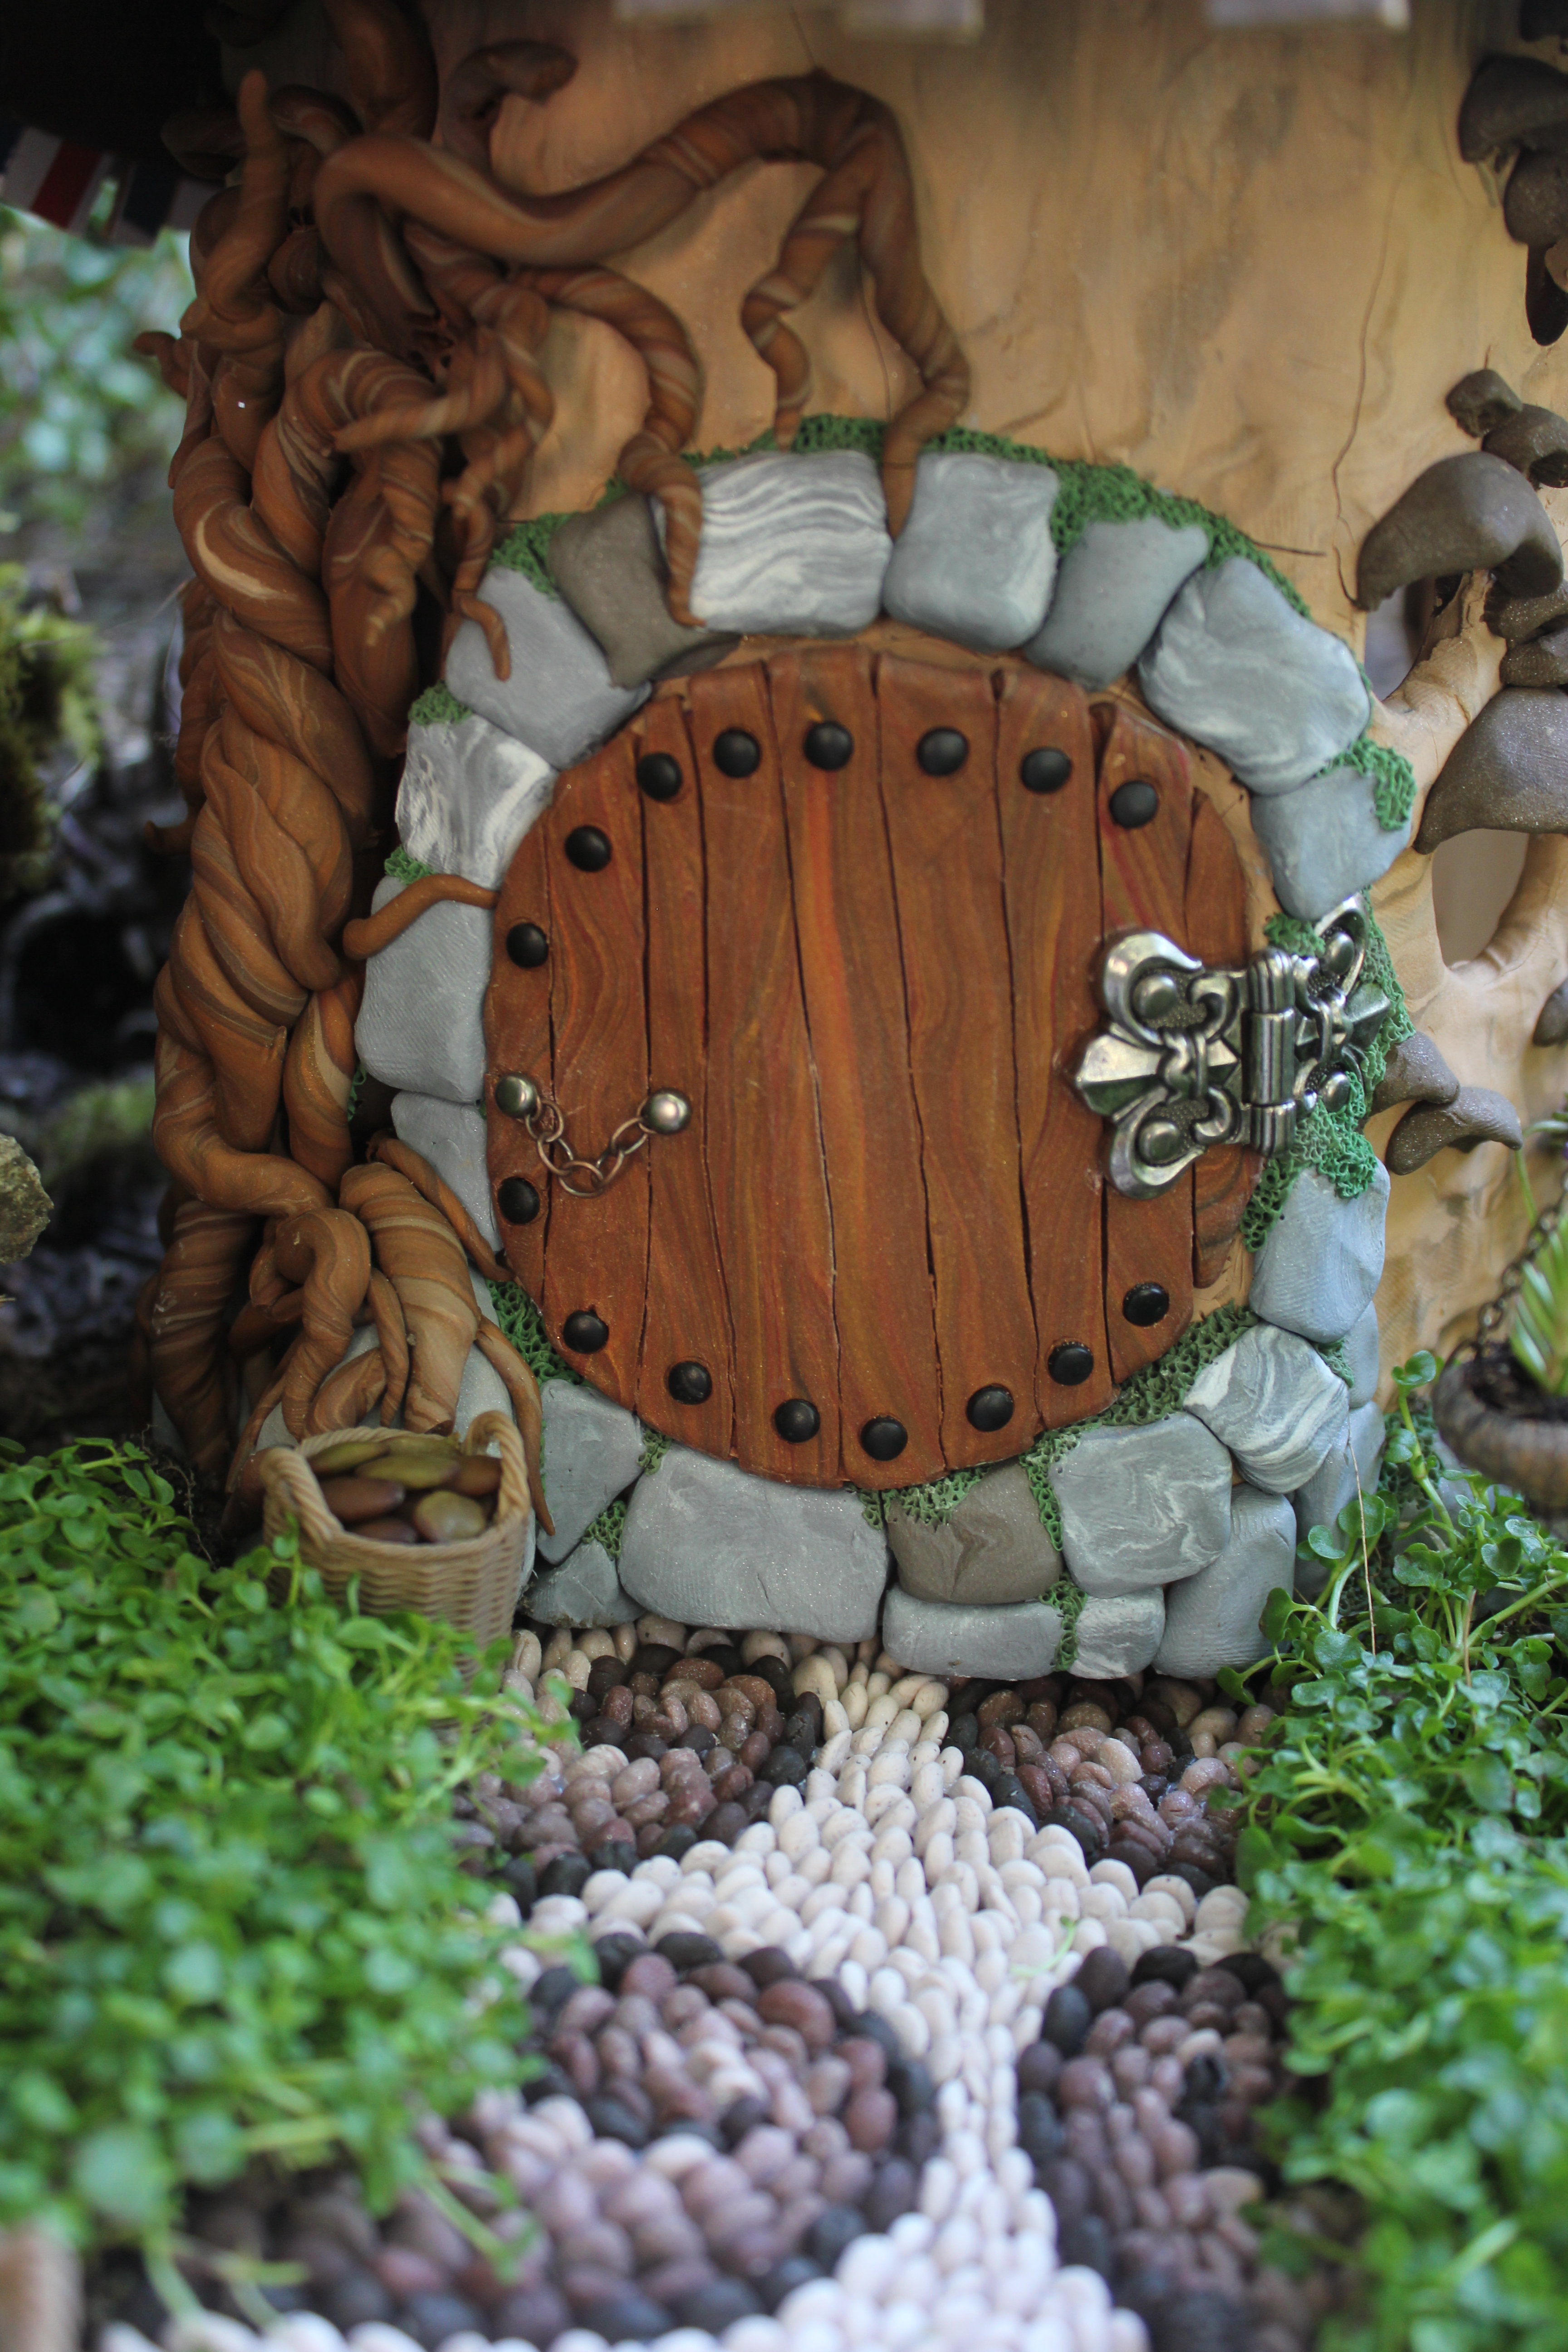
Fairy gardens must be a lot of work for those little beings to maintain! I thought these baskets might lighten their loads a little…

Fairy basket tutorial miniature from beneath the ferns #miniature #fairyhouse #fairygarden #beneaththeferns

Materials:
1) Dried leaves of various sizes
2) Shallow bowl with water
3) Different shaped pens or containers
4) Natural colored string like cotton or hemp
5) Scissors
Cost: $0.00 (unless you need to go buy the string)

Fairy basket tutorial miniature from beneath the ferns #miniature #fairyhouse #fairygarden #beneaththeferns 7

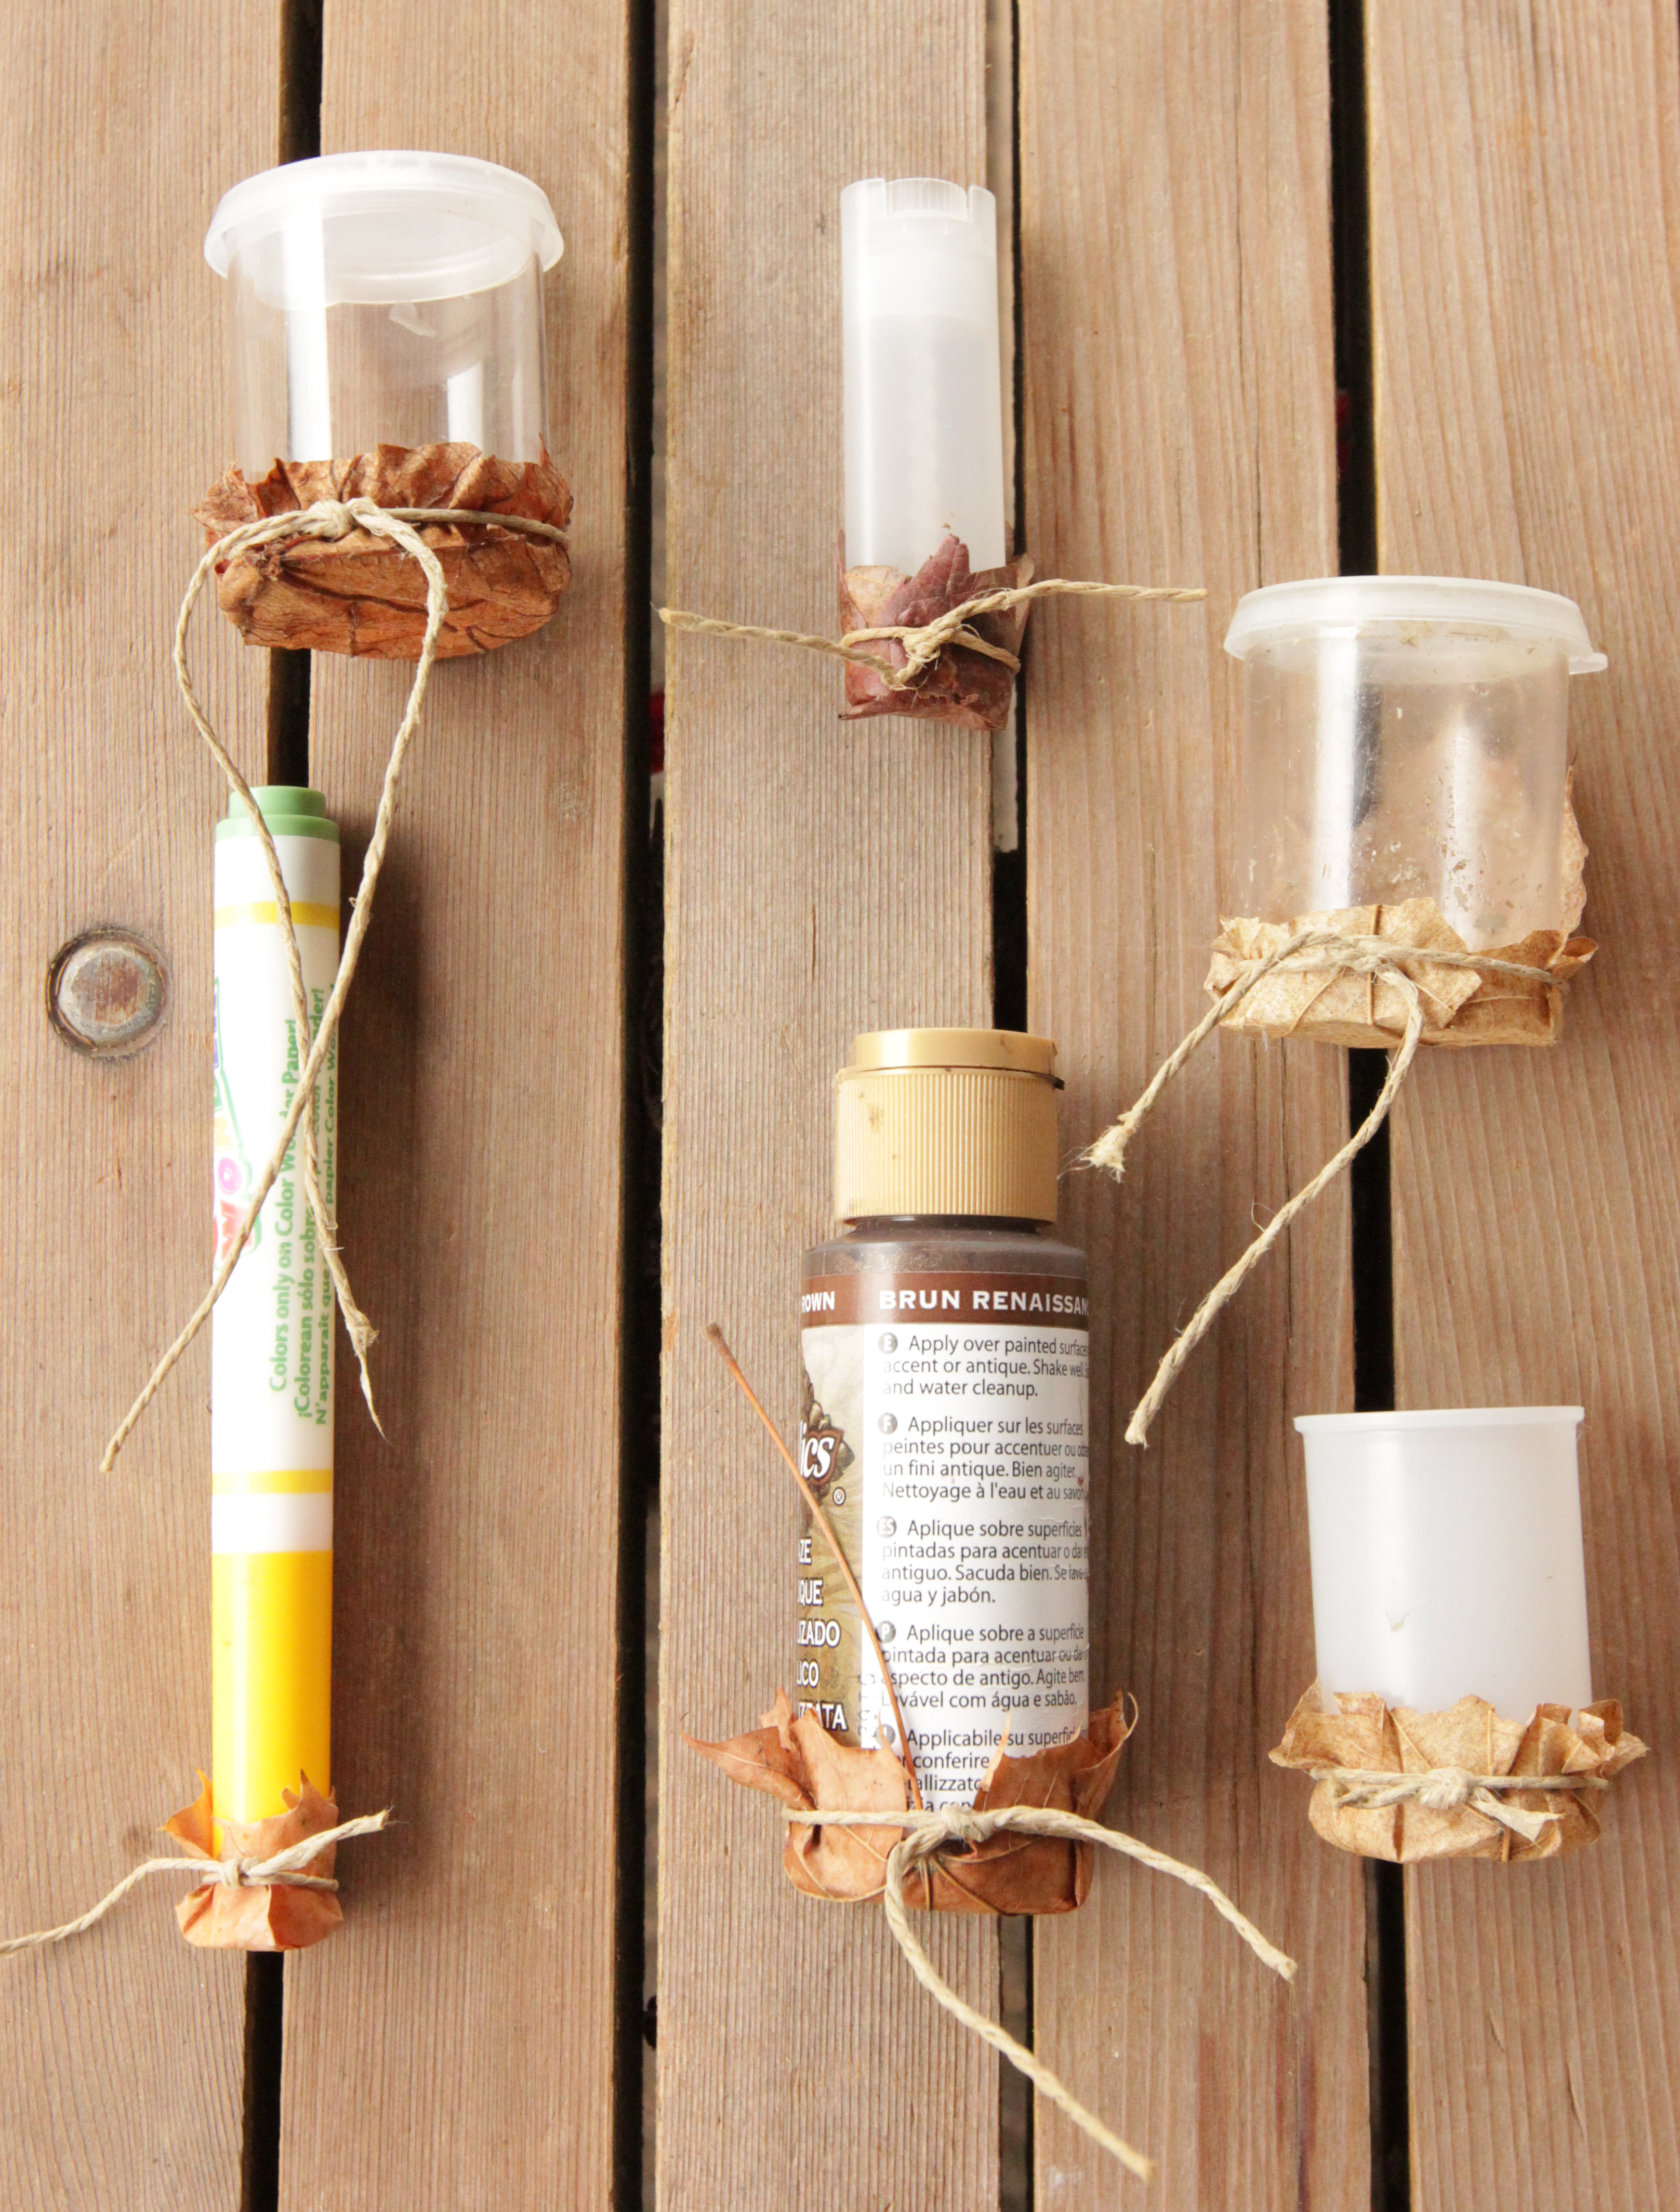
Make sure the containers you are going to mold around have straight edges. For instance, because the white knife has a taper to it, you won’t be able to get the leaf basket off once it is dried.

Fairy basket tutorial miniature from beneath the ferns #miniature #fairyhouse #fairygarden #beneaththeferns 2

1) Soak your leaves in water until they are soft and pliable. I usually let mine soak for at least an hour. Also soak the thread you are using, it makes it fit much tighter once you tie it on.

Fairy basket tutorial miniature from beneath the ferns #miniature #fairyhouse #fairygarden #beneaththeferns 3

2) Pick your leaf, and carefully wrap it around your container. Make sure the entire bottom of the container is covered or your basket will have a place to leak the contents. (This part can be frustrating! If you have another pair of hands to help you, that would make this step much easier!)

Fairy basket tutorial miniature from beneath the ferns #miniature #fairyhouse #fairygarden #beneaththeferns 4

3) Tie the wet thread around your leaf (sometimes I also cheat and use a rubber band first, then just cut it off later)

Fairy basket tutorial miniature from beneath the ferns #miniature #fairyhouse #fairygarden #beneaththeferns 5

4) Set your leaf on a flat surface and let it dry completely. Make sure your basket is standing upright so the bottom forms a nice flat base. This will help it stand up later once it is dried.

Fairy basket tutorial miniature from beneath the ferns #miniature #fairyhouse #fairygarden #beneaththeferns 6

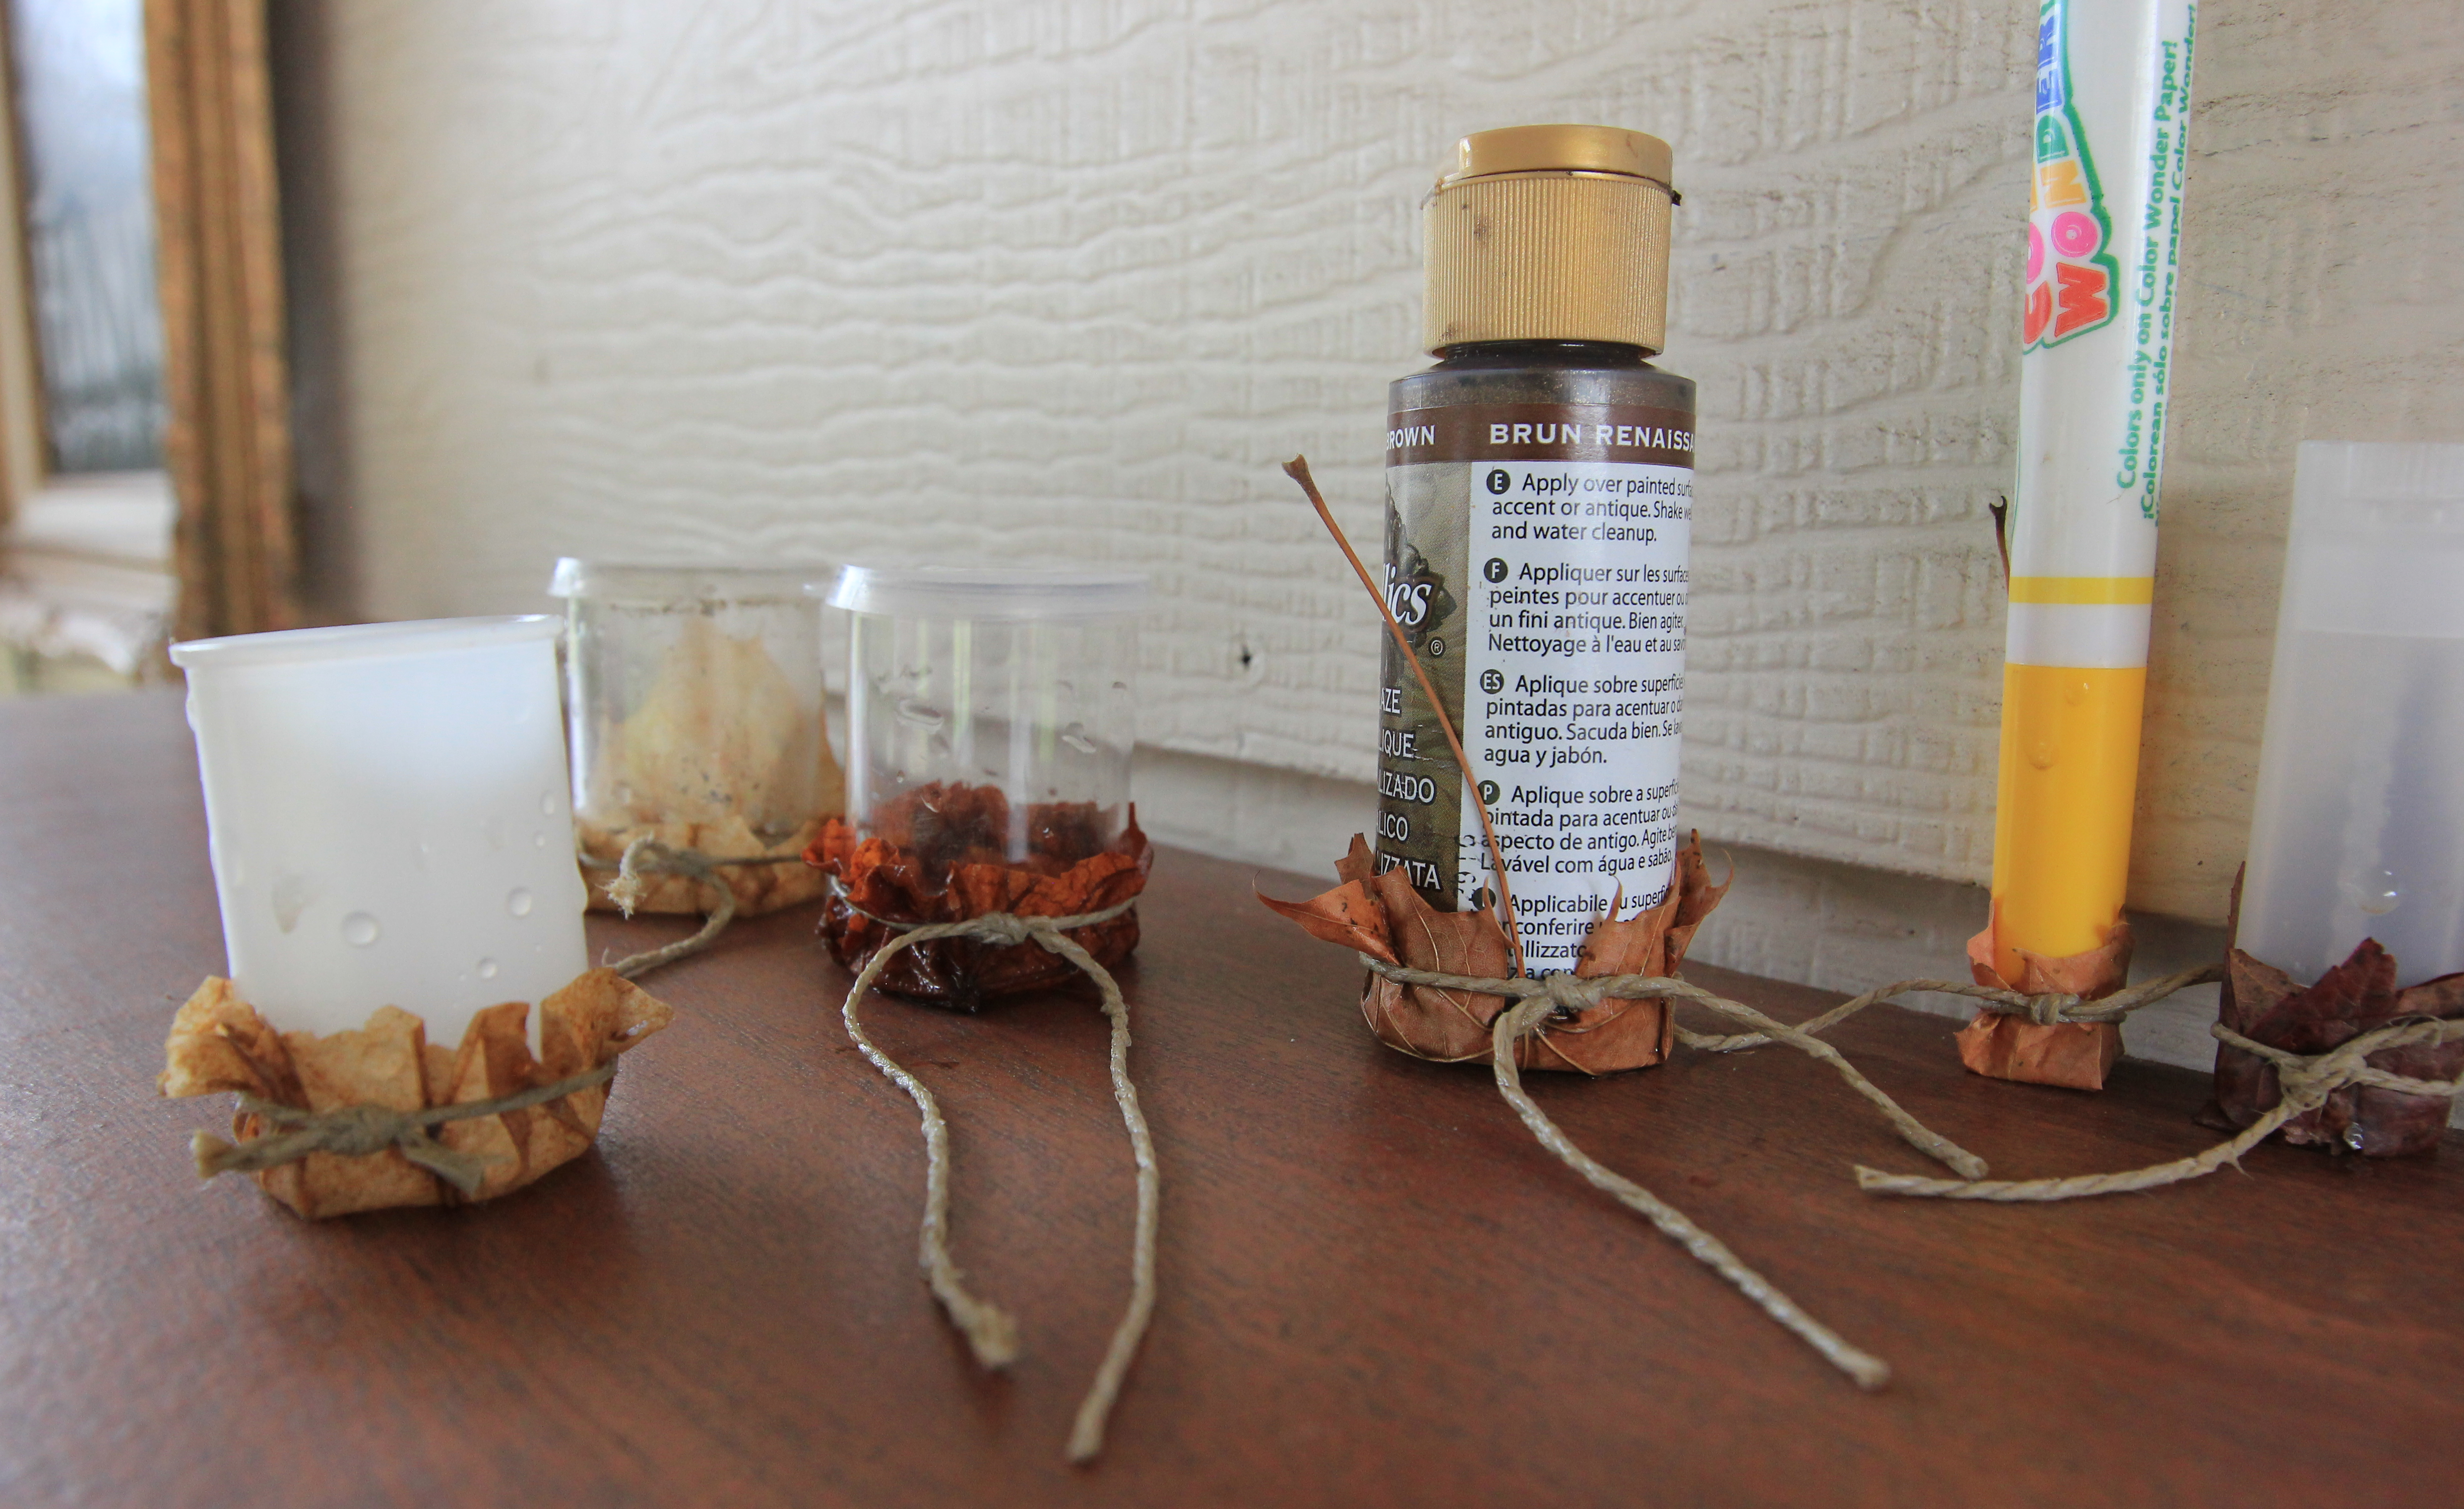
Different containers make different baskets…

Fairy basket tutorial miniature from beneath the ferns #miniature #fairyhouse #fairygarden #beneaththeferns 7

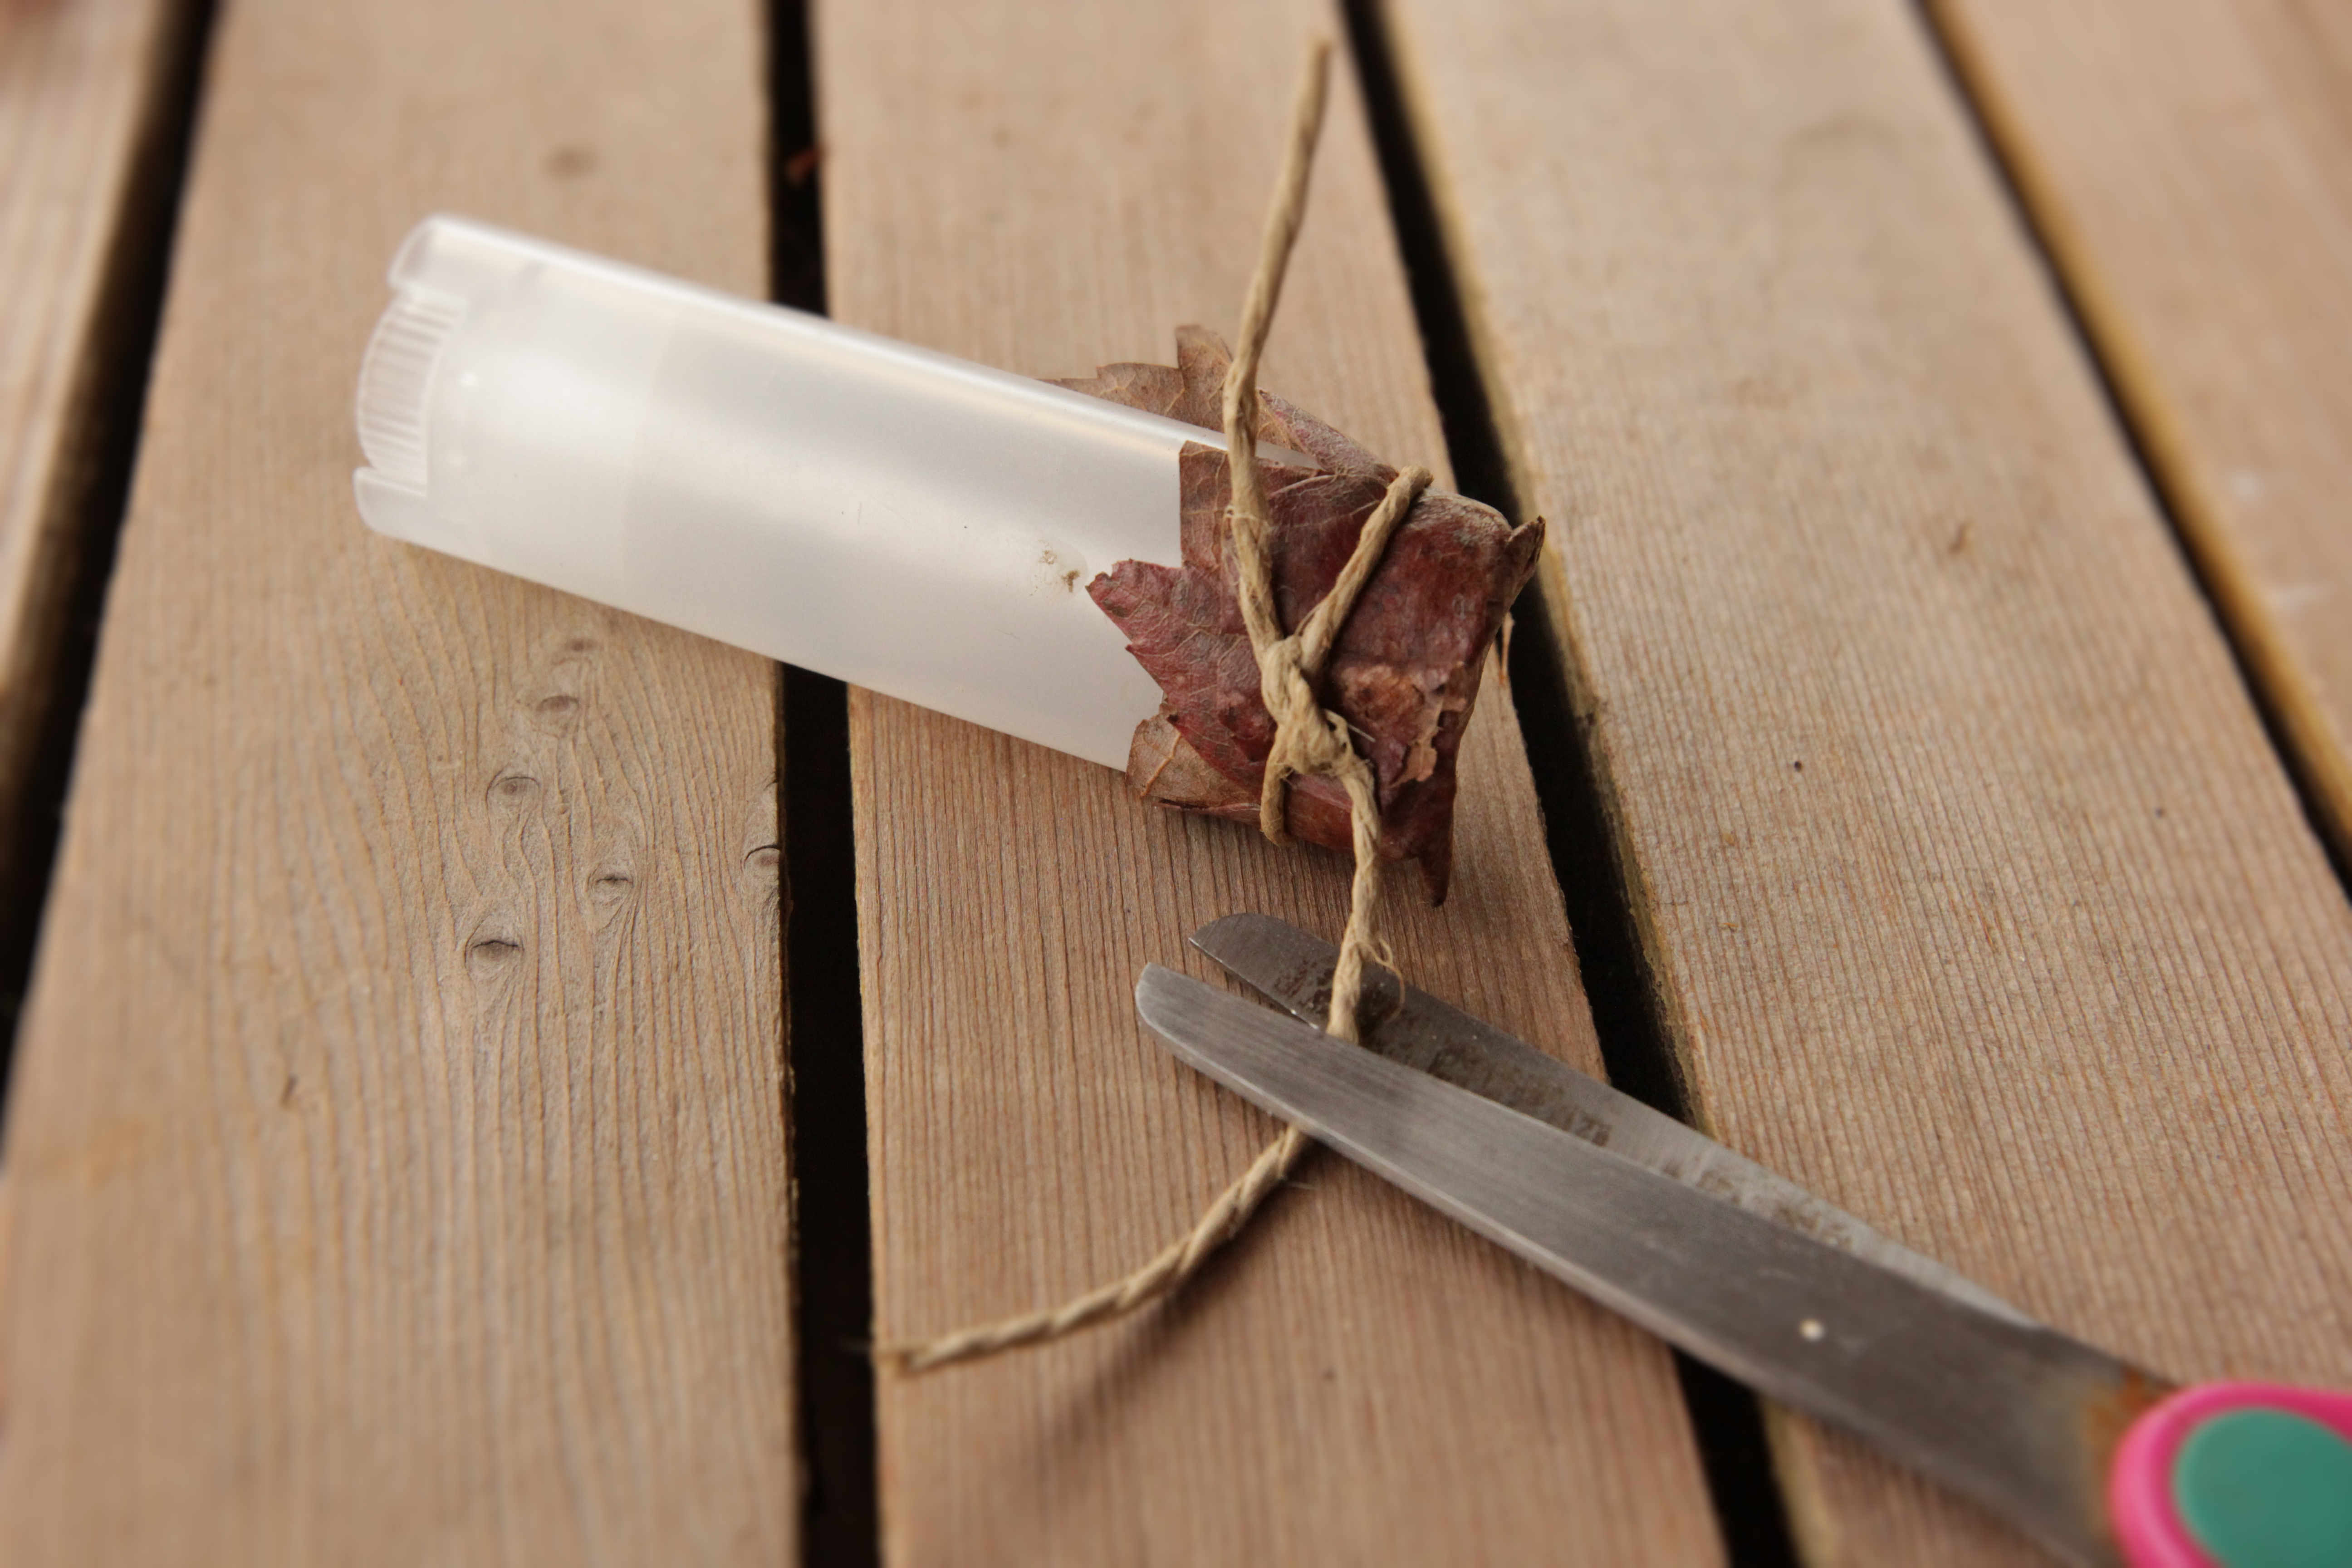
5) Once your basket is completely dry, use your scissors to trim the ends of the thread you used. You are done!

Fairy basket tutorial miniature from beneath the ferns #miniature #fairyhouse #fairygarden #beneaththeferns 8

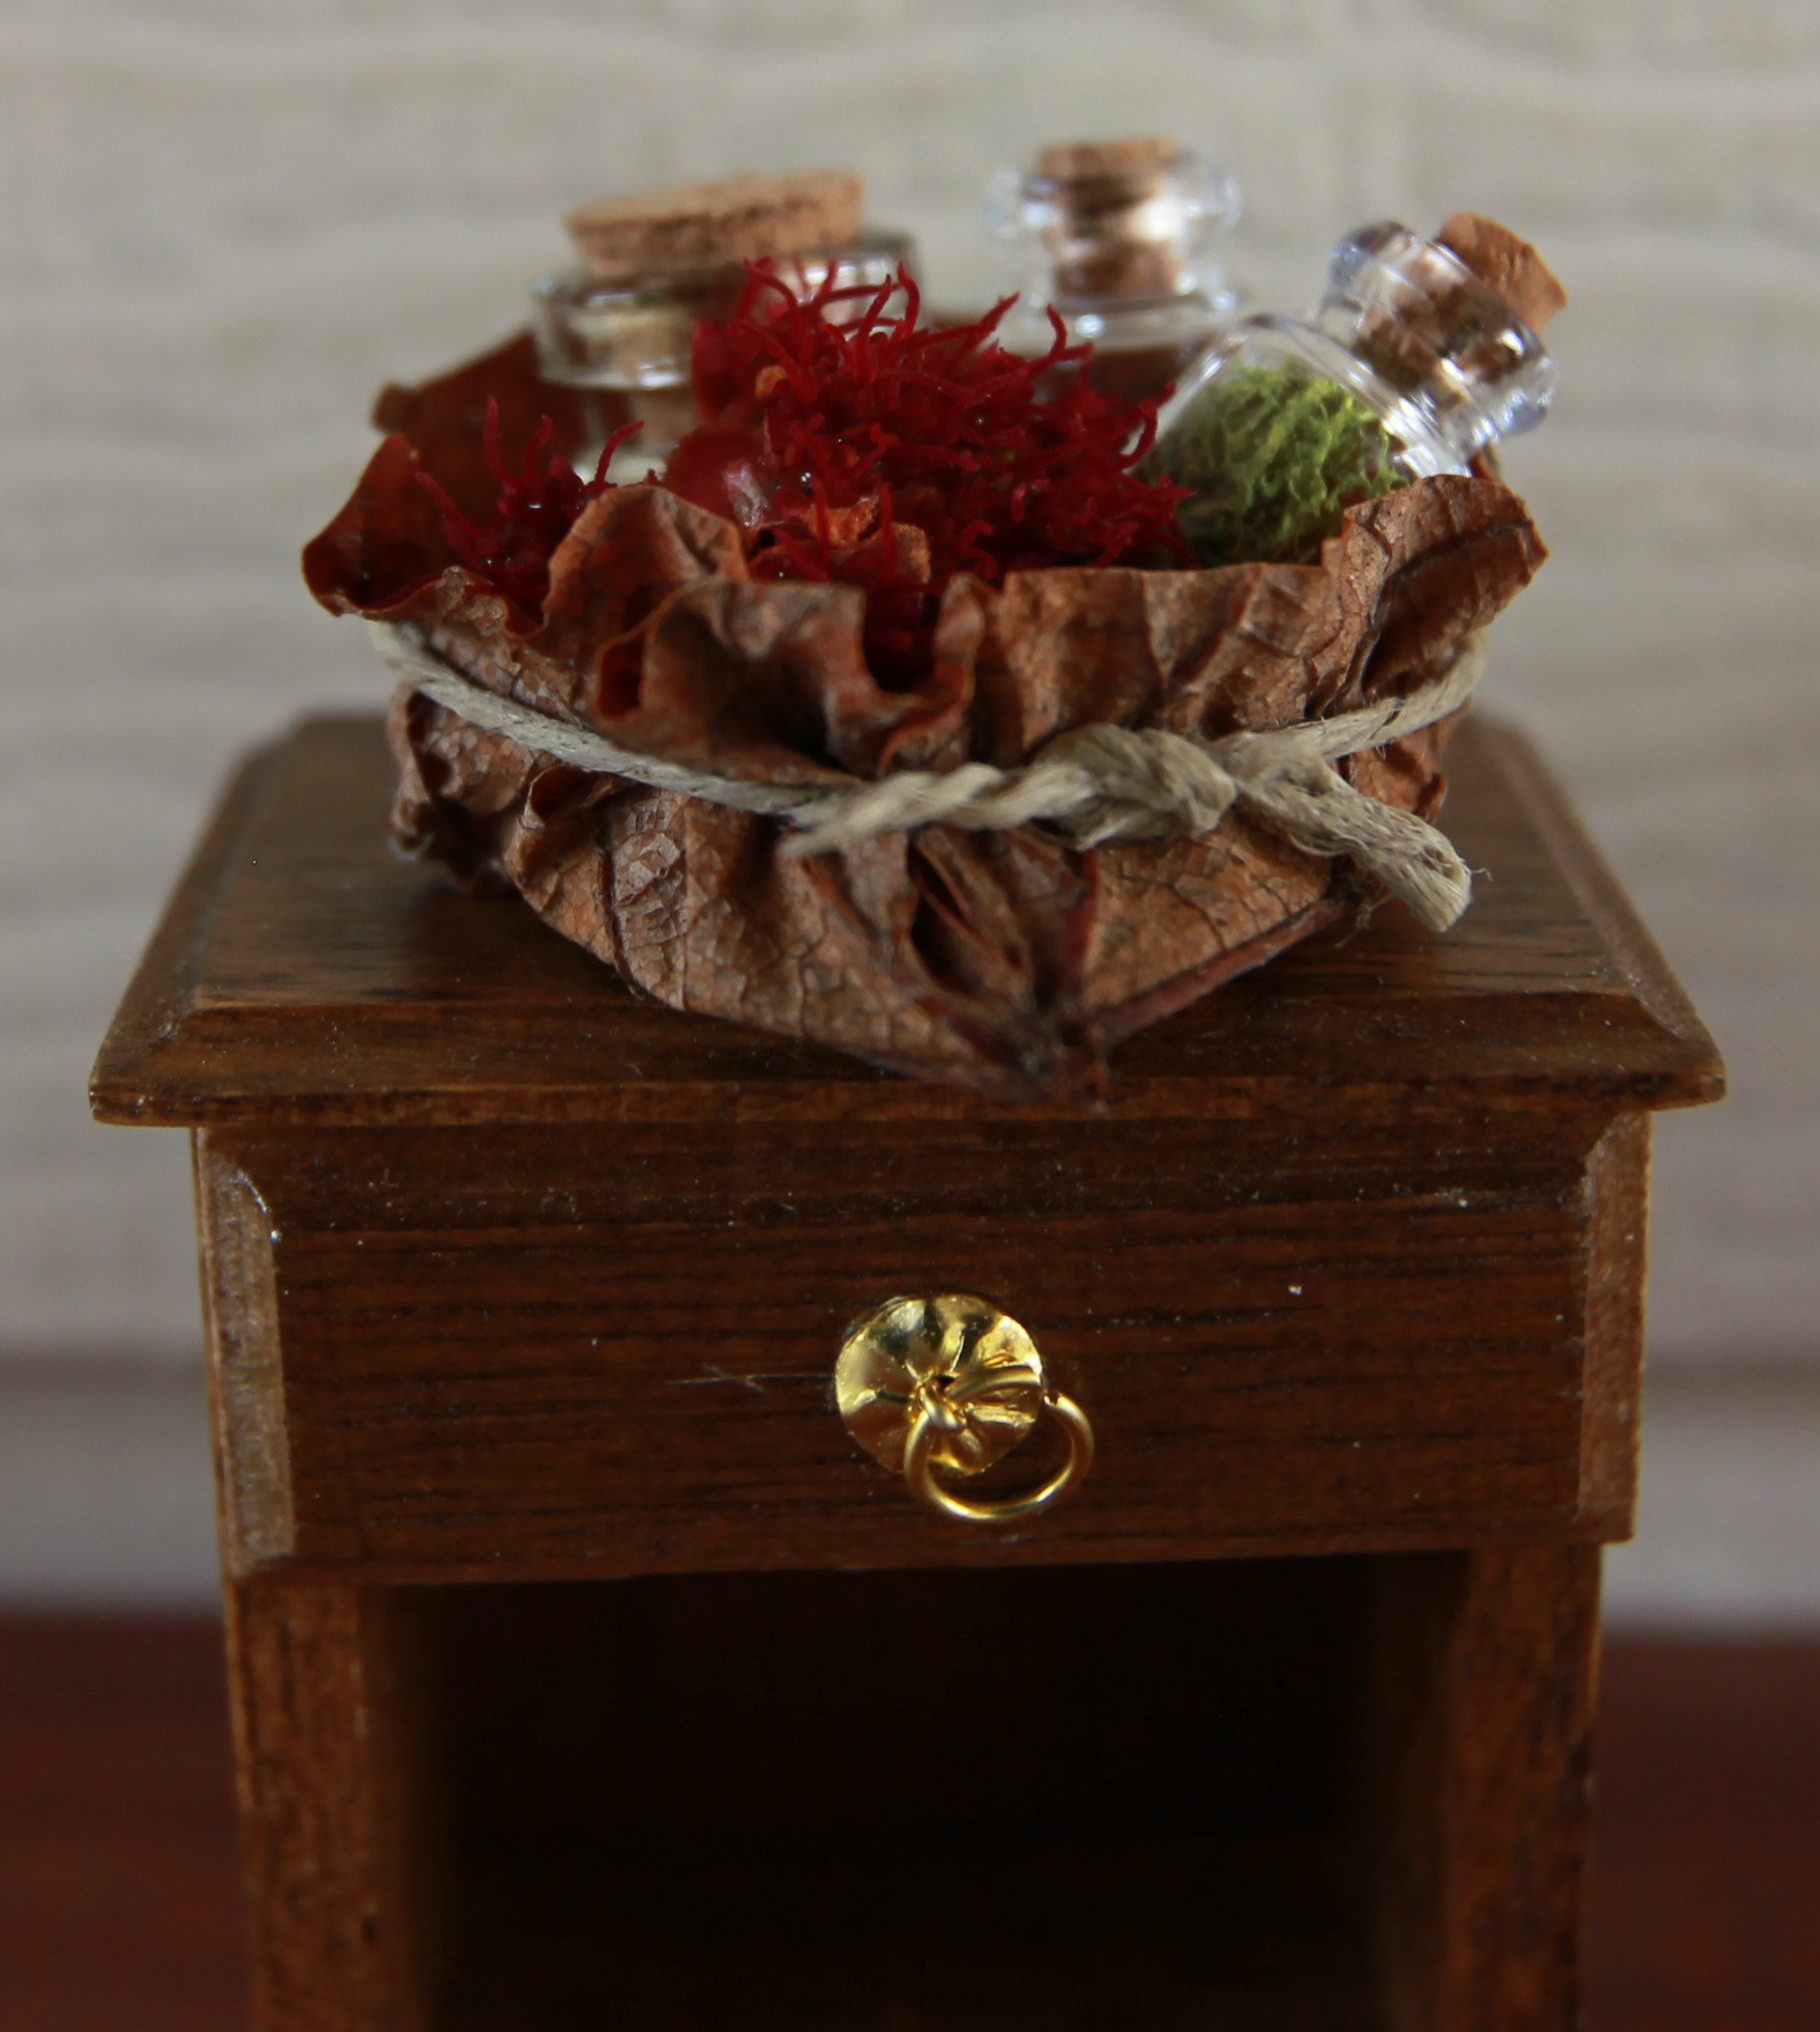
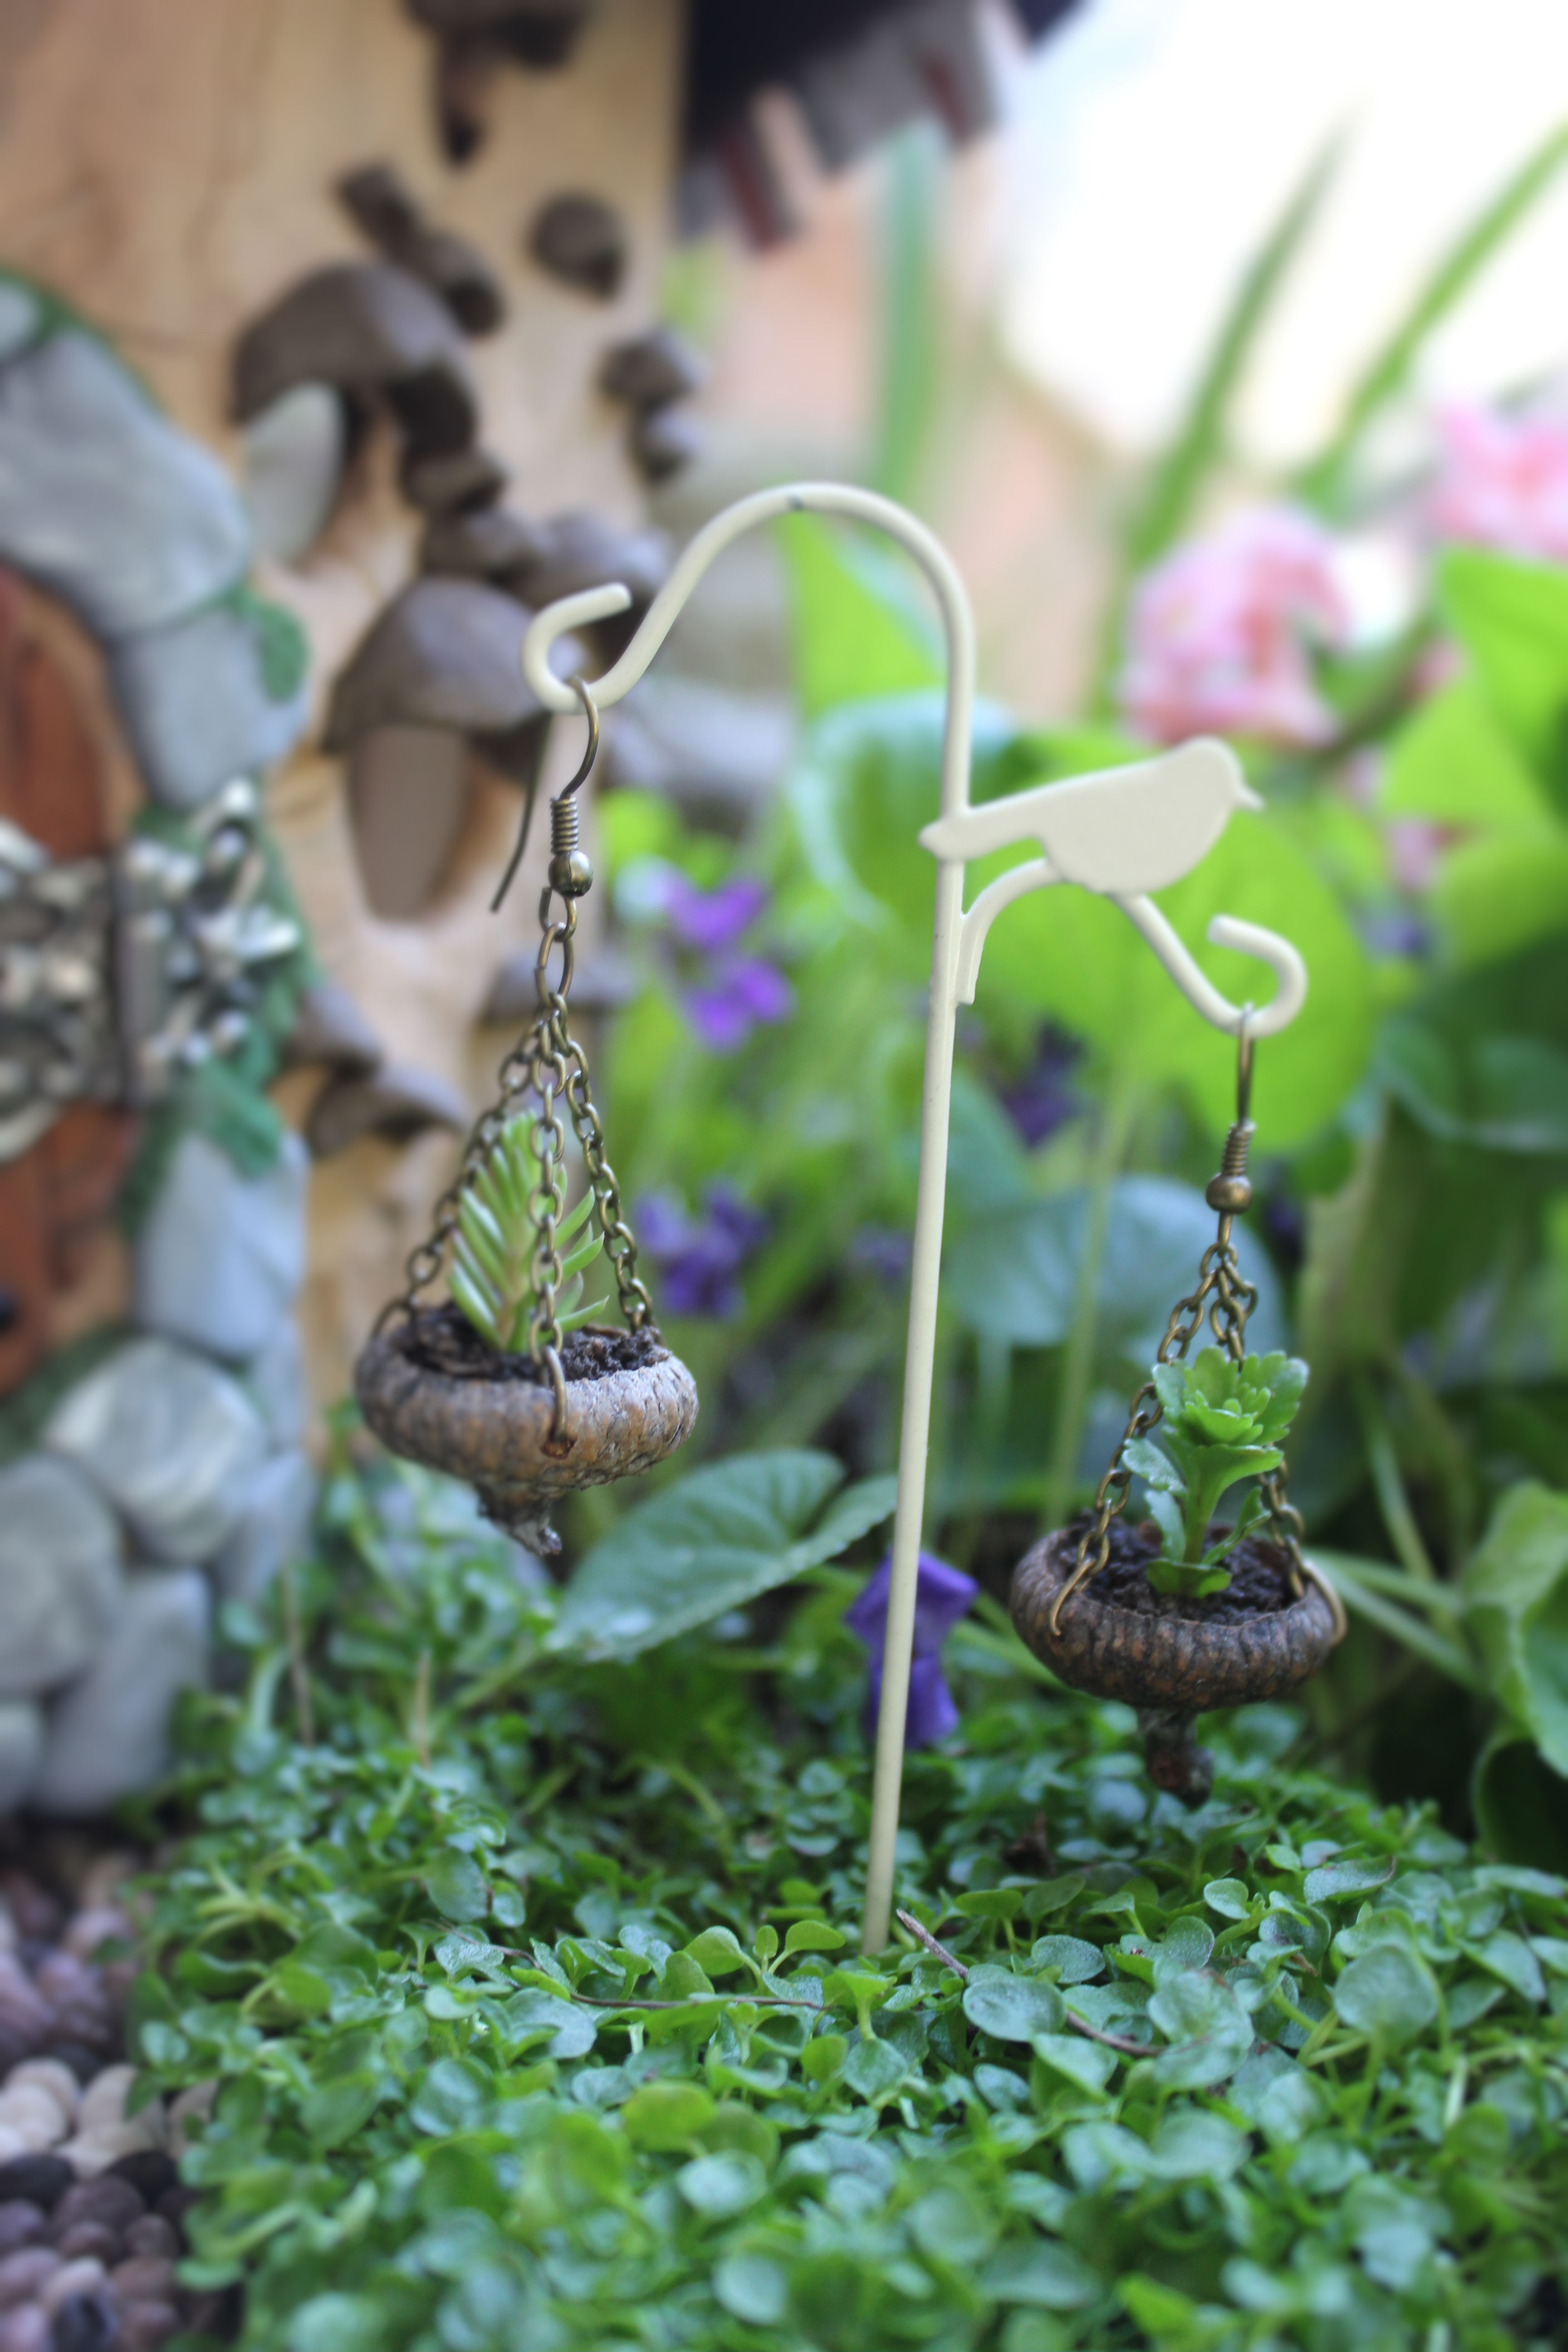
It’s so fun to see what each basket is going to look like! Remember to handle them very carefully…

Fairy basket tutorial miniature from beneath the ferns #miniature #fairyhouse #fairygarden #beneaththeferns 10

Now let the fairies start putting them to use in the pantry…

Fairy basket tutorial miniature from beneath the ferns #miniature #fairyhouse #fairygarden #beneaththeferns 11

Fairy basket tutorial miniature from beneath the ferns #miniature #fairyhouse #fairygarden #beneaththeferns 13

Fairy basket tutorial miniature from beneath the ferns #miniature #fairyhouse #fairygarden #beneaththeferns 12

Fairy basket tutorial miniature from beneath the ferns #miniature #fairyhouse #fairygarden #beneaththeferns 14

Fairy basket tutorial miniature from beneath the ferns #miniature #fairyhouse #fairygarden #beneaththeferns 15

Good luck and have fun! I’d love to see your pictures if you make this project! I’m sure everyone has unique leaves where they live that would make slightly different baskets 🙂

~ Jessi

(Don’t want to forget this? Just pin for later: ♥)
Fairy basket tutorial miniature from beneath the ferns #miniature #fairyhouse #fairygarden #beneaththeferns

Tutorial: How to make a miniature garden path

Last year I made a little “Hobbit House”, and wanted to have someplace outside where I could do some landscaping around it. I could just imagine the little people who might come and move in, and wanted to make it as nice as possible for them! One idea I always have wanted for my own garden is a pebble mosaic garden path. So rather than build one full sized, I decided my little fairy friends might like one too!

Tutorial Fairy house fairy garden miniatures at beneaththeferns.w... #Fairyhouse #fairygarden #miniature #beneaththeferns

Materials:
1. Polymer Clay in different shades, white, tan, brown, stone (This comes in different colors, but has little speckles to make it look like real rock): about $10.00
2. Sheet of thin board from craft store: $2.79
3. Brown acrylic craft paint: $1.79
4. White craft glue (Elmer’s style): $1.99
5. Patience: priceless
Total for project: $16.57

1) Start with different colors of polymer clay. I like to use some of the rock-effect clay to give each block a different look. Warm clay is stickier to work with, so may need to be thrown in the freezer for a few minutes to cool off.

Fairy garden path mosaic fairy house fairy garden beneath the ferns #beneaththeferns #fairygarden 3

2) Start rolling each color into the small “stones” that you will end up using. Remember, just like real rocks, each stone is going to be a different size and shape.

Fairy garden path mosaic fairy house fairy garden beneath the ferns #beneaththeferns #fairygarden 1

Fairy garden path mosaic fairy house fairy garden beneath the ferns #beneaththeferns #fairygarden 2

3) After you roll them out, flatten each piece, then cut them in half with a sharp blade. Putting them in the freezer for a few minutes helps them to stiffen up if they are too warm and pliable, which I really found happened at this point. Once they are cut in half, bake them according to the instructions on the package.

Fairy garden path mosaic fairy house fairy garden beneath the ferns #beneaththeferns #fairygarden 4

4) Cut the base piece to the size and shape you want. If you don’t have a saw, get a thin enough piece of wood, which can actually be cut with scissors. Then glue the pieces together, and you are ready to go. I wanted mine to be sturdy, so I glued additional braces on the bottom where the glued seams were.

Fairy garden path mosaic fairy house fairy garden beneath the ferns #beneaththeferns #fairygarden 5     Fairy garden path mosaic fairy house fairy garden beneath the ferns #beneaththeferns #fairygarden 6

5) Paint your board. I chose brown because that would be the color of the sand and dirt below the “rocks” if this were a real path. Then draw your design on with a pencil, or white colored pencil.

Fairy garden path mosaic fairy house fairy garden beneath the ferns #beneaththeferns #fairygarden 7

6) Let the fun begin! Glue each “stone” on one at a time according to your design. I recommend sitting down with a good movie and getting comfortable. You’re going to be here for a while. (Might I also add that I have a two year old daughter who was out of town when I made this project….no way could I have ever finished it with her tiny hands “helping” me! ♥)

Fairy garden path mosaic fairy house fairy garden beneath the ferns #beneaththeferns #fairygarden 9

Fairy garden path mosaic fairy house fairy garden beneath the ferns #beneaththeferns #fairygarden 9

I love seeing the fingerprints on each “stone” below. It shows that a human made each and every one of them!

Fairy garden path mosaic fairy house fairy garden beneath the ferns #beneaththeferns #fairygarden 11

Fairy garden path mosaic fairy house fairy garden beneath the ferns #beneaththeferns #fairygarden 10  

Getting close to being done, and neat to see the design taking form! (I’m on my third movie by now…)

Fairy garden path mosaic fairy house fairy garden beneath the ferns #beneaththeferns #fairygarden 12

Fairy garden path mosaic fairy house fairy garden beneath the ferns #beneaththeferns #fairygarden 13

Now it’s time to do some landscaping around the path to see if it will fit or not…

Fairy house fairy garden miniatures at beneaththeferns.w... #Fairyhouse #fairygarden #miniature #beneaththeferns 8

Fairy house fairy garden miniatures at beneaththeferns.w... #Fairyhouse #fairygarden #miniature #beneaththeferns

I landscaped with some succulents and violets that were already well established, then added some Corsican mint. I made a sitting area where mom, dad, and little one could sit and take a break after working hard in the garden 🙂

Fairy garden lawn chairs Fairy house miniatures at beneaththeferns.w... #Fairyhouse #fairygarden #miniature #beneaththeferns

Tools nicely stored…
Fairy house fairy garden miniatures at beneaththeferns.w... #Fairyhouse #fairygarden #miniature #beneaththeferns 7

Fairy house fairy garden miniatures at beneaththeferns.w... #Fairyhouse #fairygarden #miniature #beneaththeferns 3s

Fairy garden path mosaic fairy house fairy garden beneath the ferns #beneaththeferns #fairygarden 2

Fairy garden path mosaic fairy house fairy garden beneath the ferns #beneaththeferns #fairygarden 1

A little sun dial to tell when lunch is.
Fairy house fairy garden miniatures at beneaththeferns.w... #Fairyhouse #fairygarden #miniature #beneaththeferns 3

A basket of seeds to plant.
Fairy house fairy garden miniatures at beneaththeferns.w... #Fairyhouse #fairygarden #miniature #beneaththeferns 9

I made hanging baskets from acorn caps and planted little succulents inside.
Fairy house fairy garden miniatures at beneaththeferns.w... #Fairyhouse #fairygarden #miniature #beneaththeferns 4

The front door of their cozy home.
Hobbit house door Fairy house fairy garden miniatures at beneaththeferns.w... #Fairyhouse #fairygarden #miniature #beneaththeferns

Fairy house fairy garden miniatures at beneaththeferns.w... #Fairyhouse #fairygarden #miniature #beneaththeferns 10

Fairy house fairy garden miniatures at beneaththeferns.w... #Fairyhouse #fairygarden #miniature #beneaththeferns 6

I didn’t know if this process would work or not, but I’m glad I took the chance! Now I’ll have to brainstorm my next design…

~ Jessi

(Don’t want to forget this? Just pin for later: ♥)
Tutorial Fairy house fairy garden miniatures at beneaththeferns.w... #Fairyhouse #fairygarden #miniature #beneaththeferns