Fairies working in the garden every day must get pretty tired! These miniature chairs will give them a place to rest and relax…
I wanted a set of dining room chairs that would have a whimsical and woodland feel to them. This project was easy enough to make with things sitting around the house, with only a little extra that I needed to purchase 🙂
Work in progress, I’ll be adding pictures to this project as I create it!:

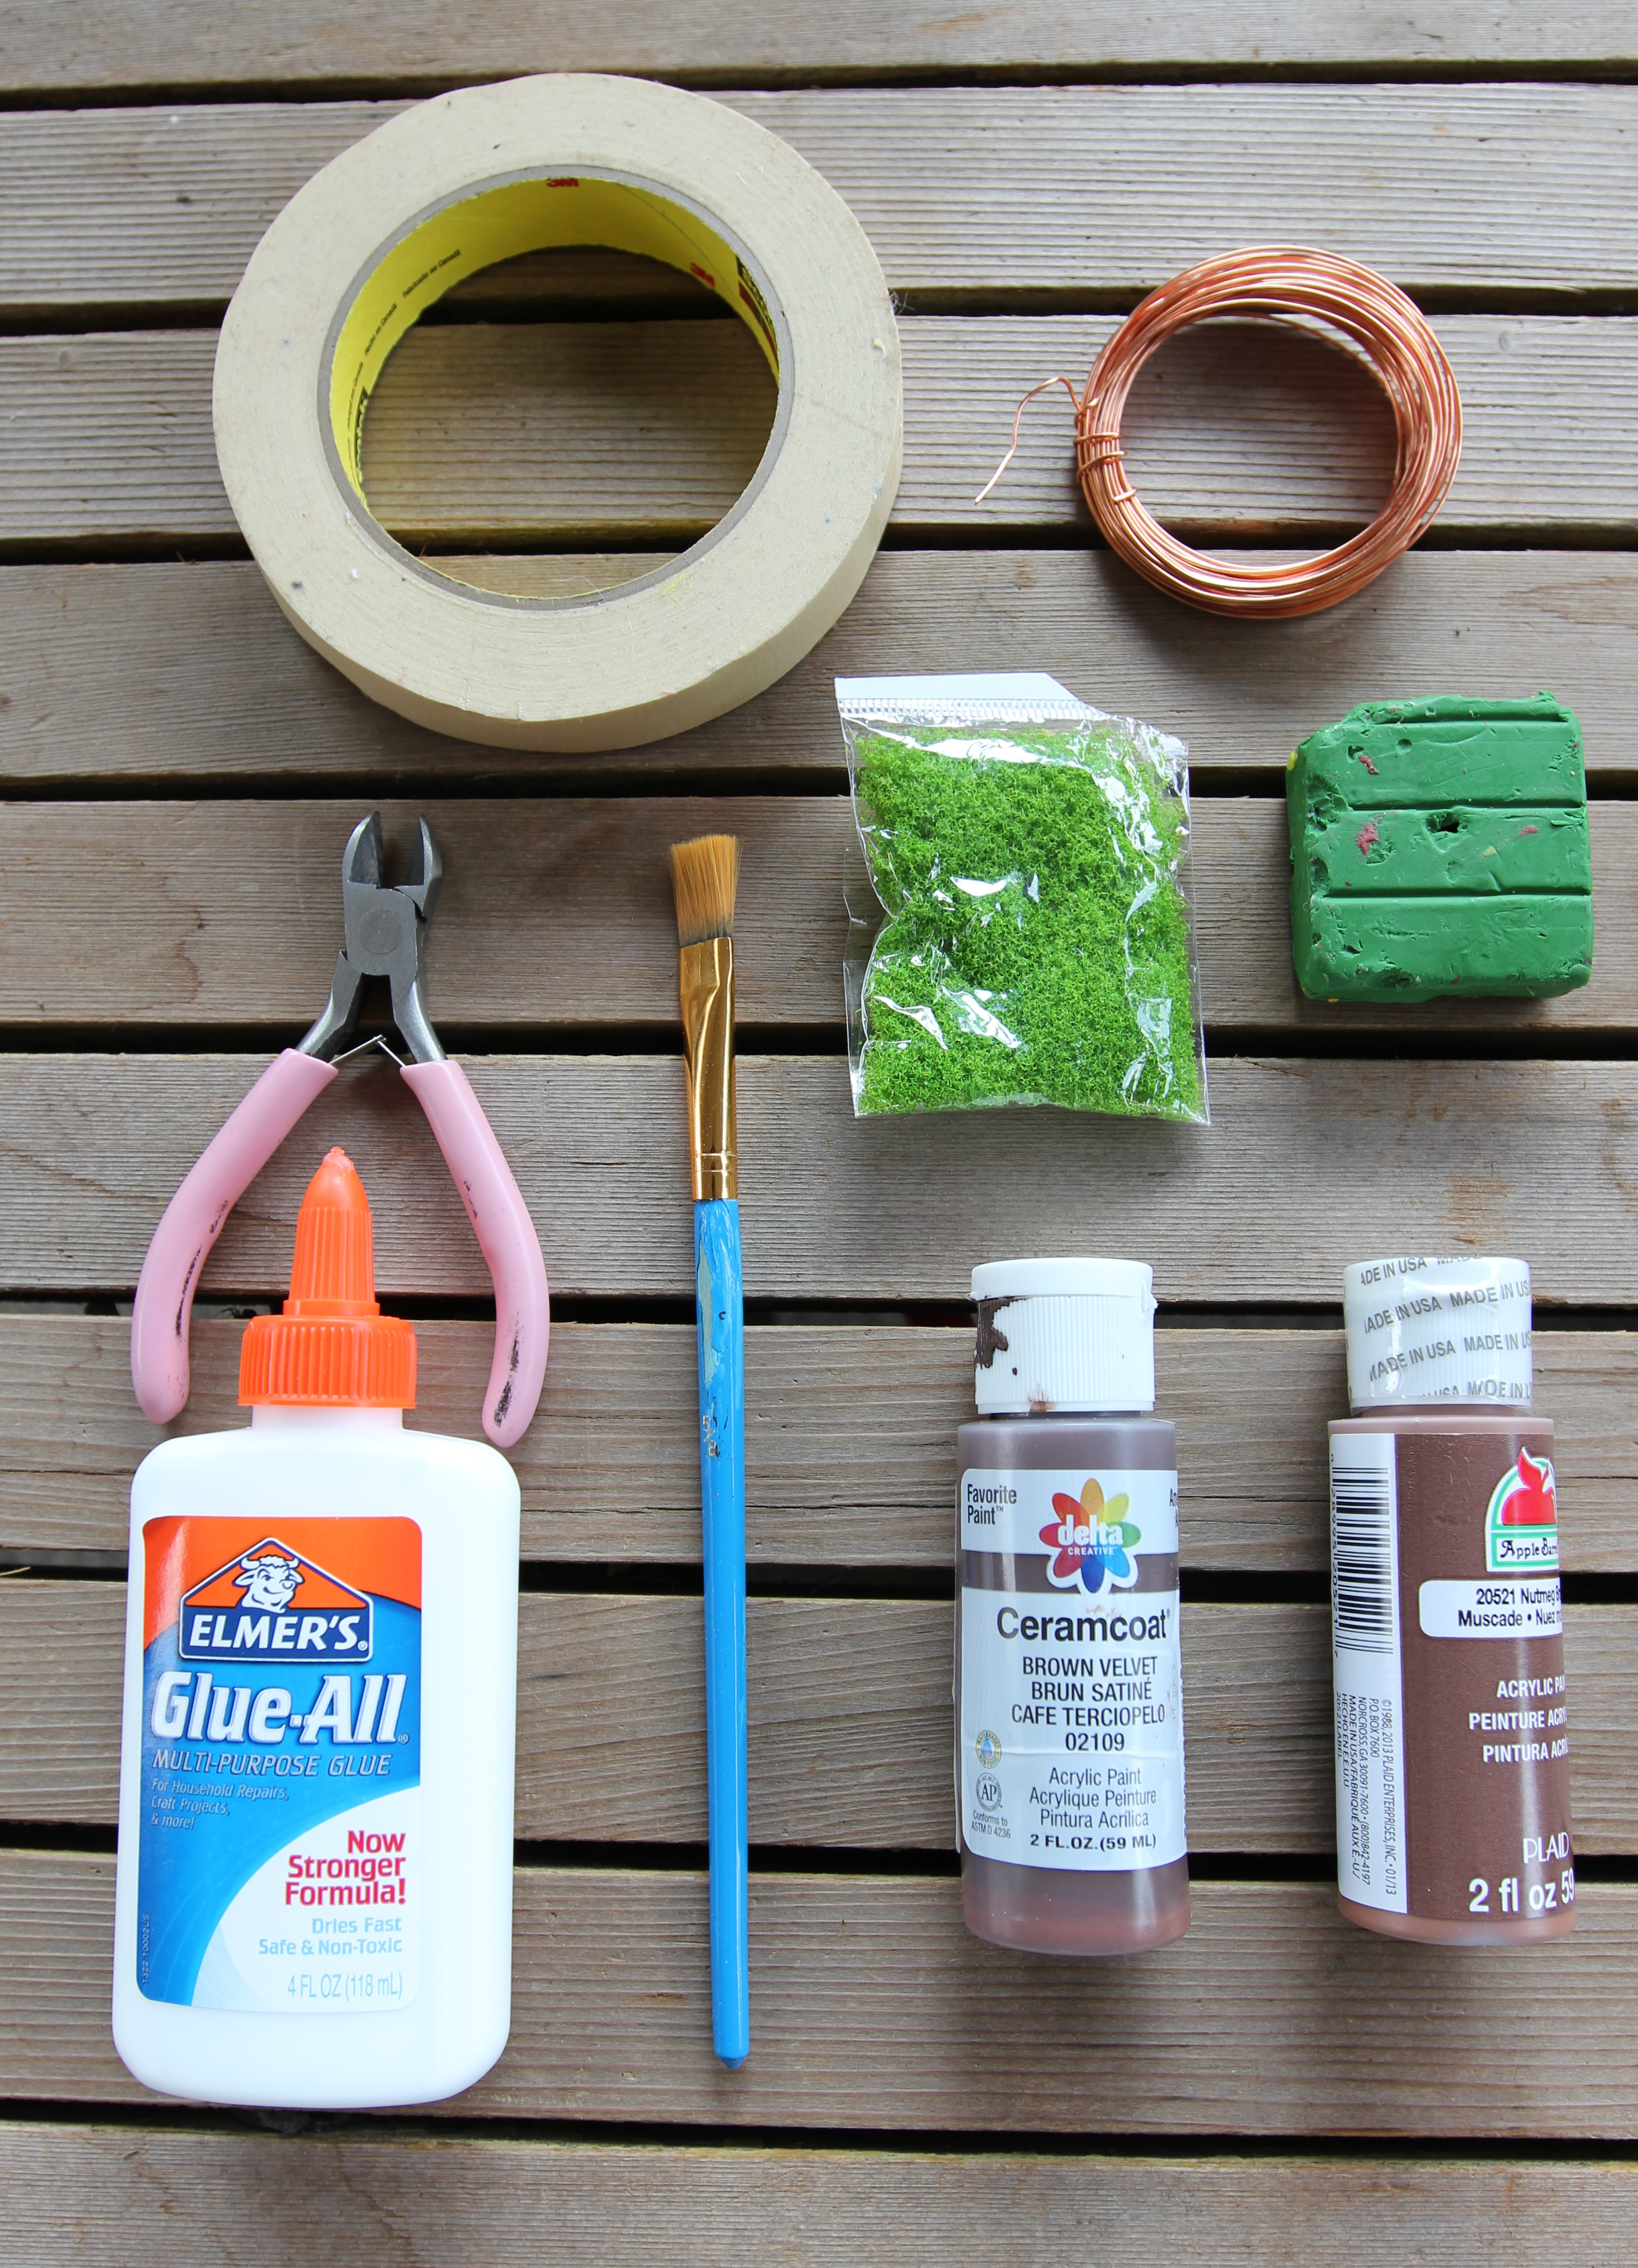
Materials:
1) Medium sized craft wire
2) Masking tape
3) Paint (dark and light brown) and paintbrush
4) Cardboard
5) Green polymer clay
6) Wire cutters
7) Elmer’s glue
8) Marker (permanent)
9) Green flocking or moss
Not in the photo above:
10) Permanent marker
11) Sheet of plastic or Saran wrap
12) “Ghost leaf” See description below for instructions on how to make them)
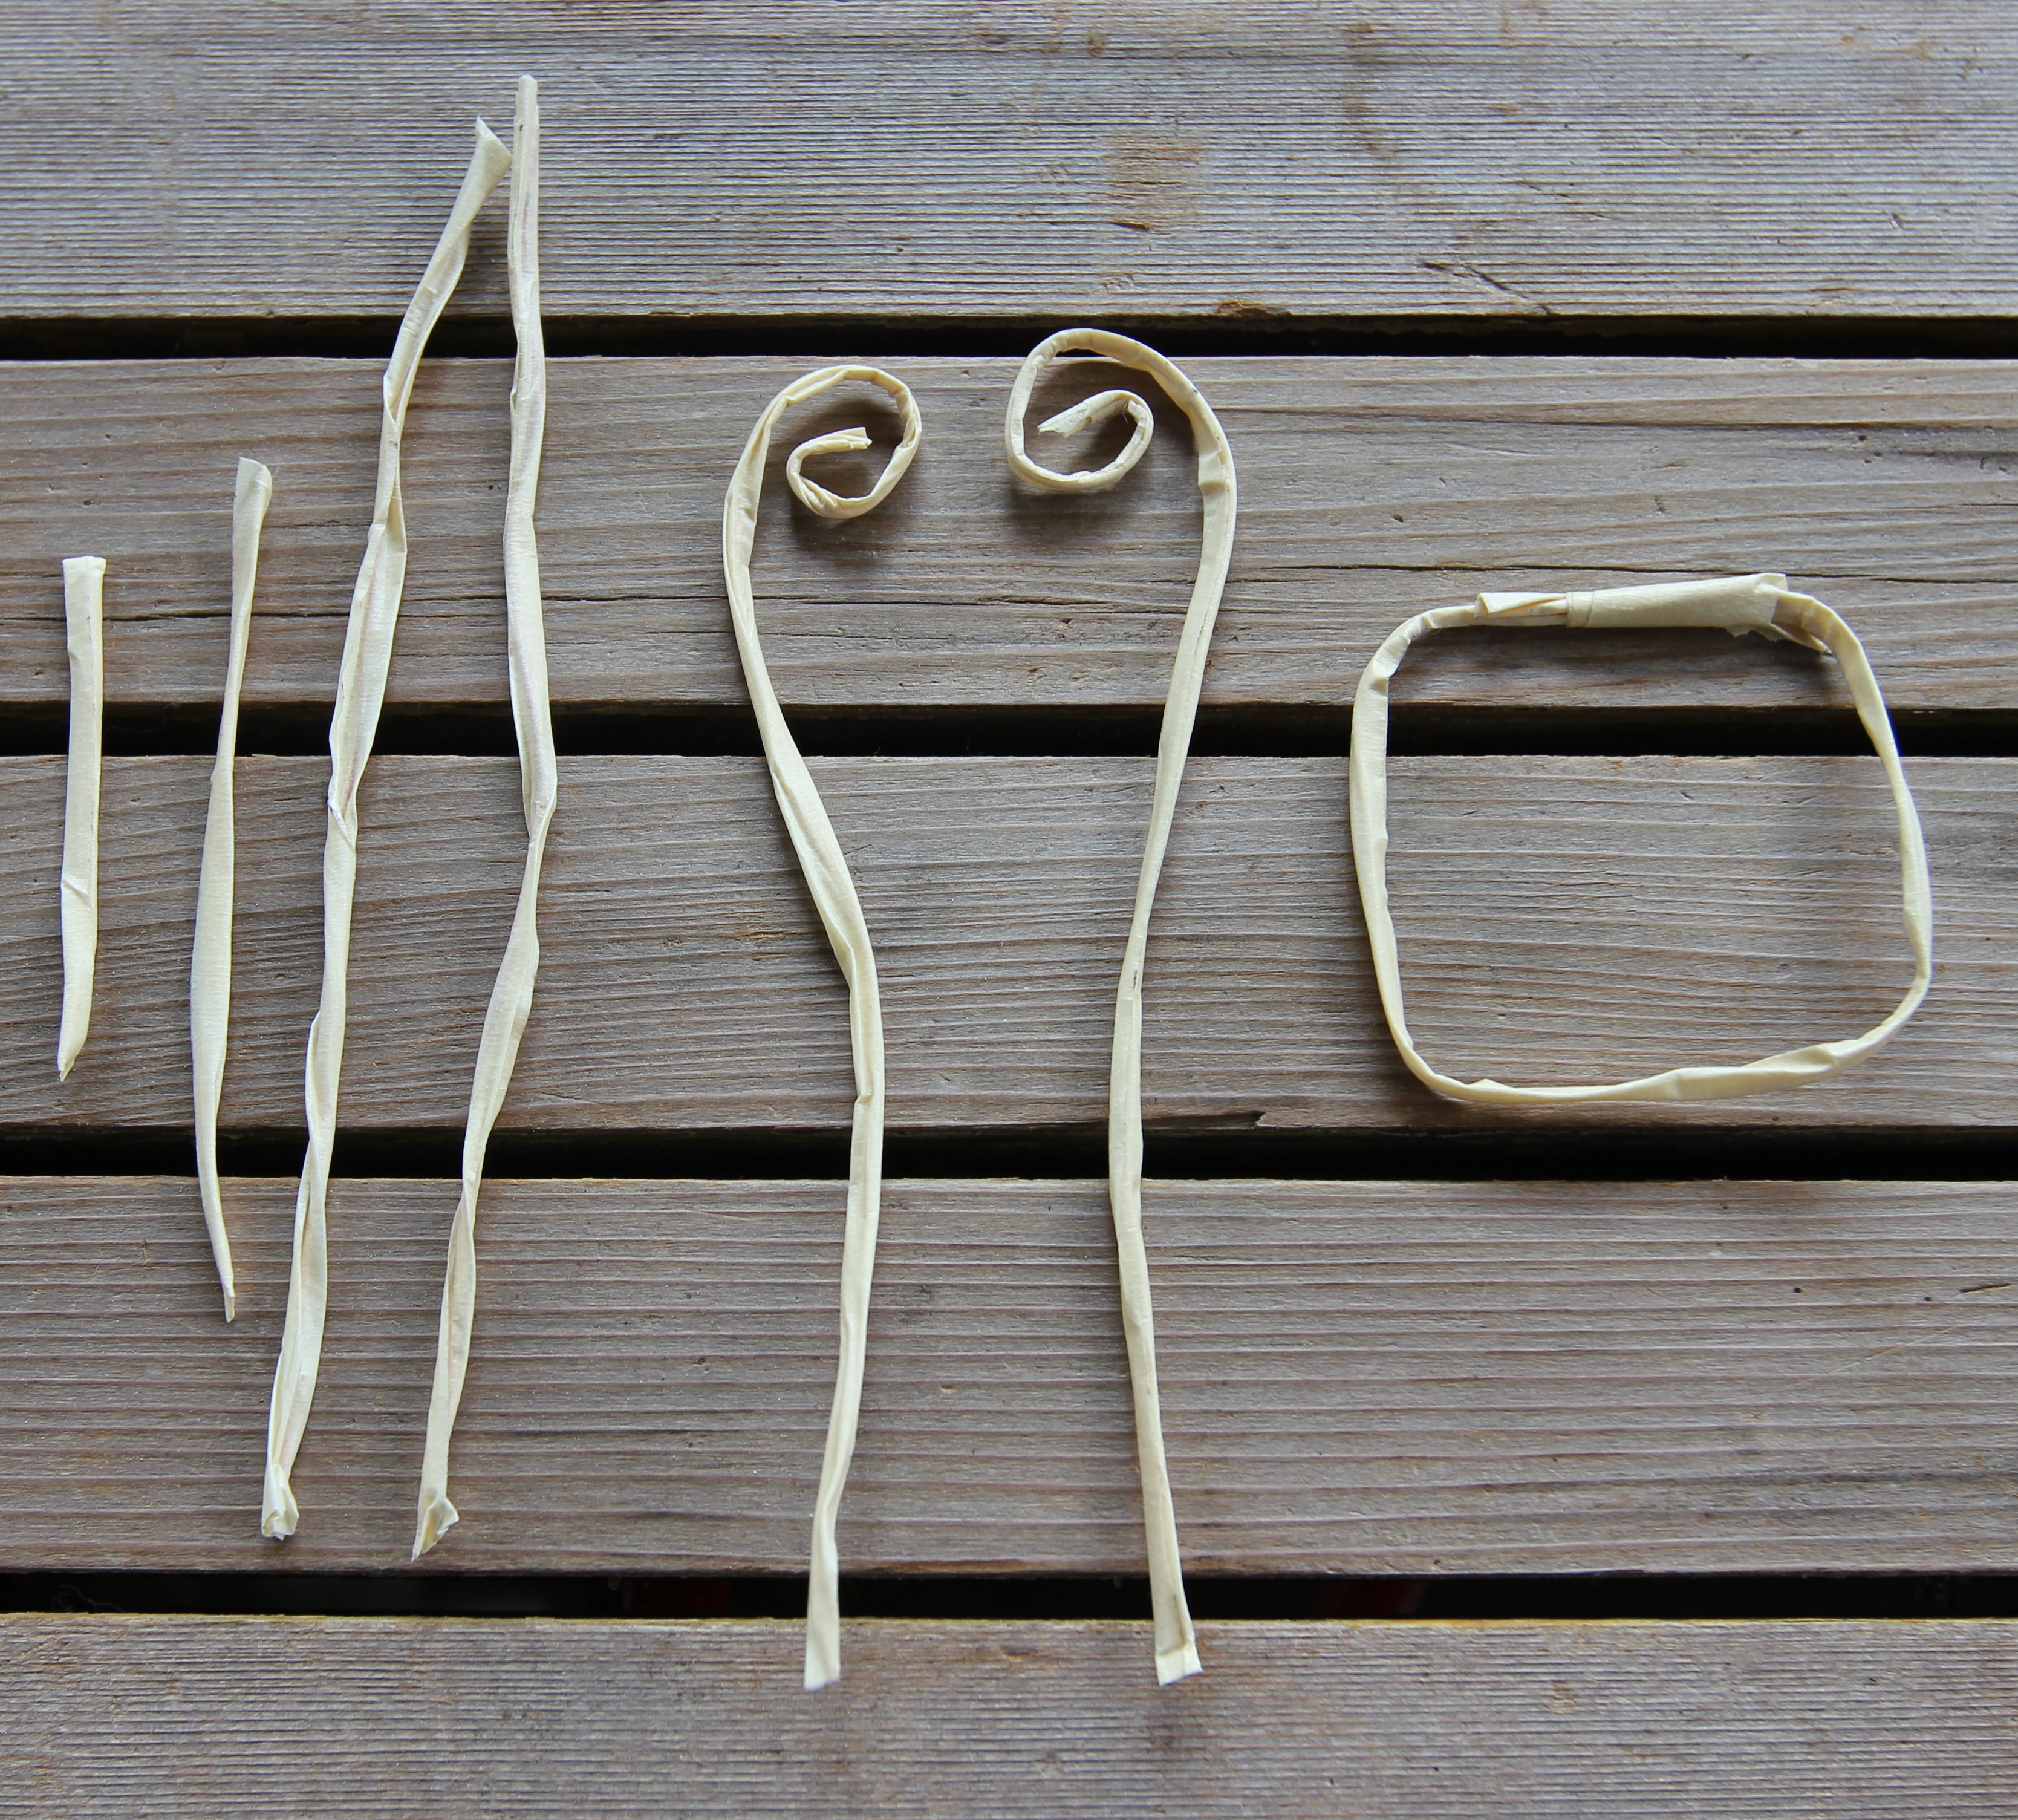
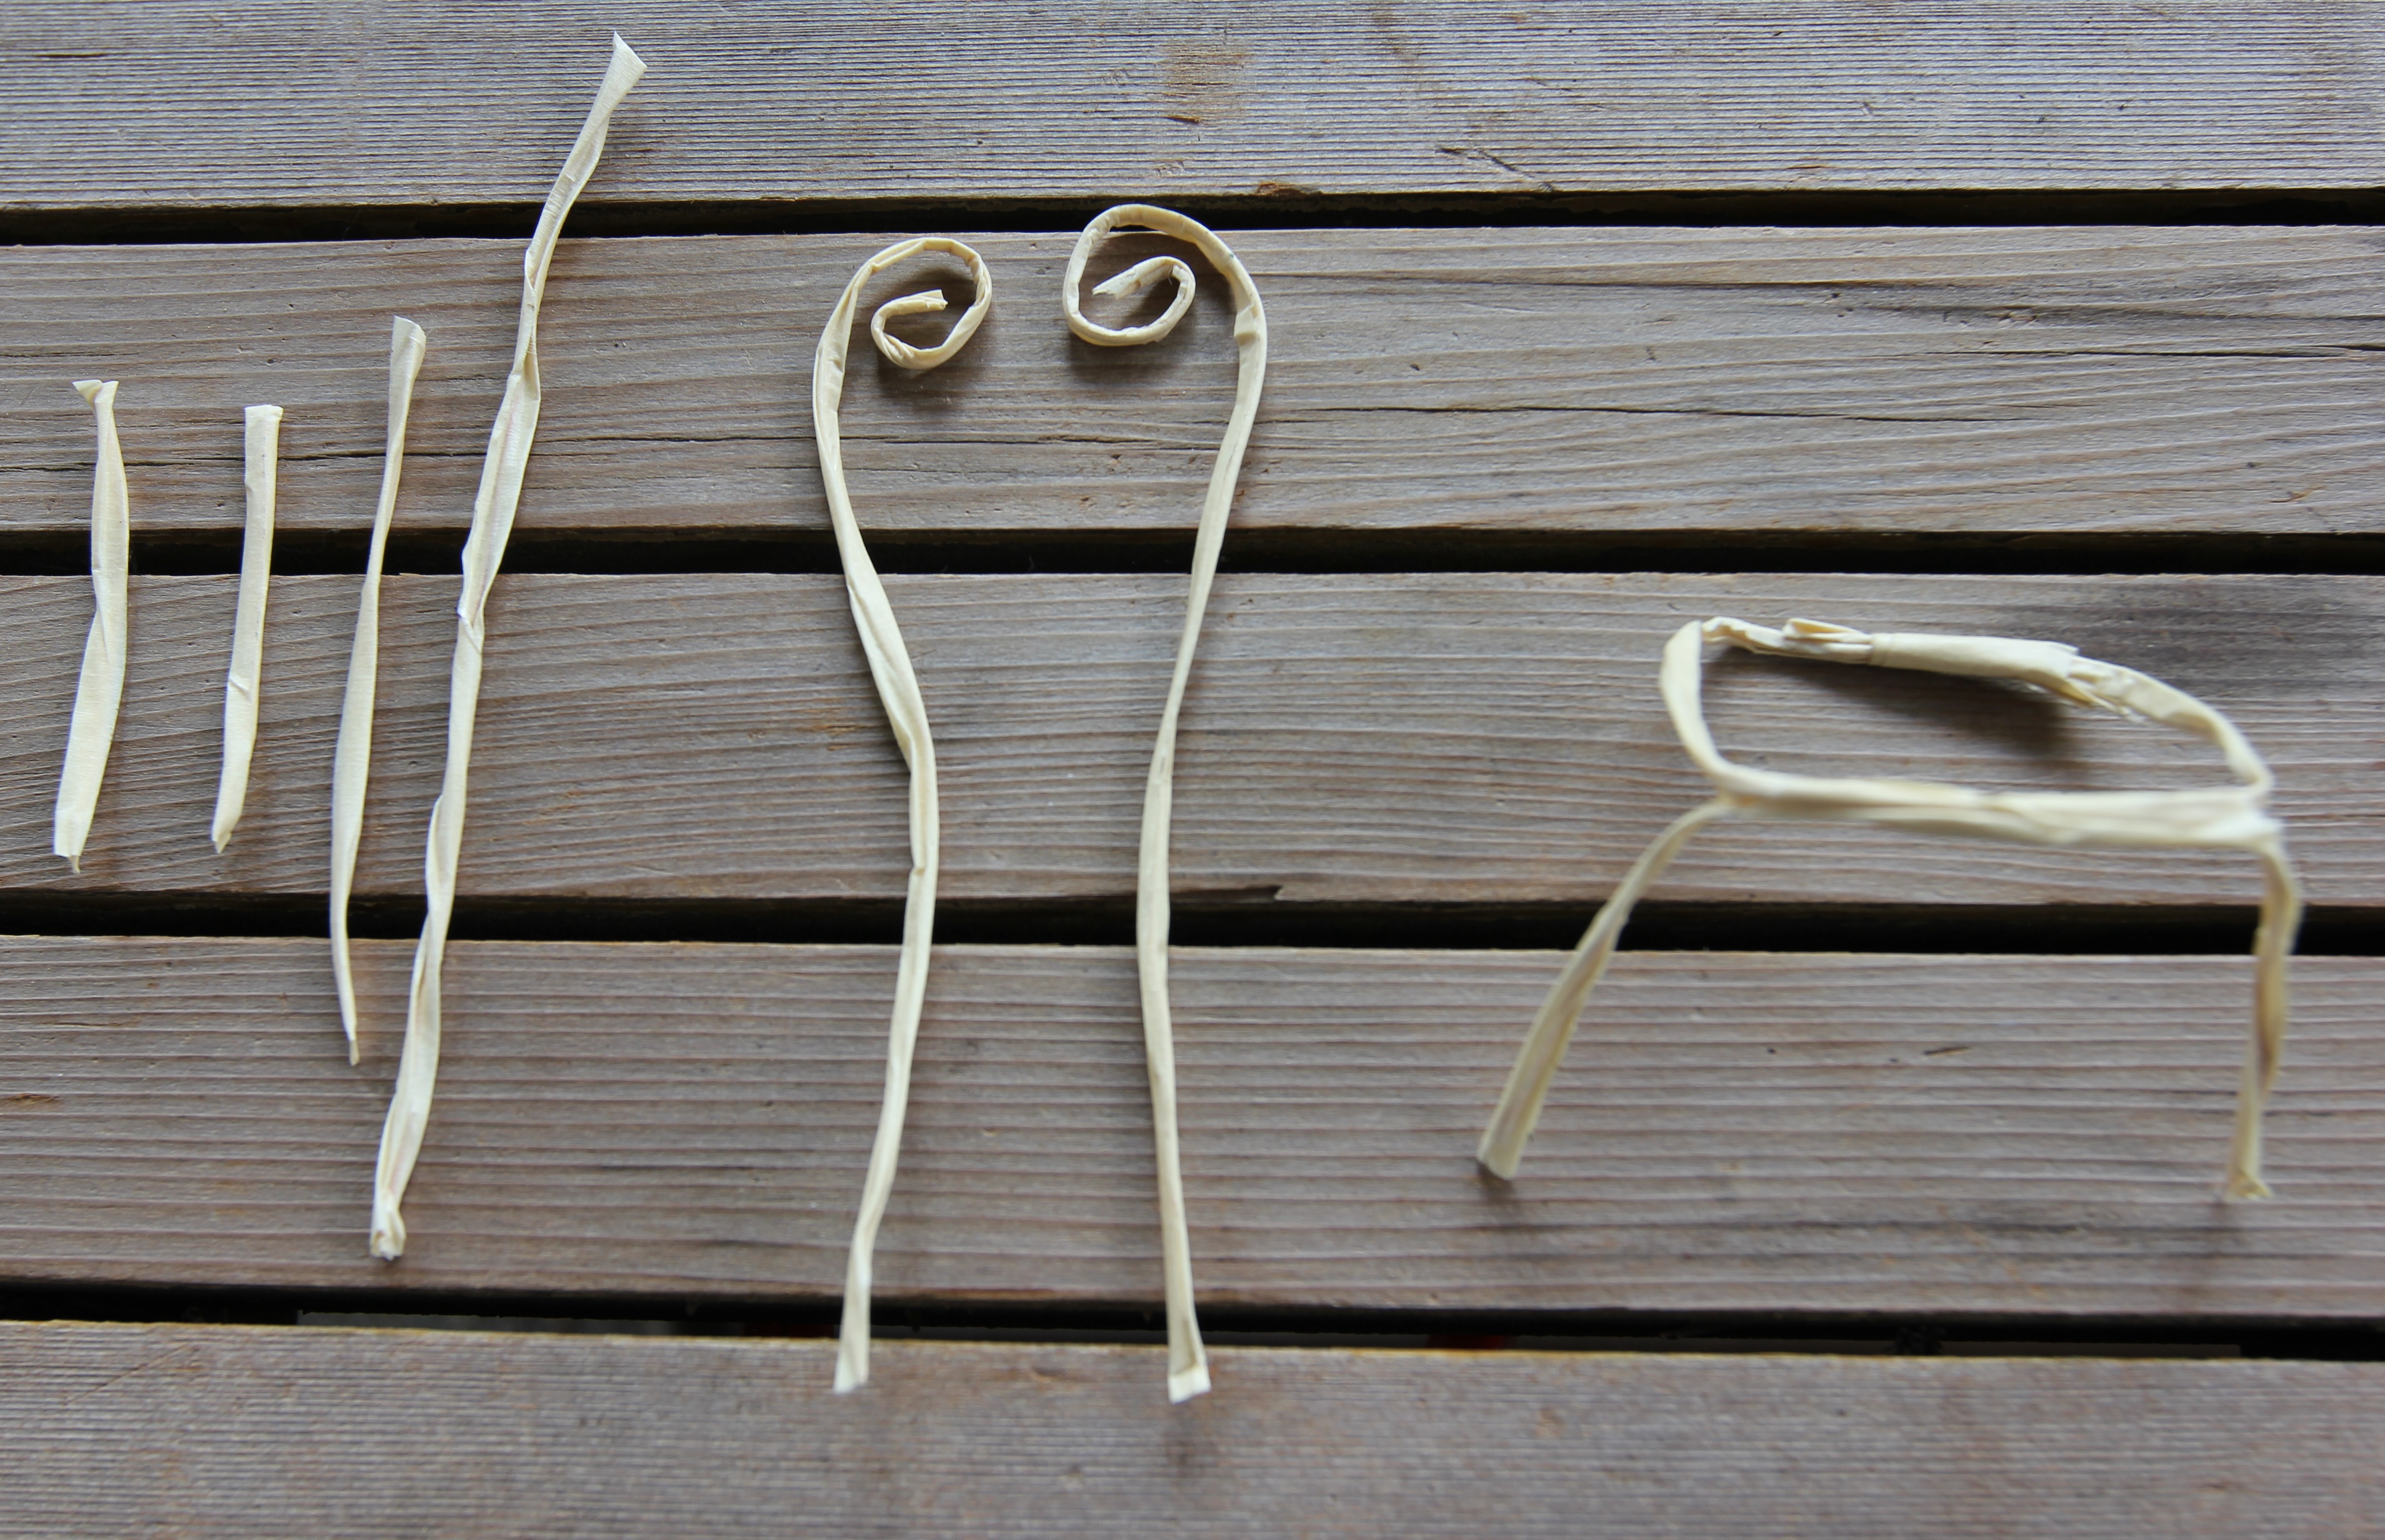
1) Cut the following lengths of wire (They don’t have to be perfect, because every fairy chair will be unique):
1 x 9″
2 x 8″
2 x 6″
1 x 3.5″
2 x 2″

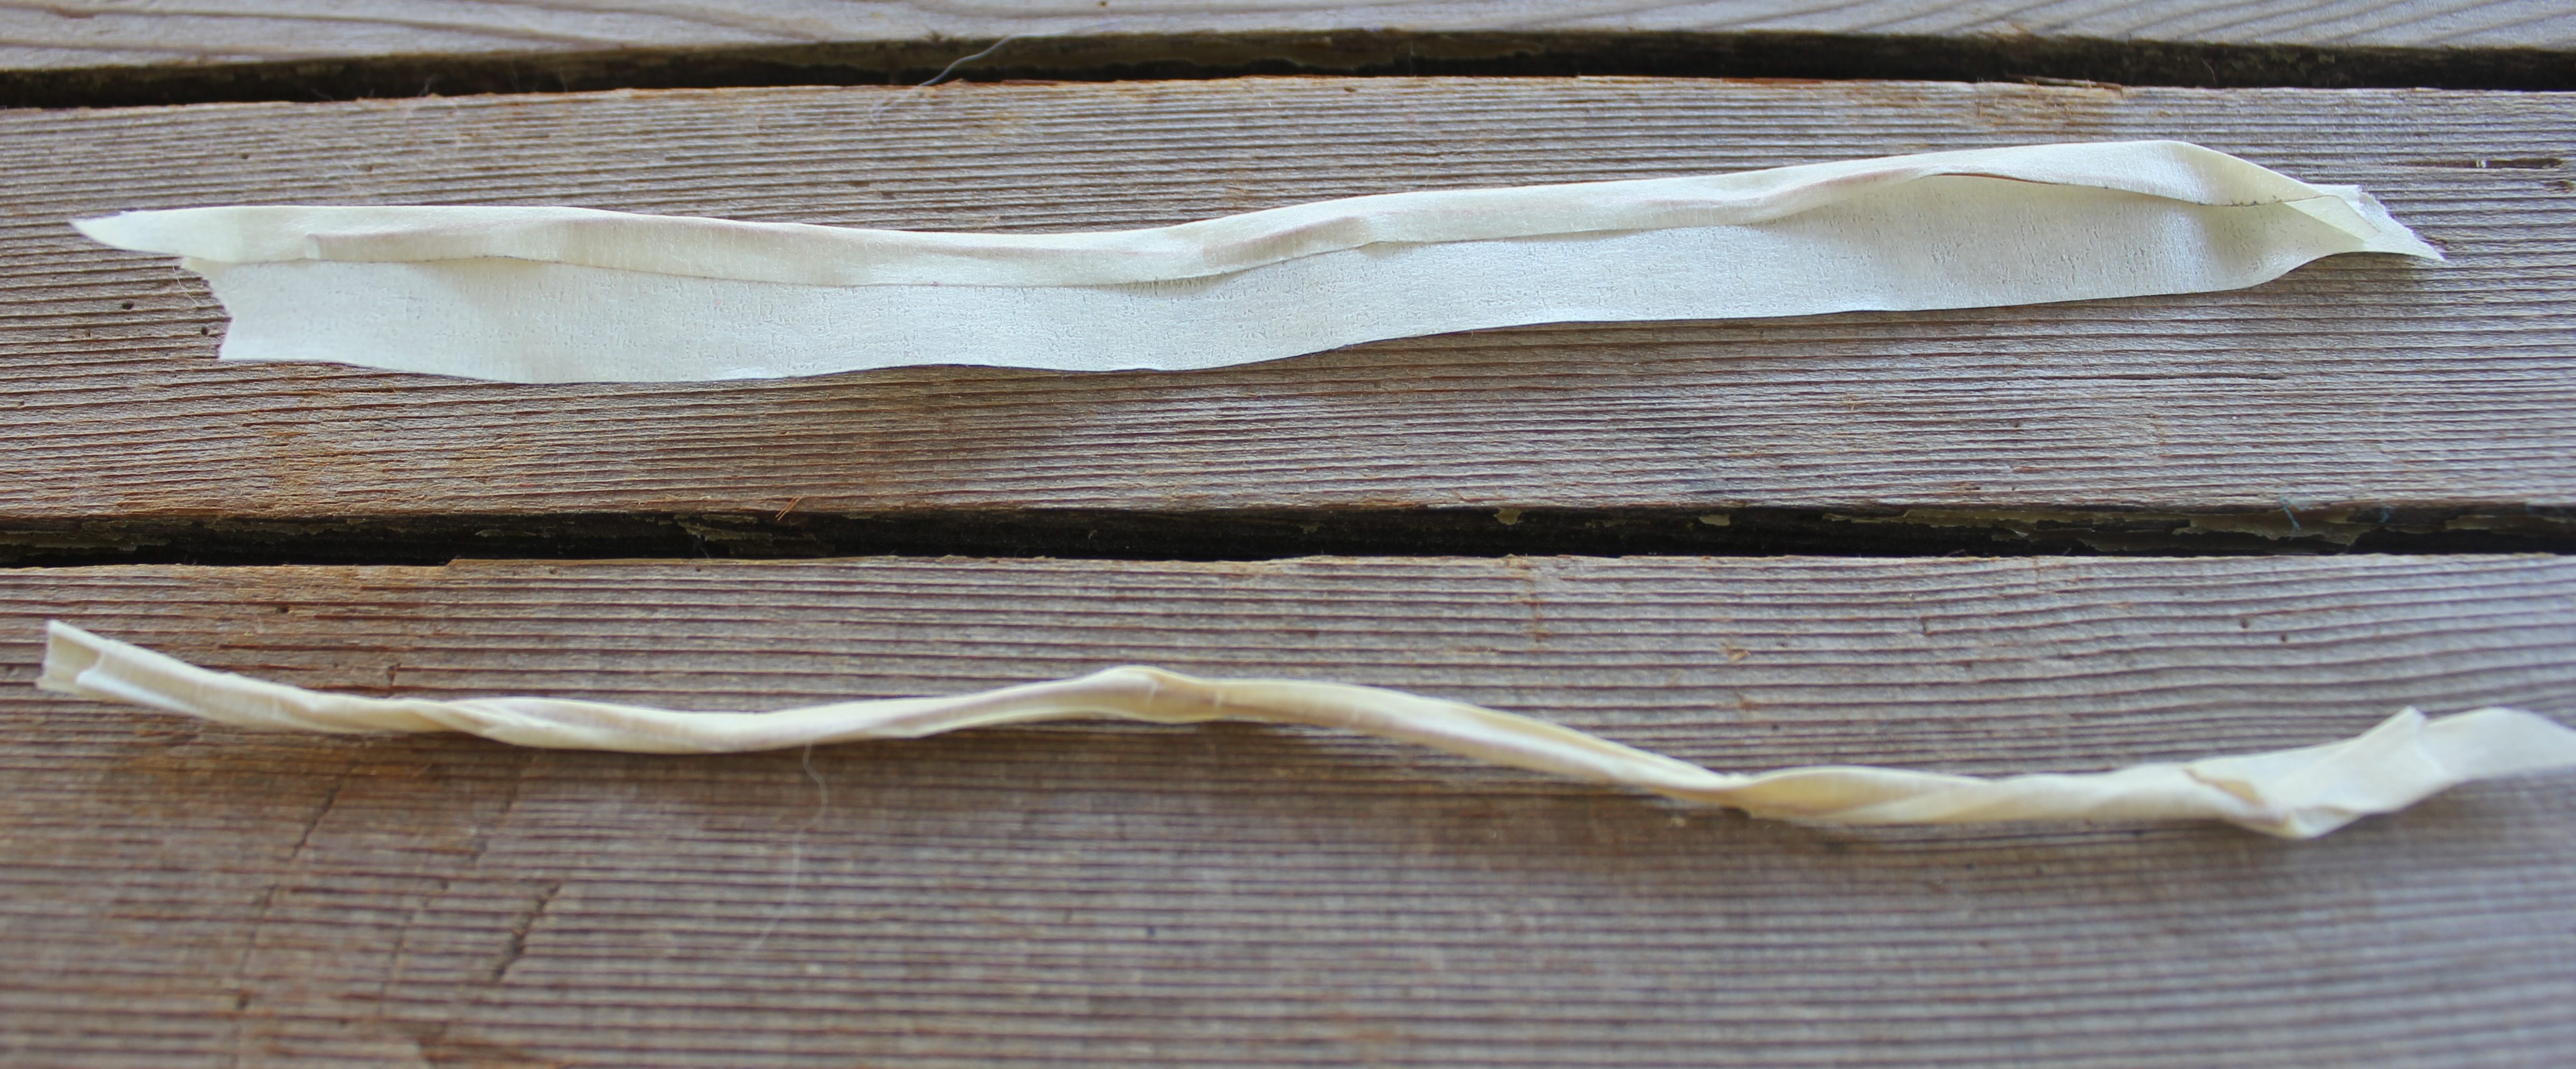
2) Wrap each wire section in masking tape. Twist as you go to get an effect of a “curling” vine or branch.

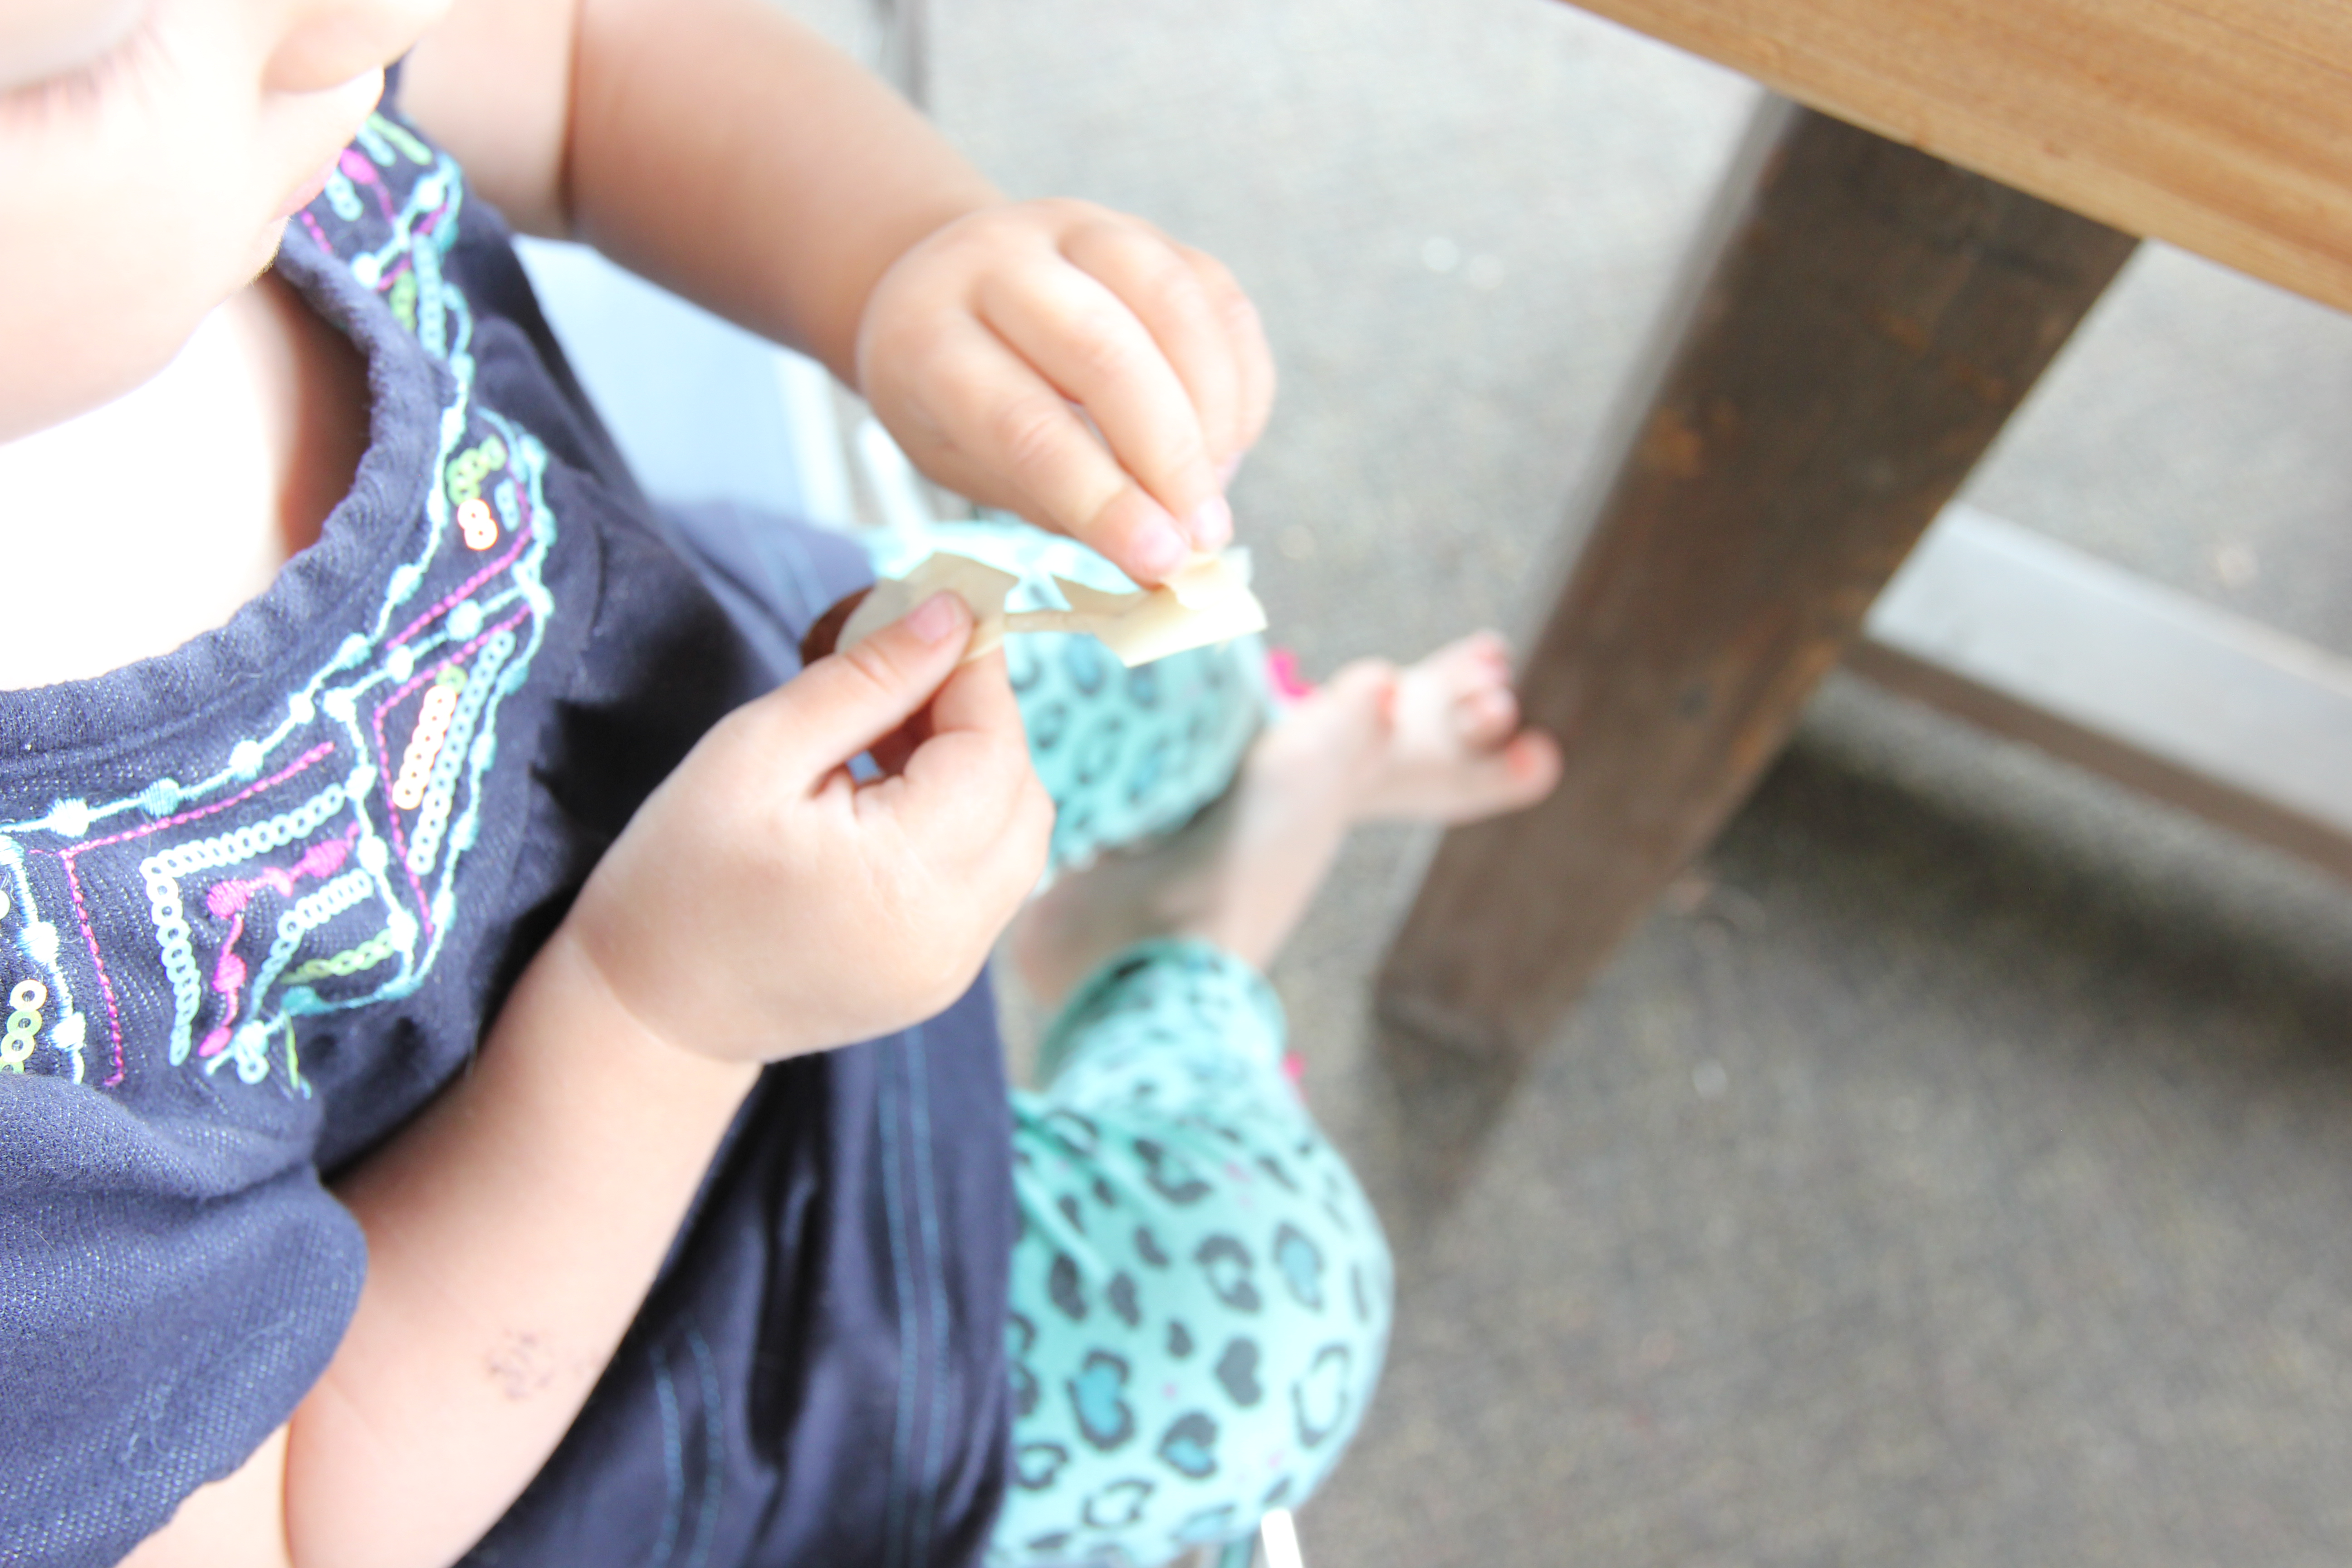
I had a small helper who loves the tape…
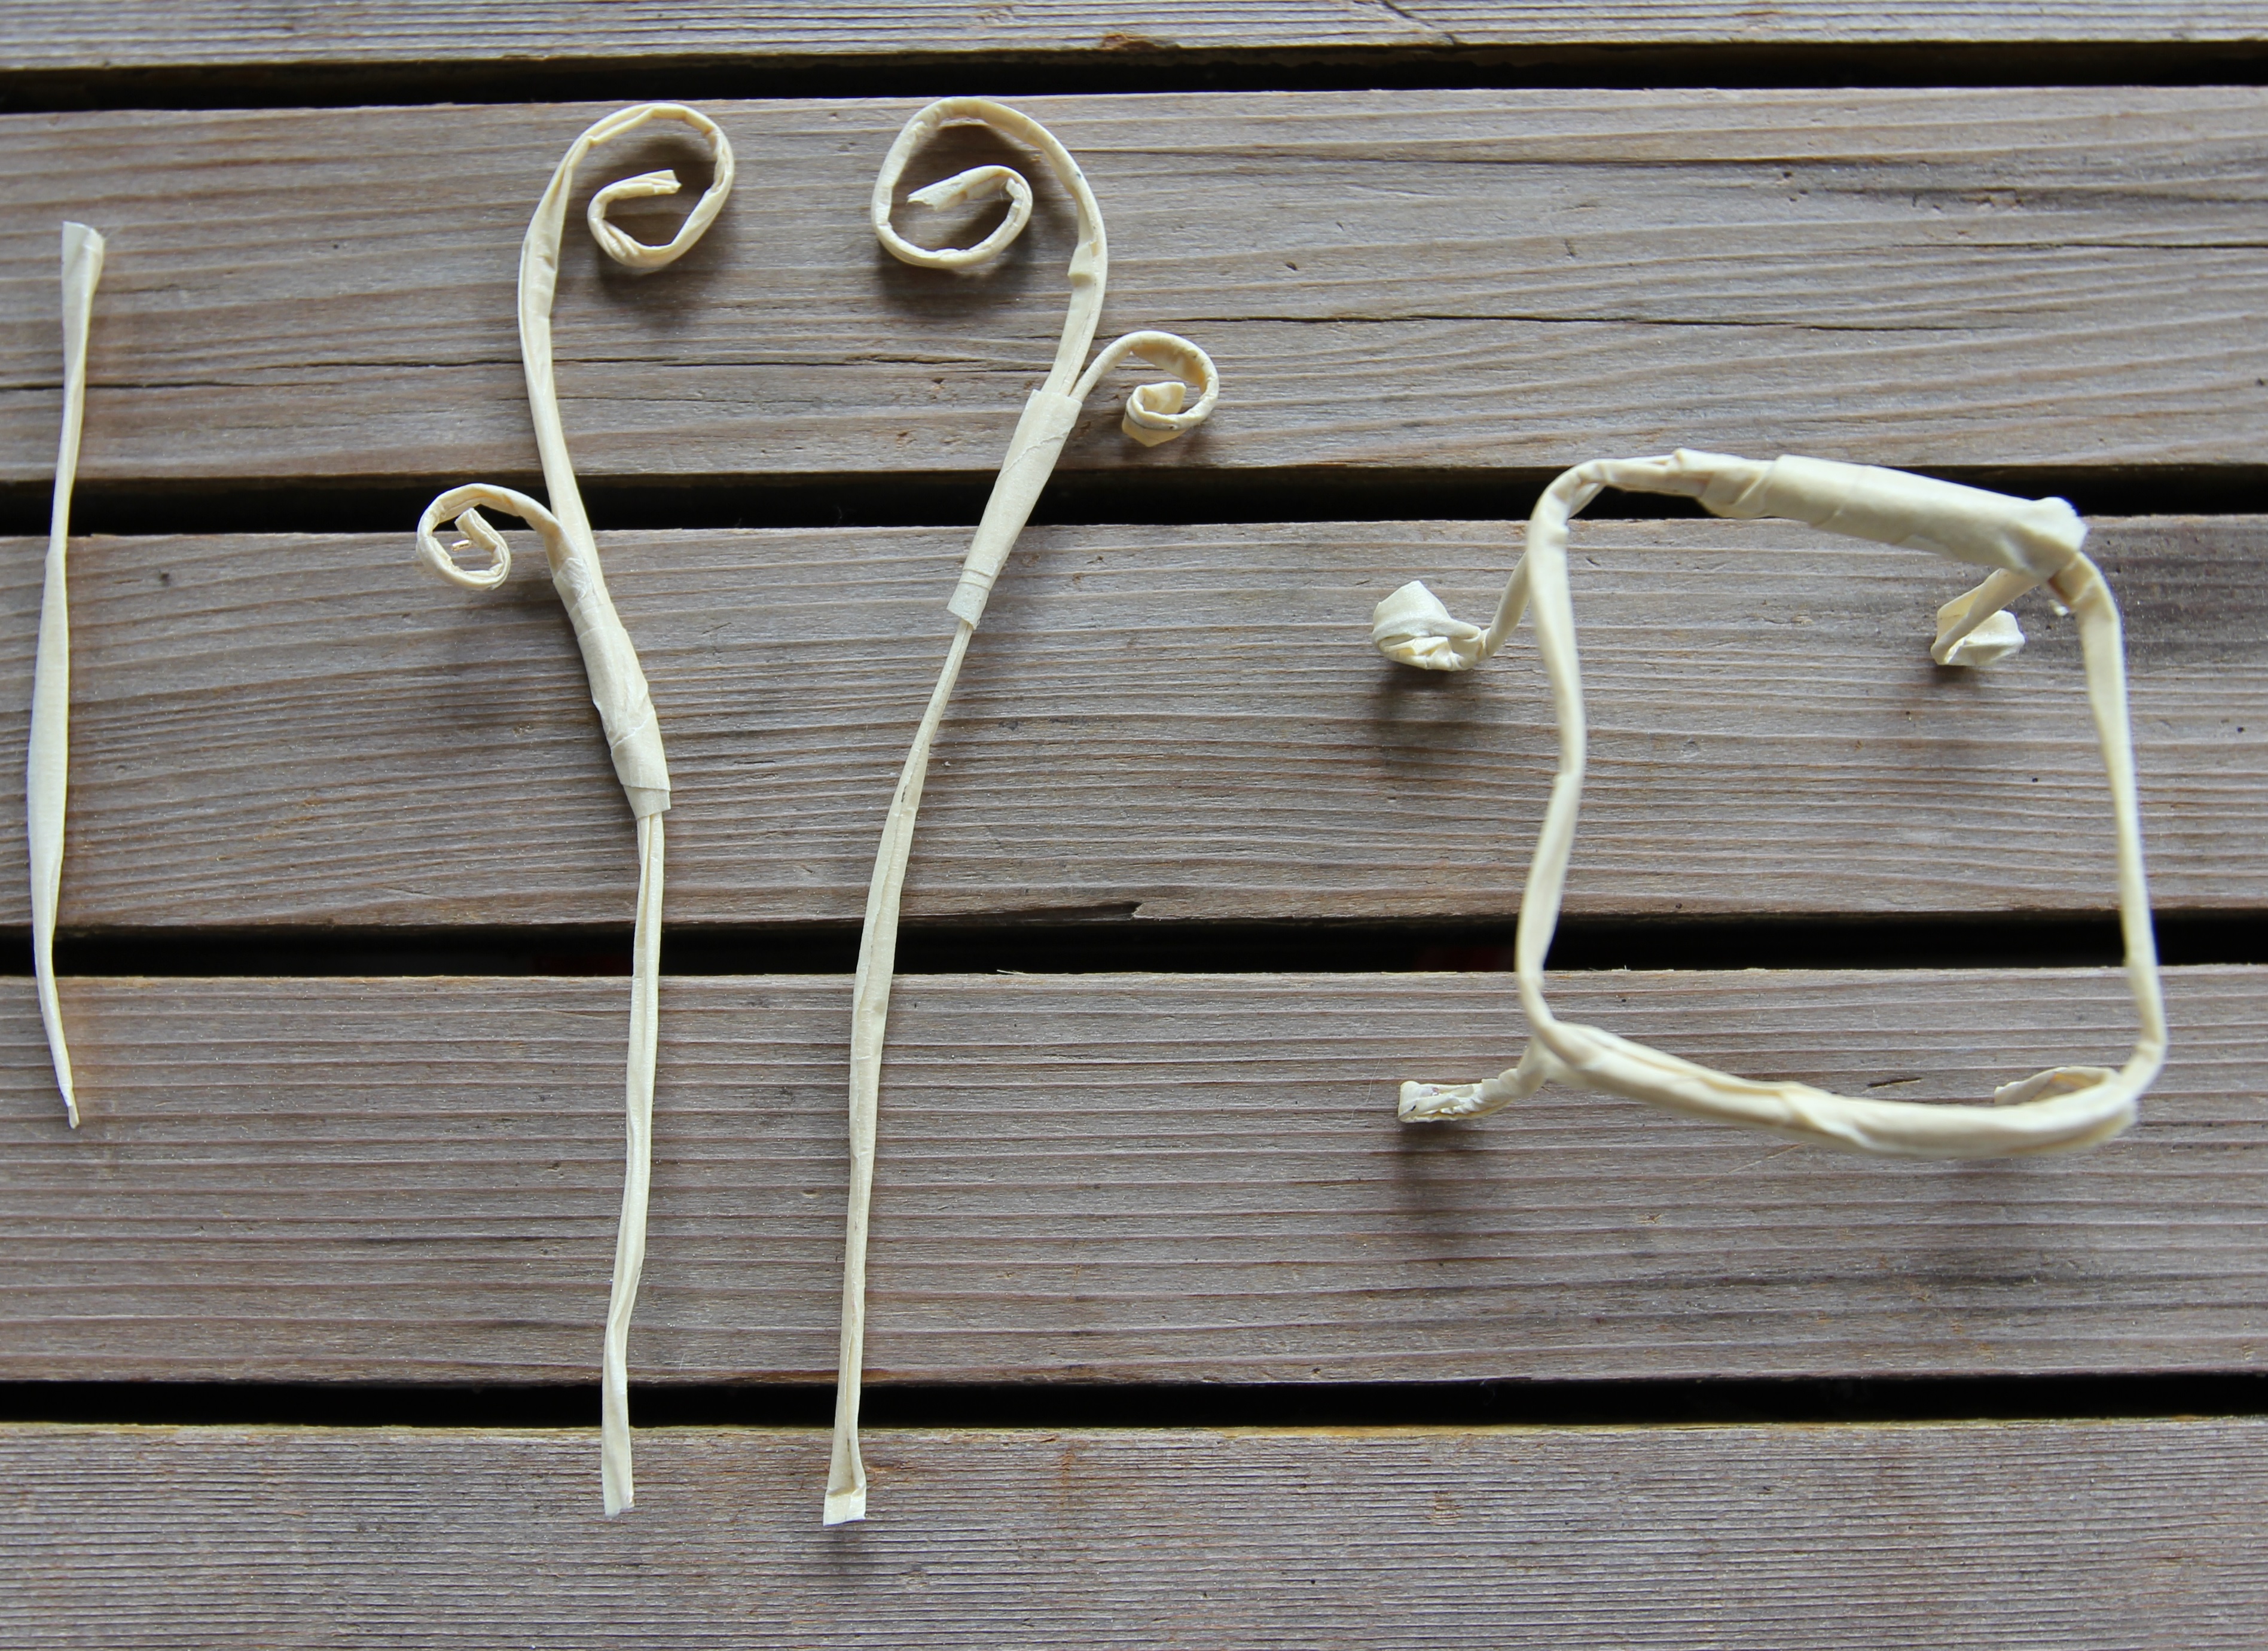
3) Starting with the two long pieces (8″), make a curl at the top, which will be the top of the chair.

4) Wrap the longest wire piece (9″) into a square shape. Affix each leg (6″ pieces), using more tape to hold them together
.


5) Curl the bottom of each chair leg so that the chair sits flat.

6) Make a curl on the shortest pieces (2″), and attach to long pieces.

7) Attach longest pieces to chair. Make folds on remaining piece (3.5″) and attach to top part of chair. You are done! (Now is the time to go re-wrap any areas that you want to make stronger or smoother).

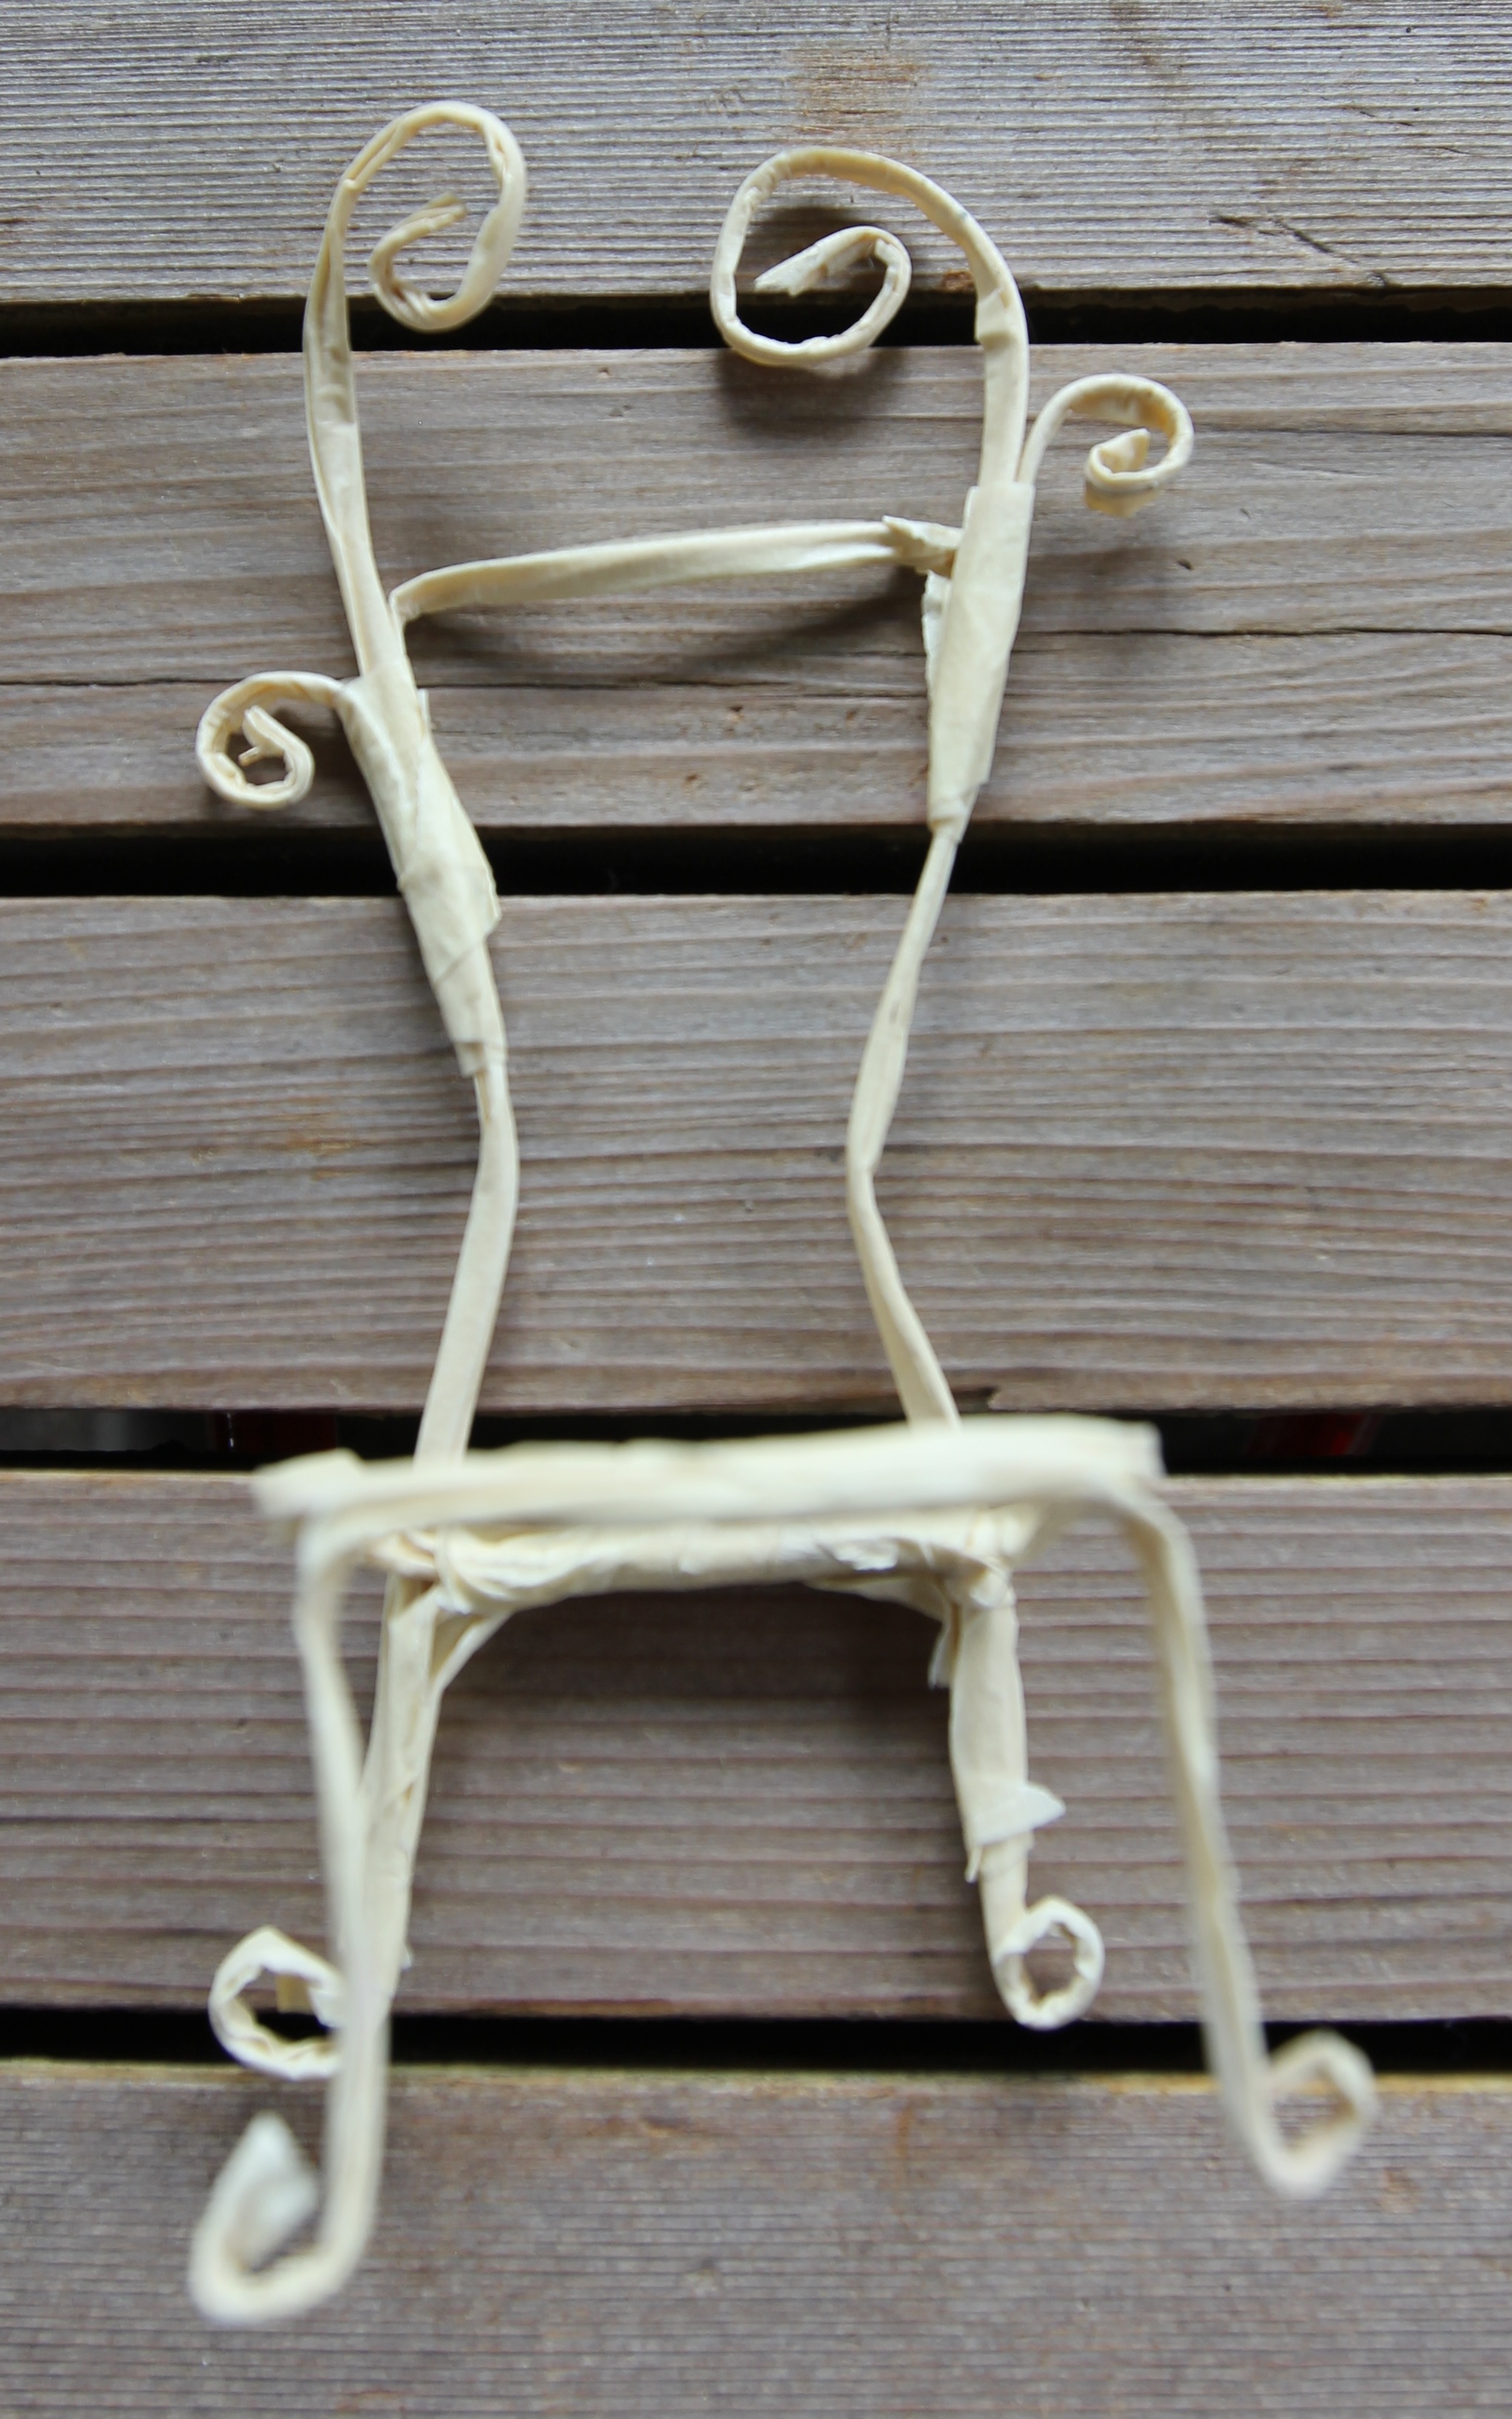
8) Bend the legs to make each one sit flat on the ground, and your miniature chair should stand on its own!

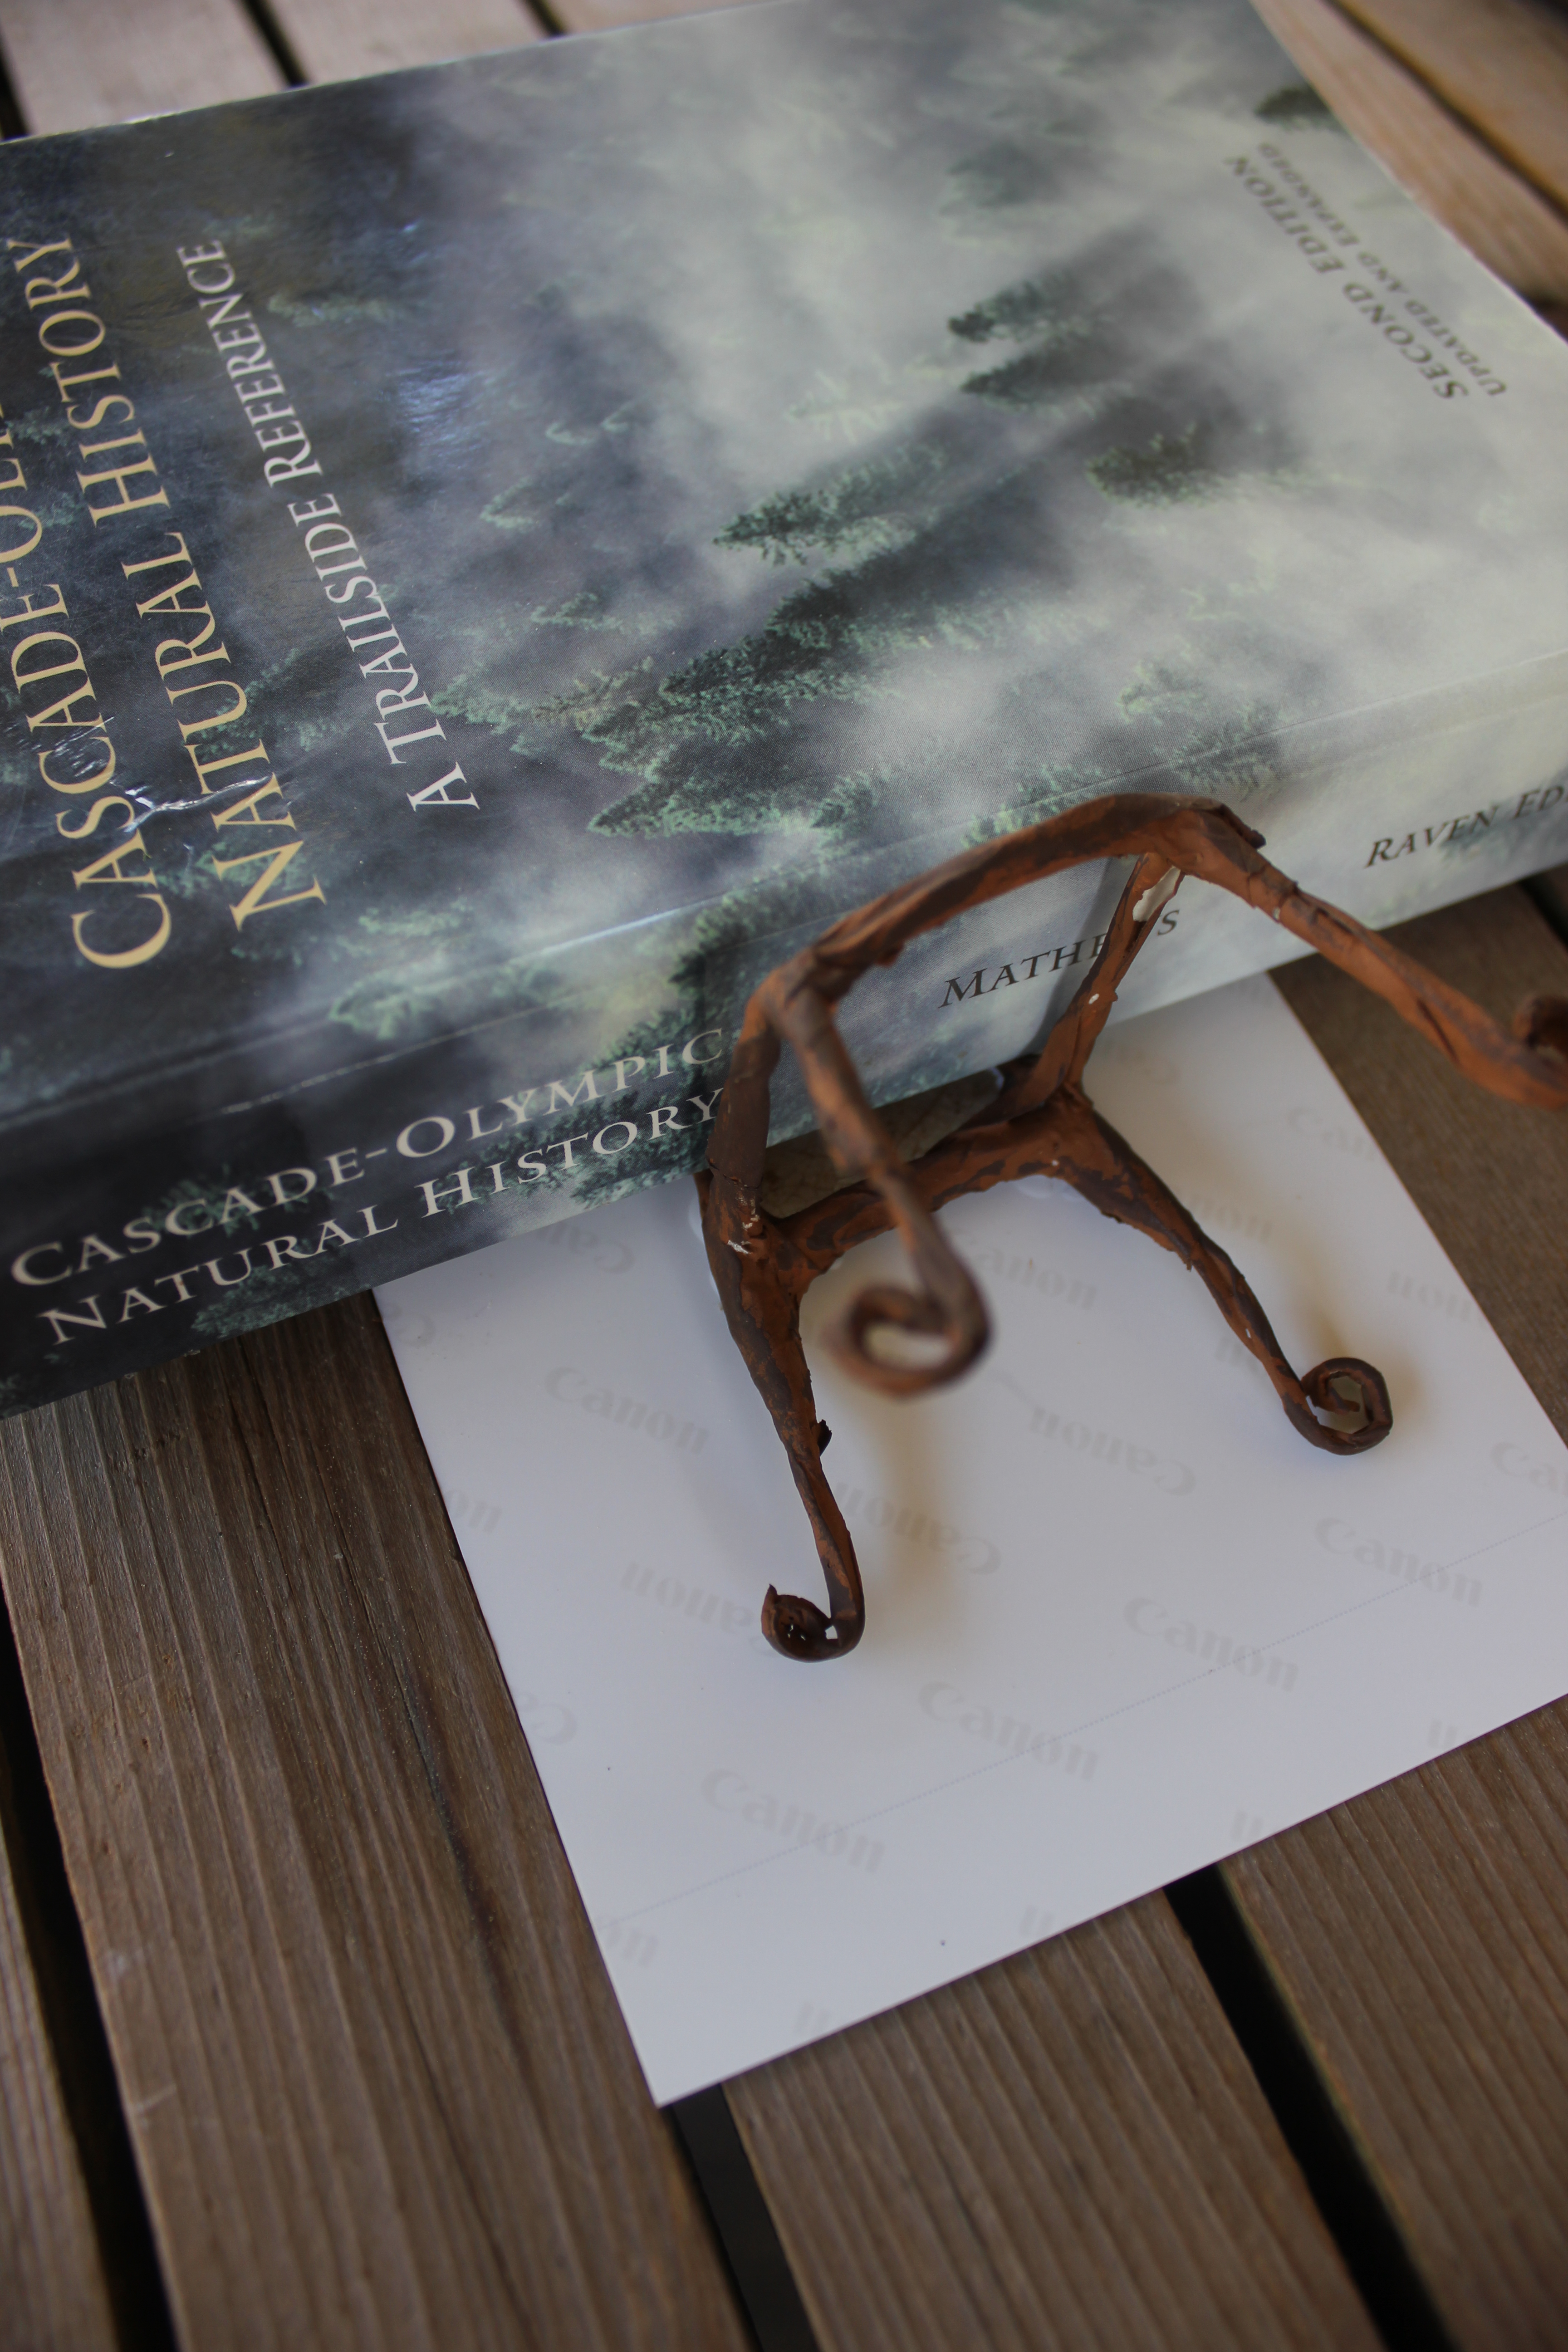
9) Paint the chair with the light brown first, and once dry, brush a light coat of the dark brown on top. Make sure you just lightly brush the dark paint on. If the chair ends up being a single, solid color, I think it makes it look less realistic 🙂

10) Trace the outline of the seat onto cardboard, and cut out.
11) Use the green polymer clay to create the effect of a “cushion” that will sit on the chair. I was hoping to achieve a puffy, moss-like effect on mine for the fairies to sit on. It’s okay to bake the cardboard right with the clay.
12) I found these amazing leaves at Meerkerk Gardens on Whidbey Island in our great state of Washington this spring (Meerkerk Gardens also hosts a weekend where you can go and make fairy houses in their beautiful gardens!). These leaves were already turned into “Ghost leaves”, and I don’t know what kind of tree they came from. Here are a few Pinterest tutorials to do the process yourself: (I haven’t done these yet, so I can’t say whether this process works or not!)
https://www.pinterest.com/pin/507569820477852268/
https://www.pinterest.com/pin/239183430182456743/
https://www.pinterest.com/pin/269160515199239215/
Once you have your leaf (you could also use a regular dried leaf), trace the design of the chair lightly using a non-bleeding marker. I used a dry erase marker, and once I put the glue on in the next step, the color (blue!) bled into the surrounding leaf area!


13) Find a piece of plastic or Saran wrap that the glue will not stick to (I used the back of a printed photograph, it has a smooth, matte finish). Glue just a small outline onto your painted chair, and carefully place onto your leaf. Put a heavy book on top, and wait at least an hour for the glue to dry.

That’s as far as I’ve gotten so far! More pictures to come as I go on…
Visit my other fairy garden tutorials HERE!


Great tips. Thanks!
LikeLike
That’s cool, thanks for sharing
LikeLike