This fairy house was my first creation using boxes and paper mache. It is a sloooow process! (Wait, everything is a slow process when you have a little person helping you out 🙂 ) I just work on it when I can, and it is slowly coming along…
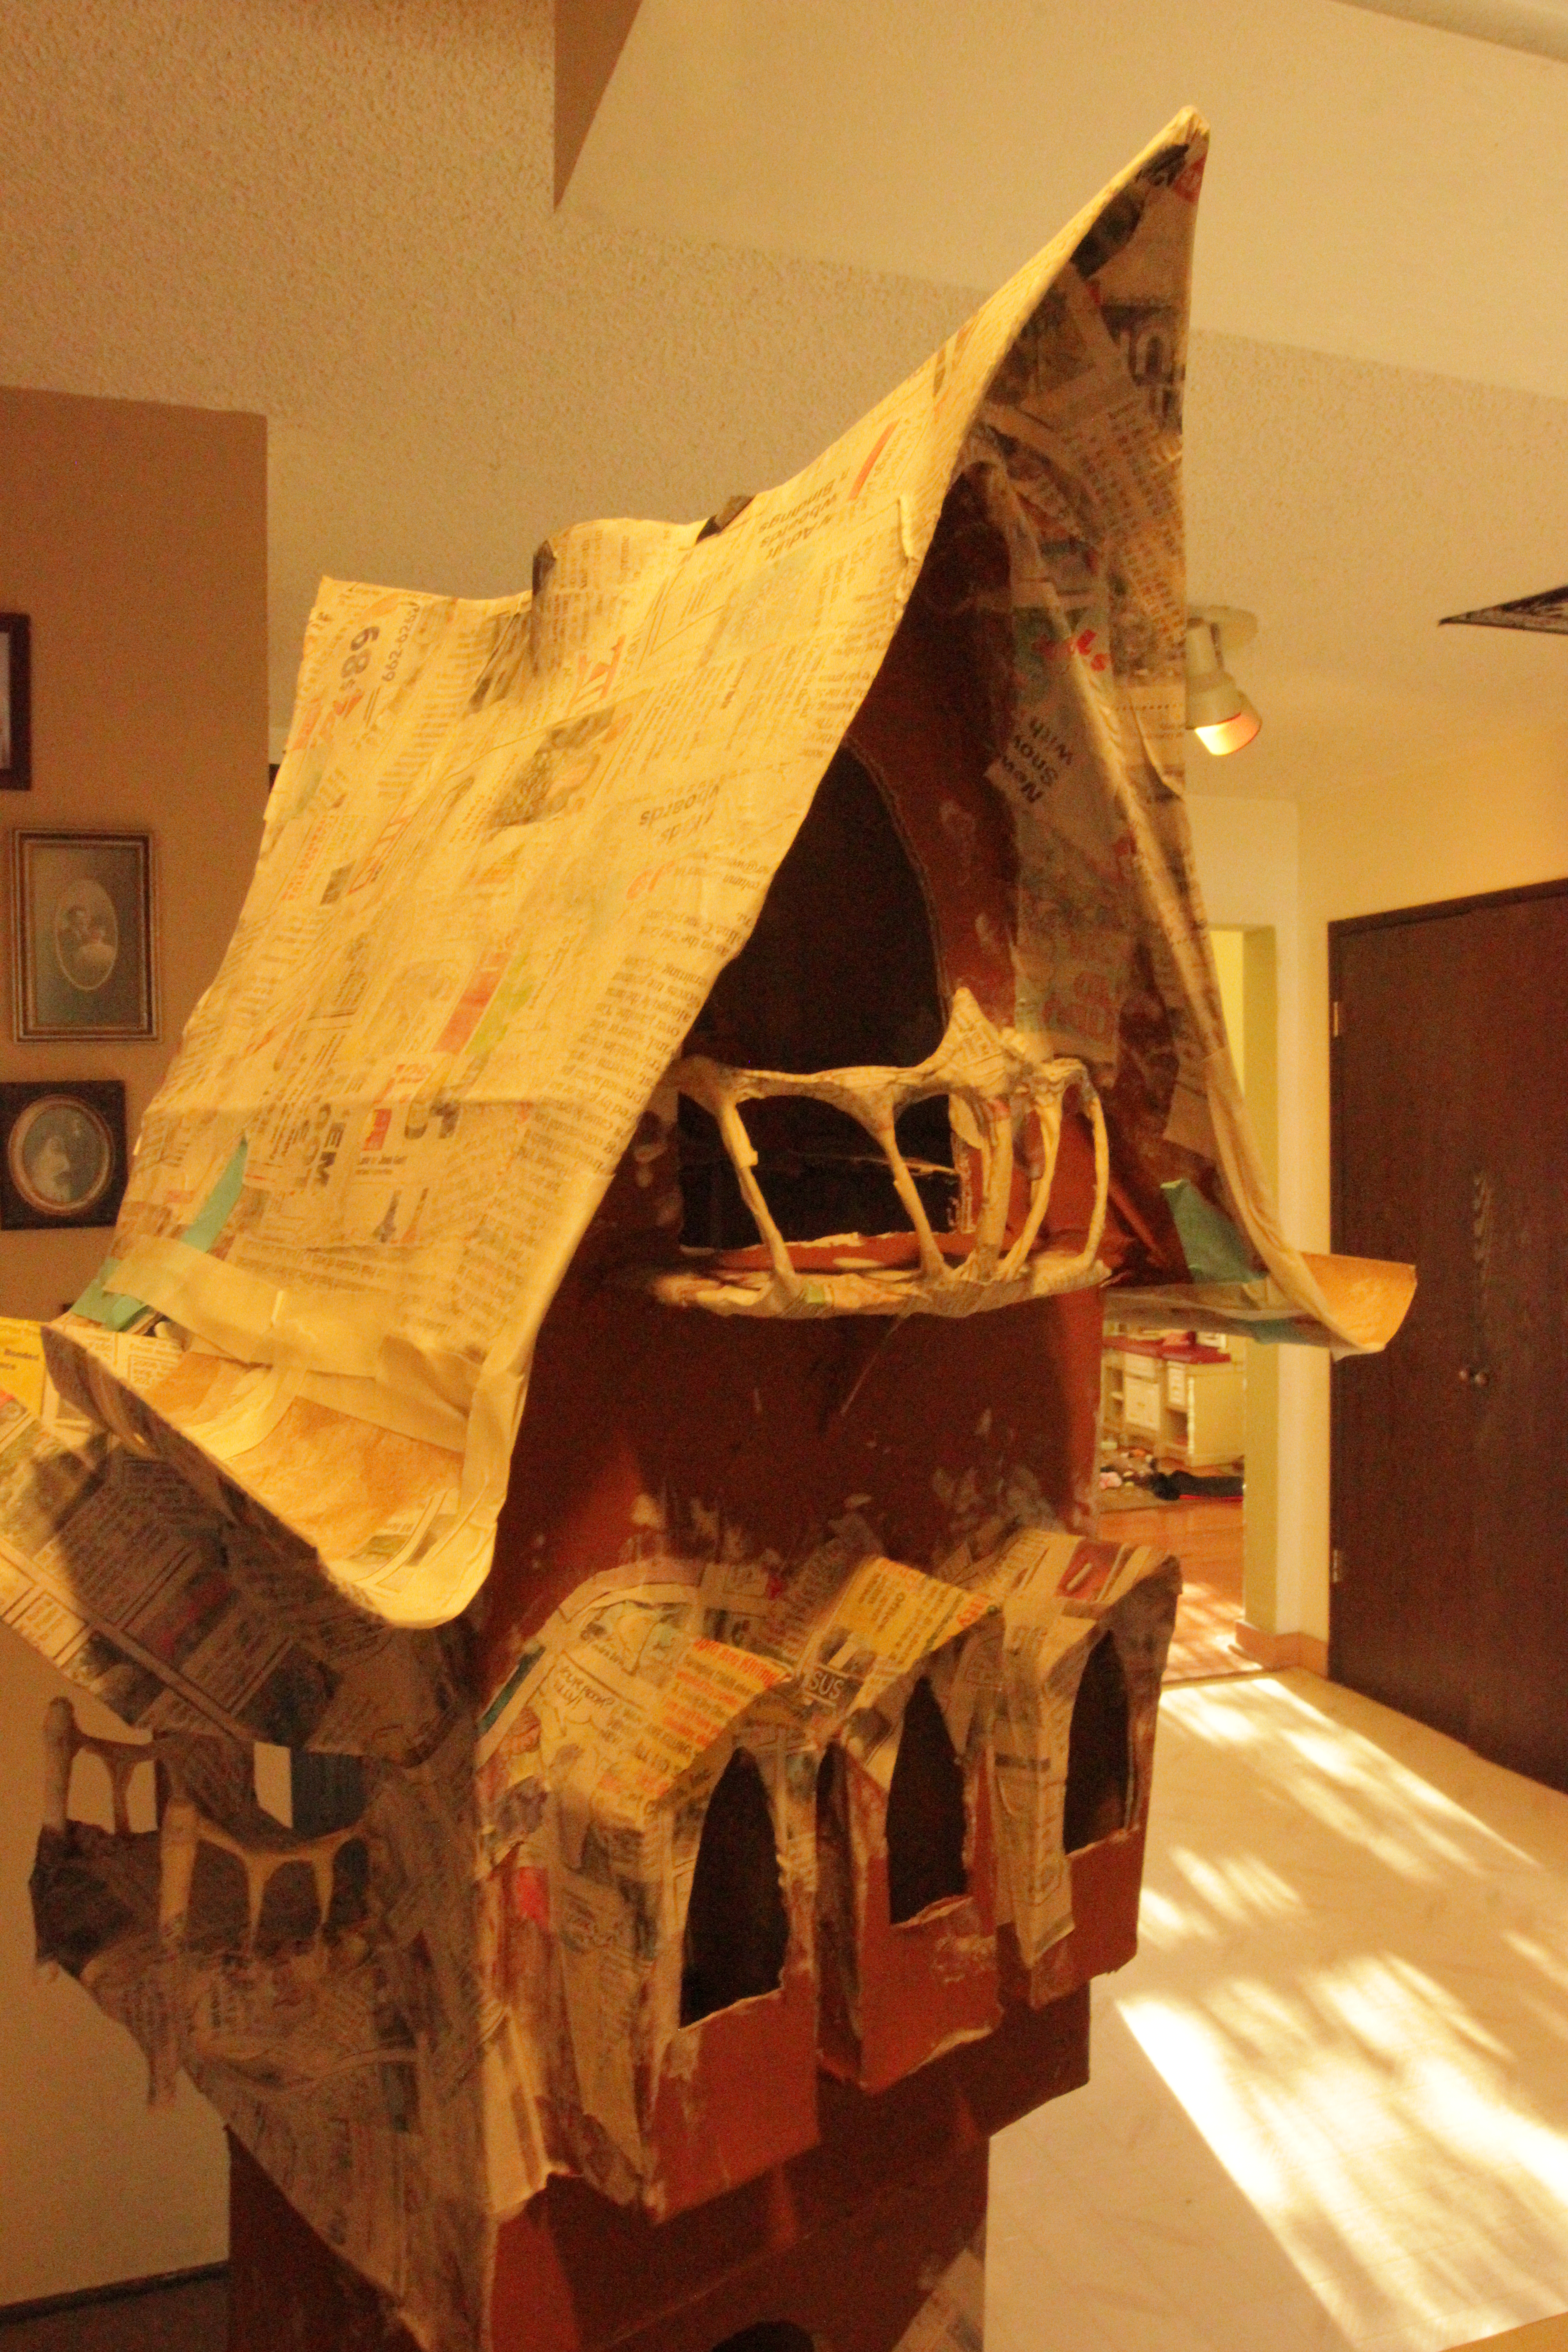
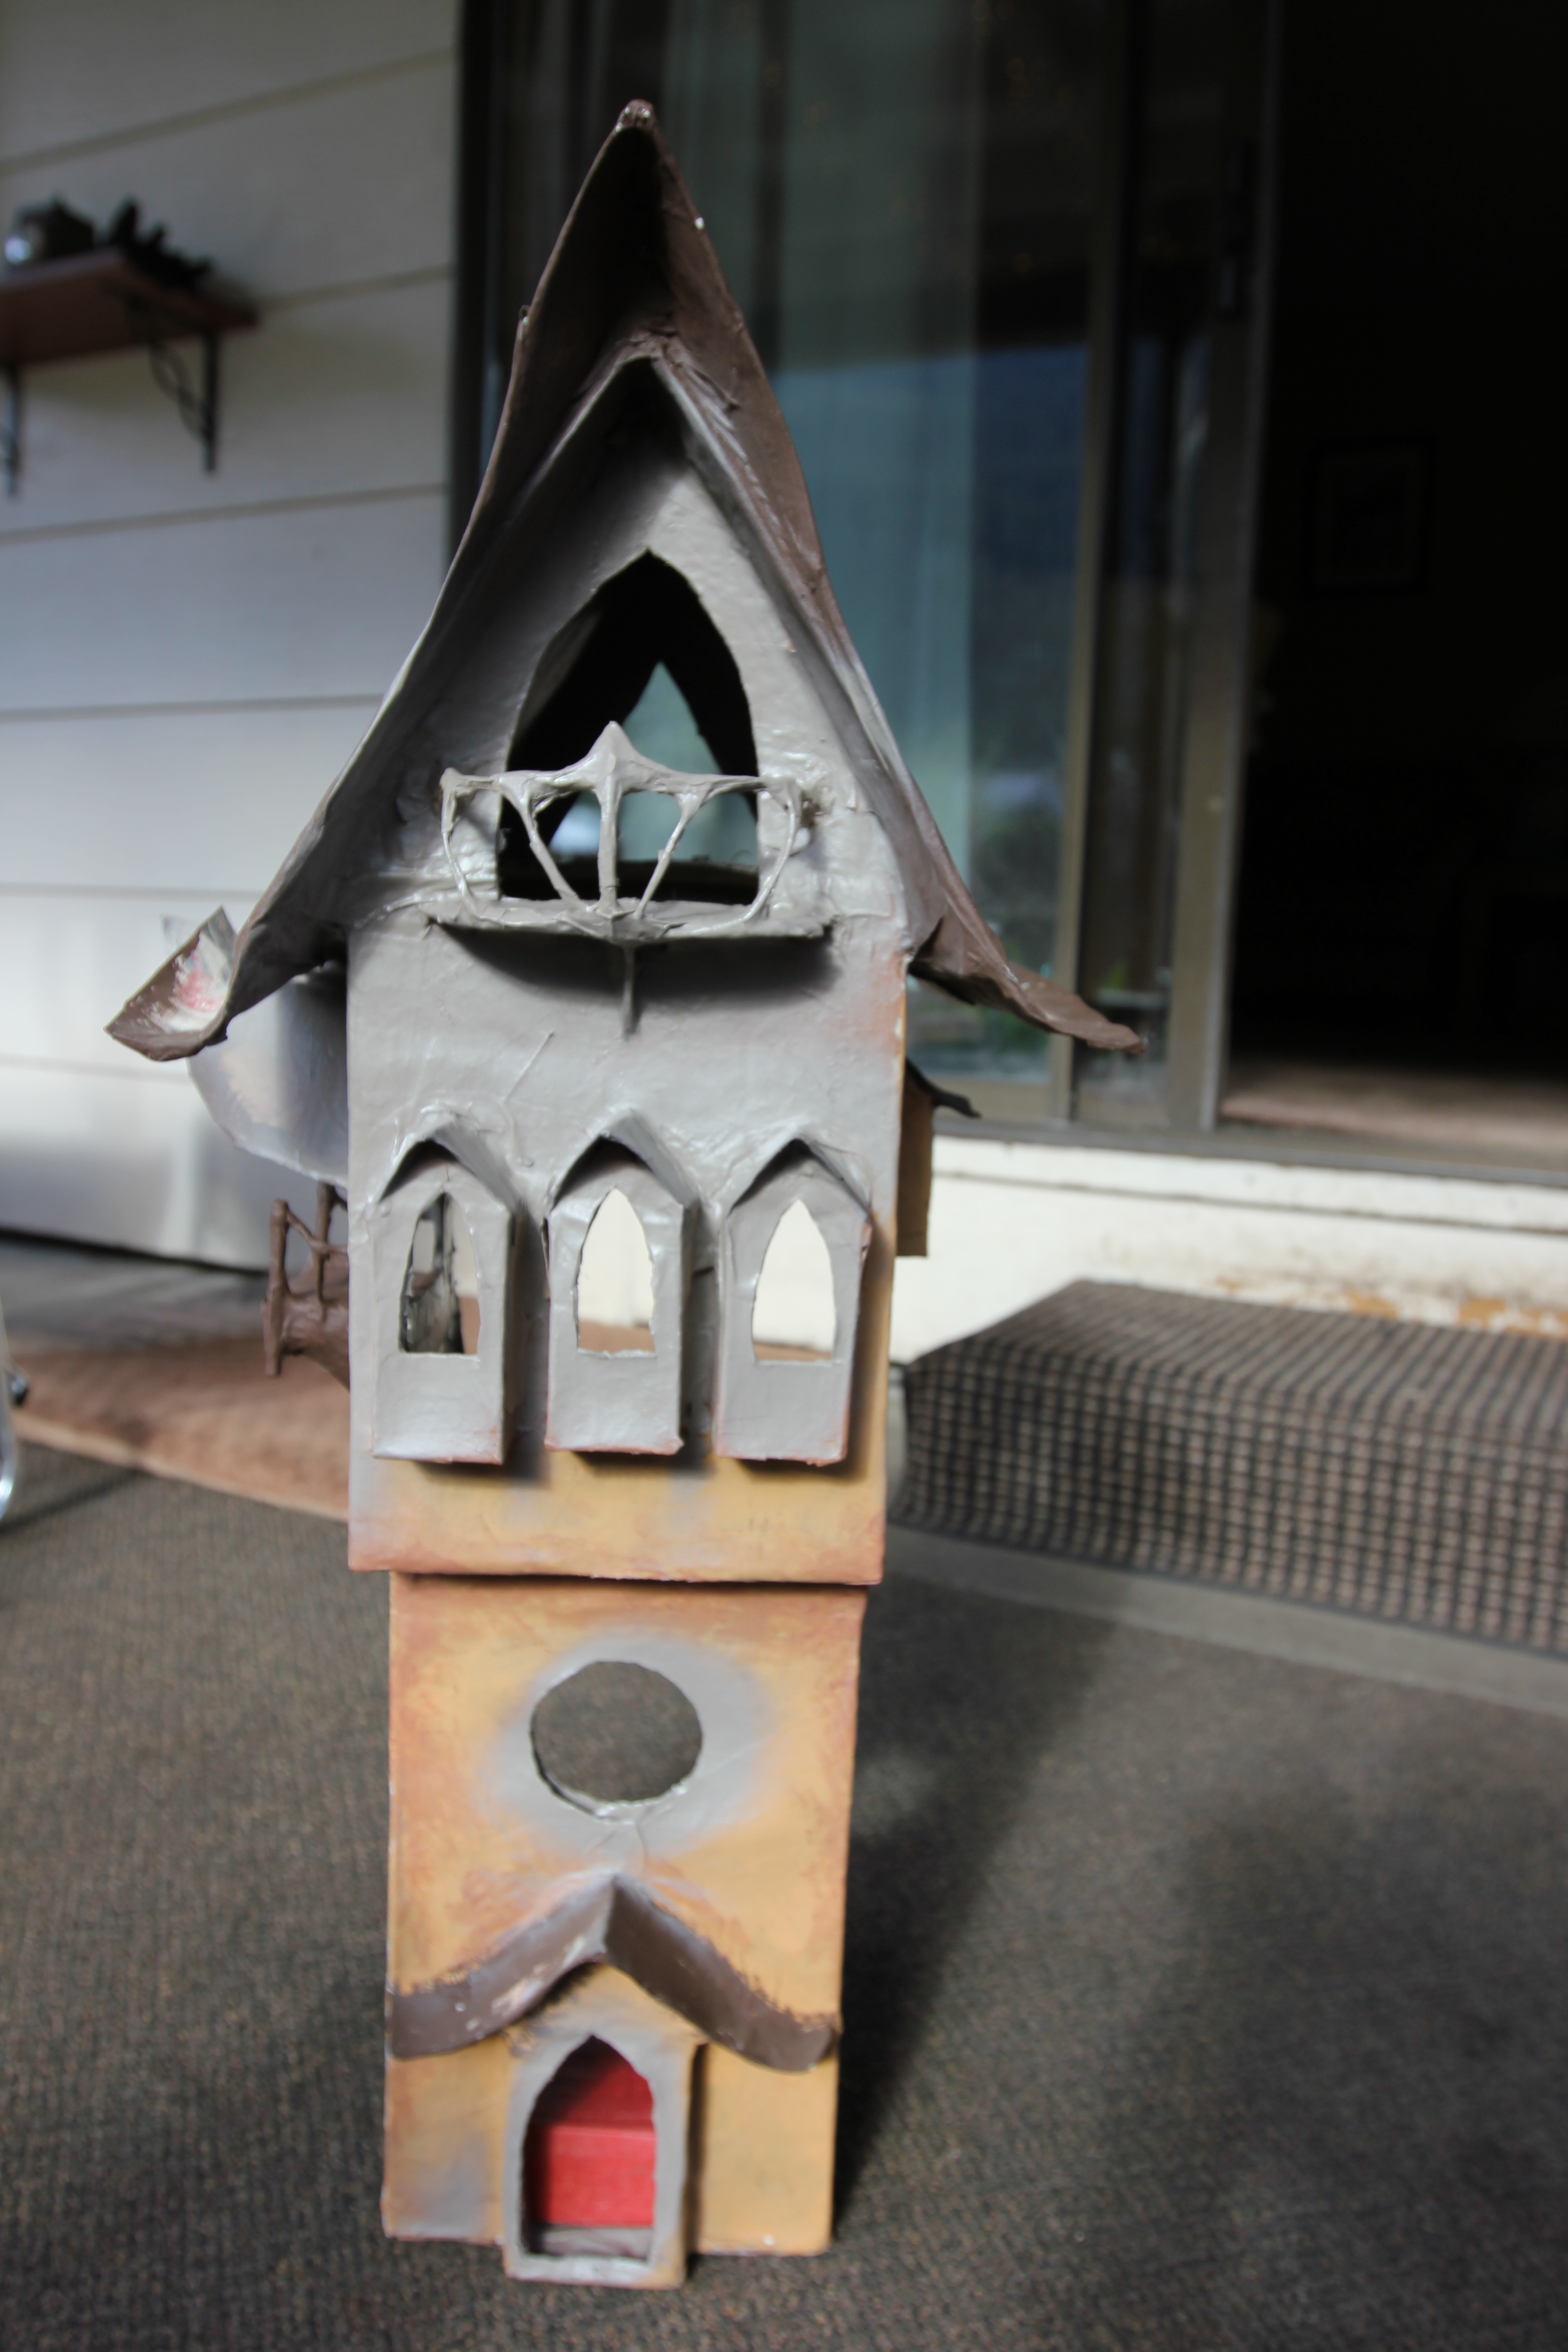
The fairy tower, and a “Norwegian Stave Church” inspired fairy house still in progress…

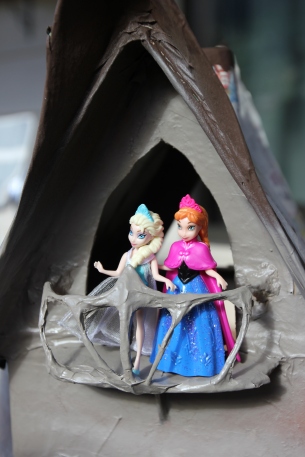
It seems every time I turn around, I find someone has placed Anna and Elsa on the top balcony…
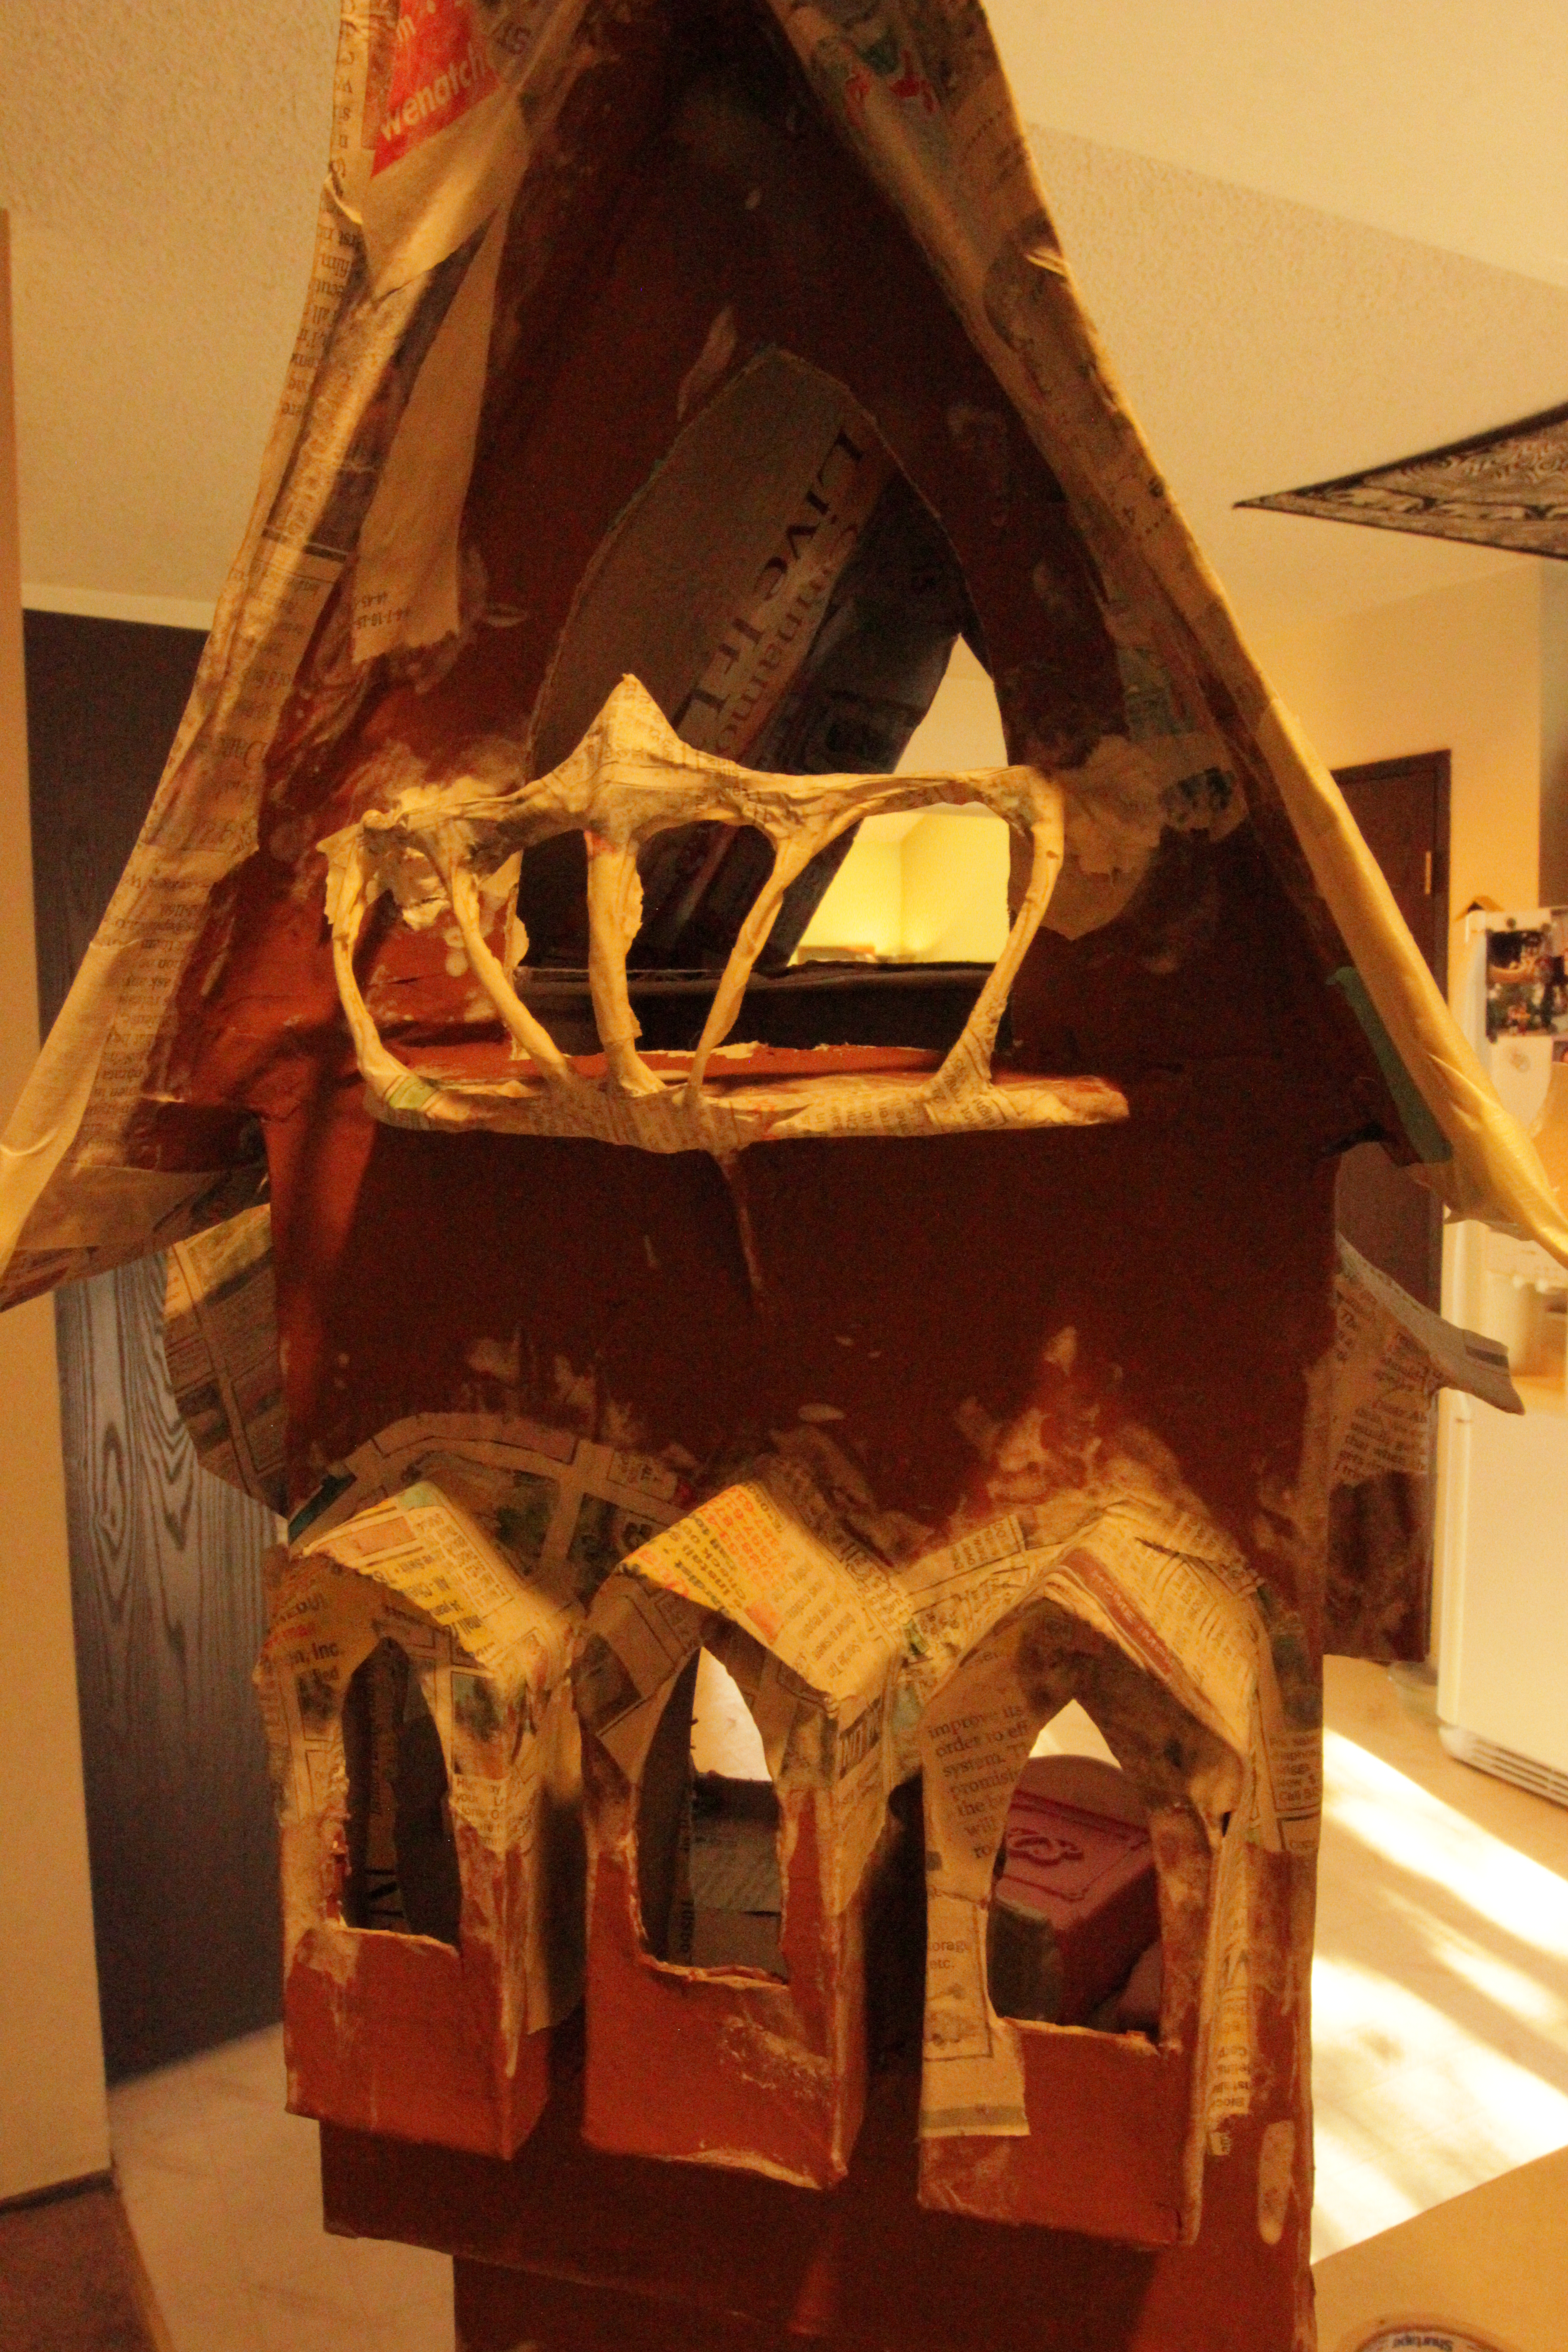
The grey color is the base color that I spray painted inside…now to paint the outside…

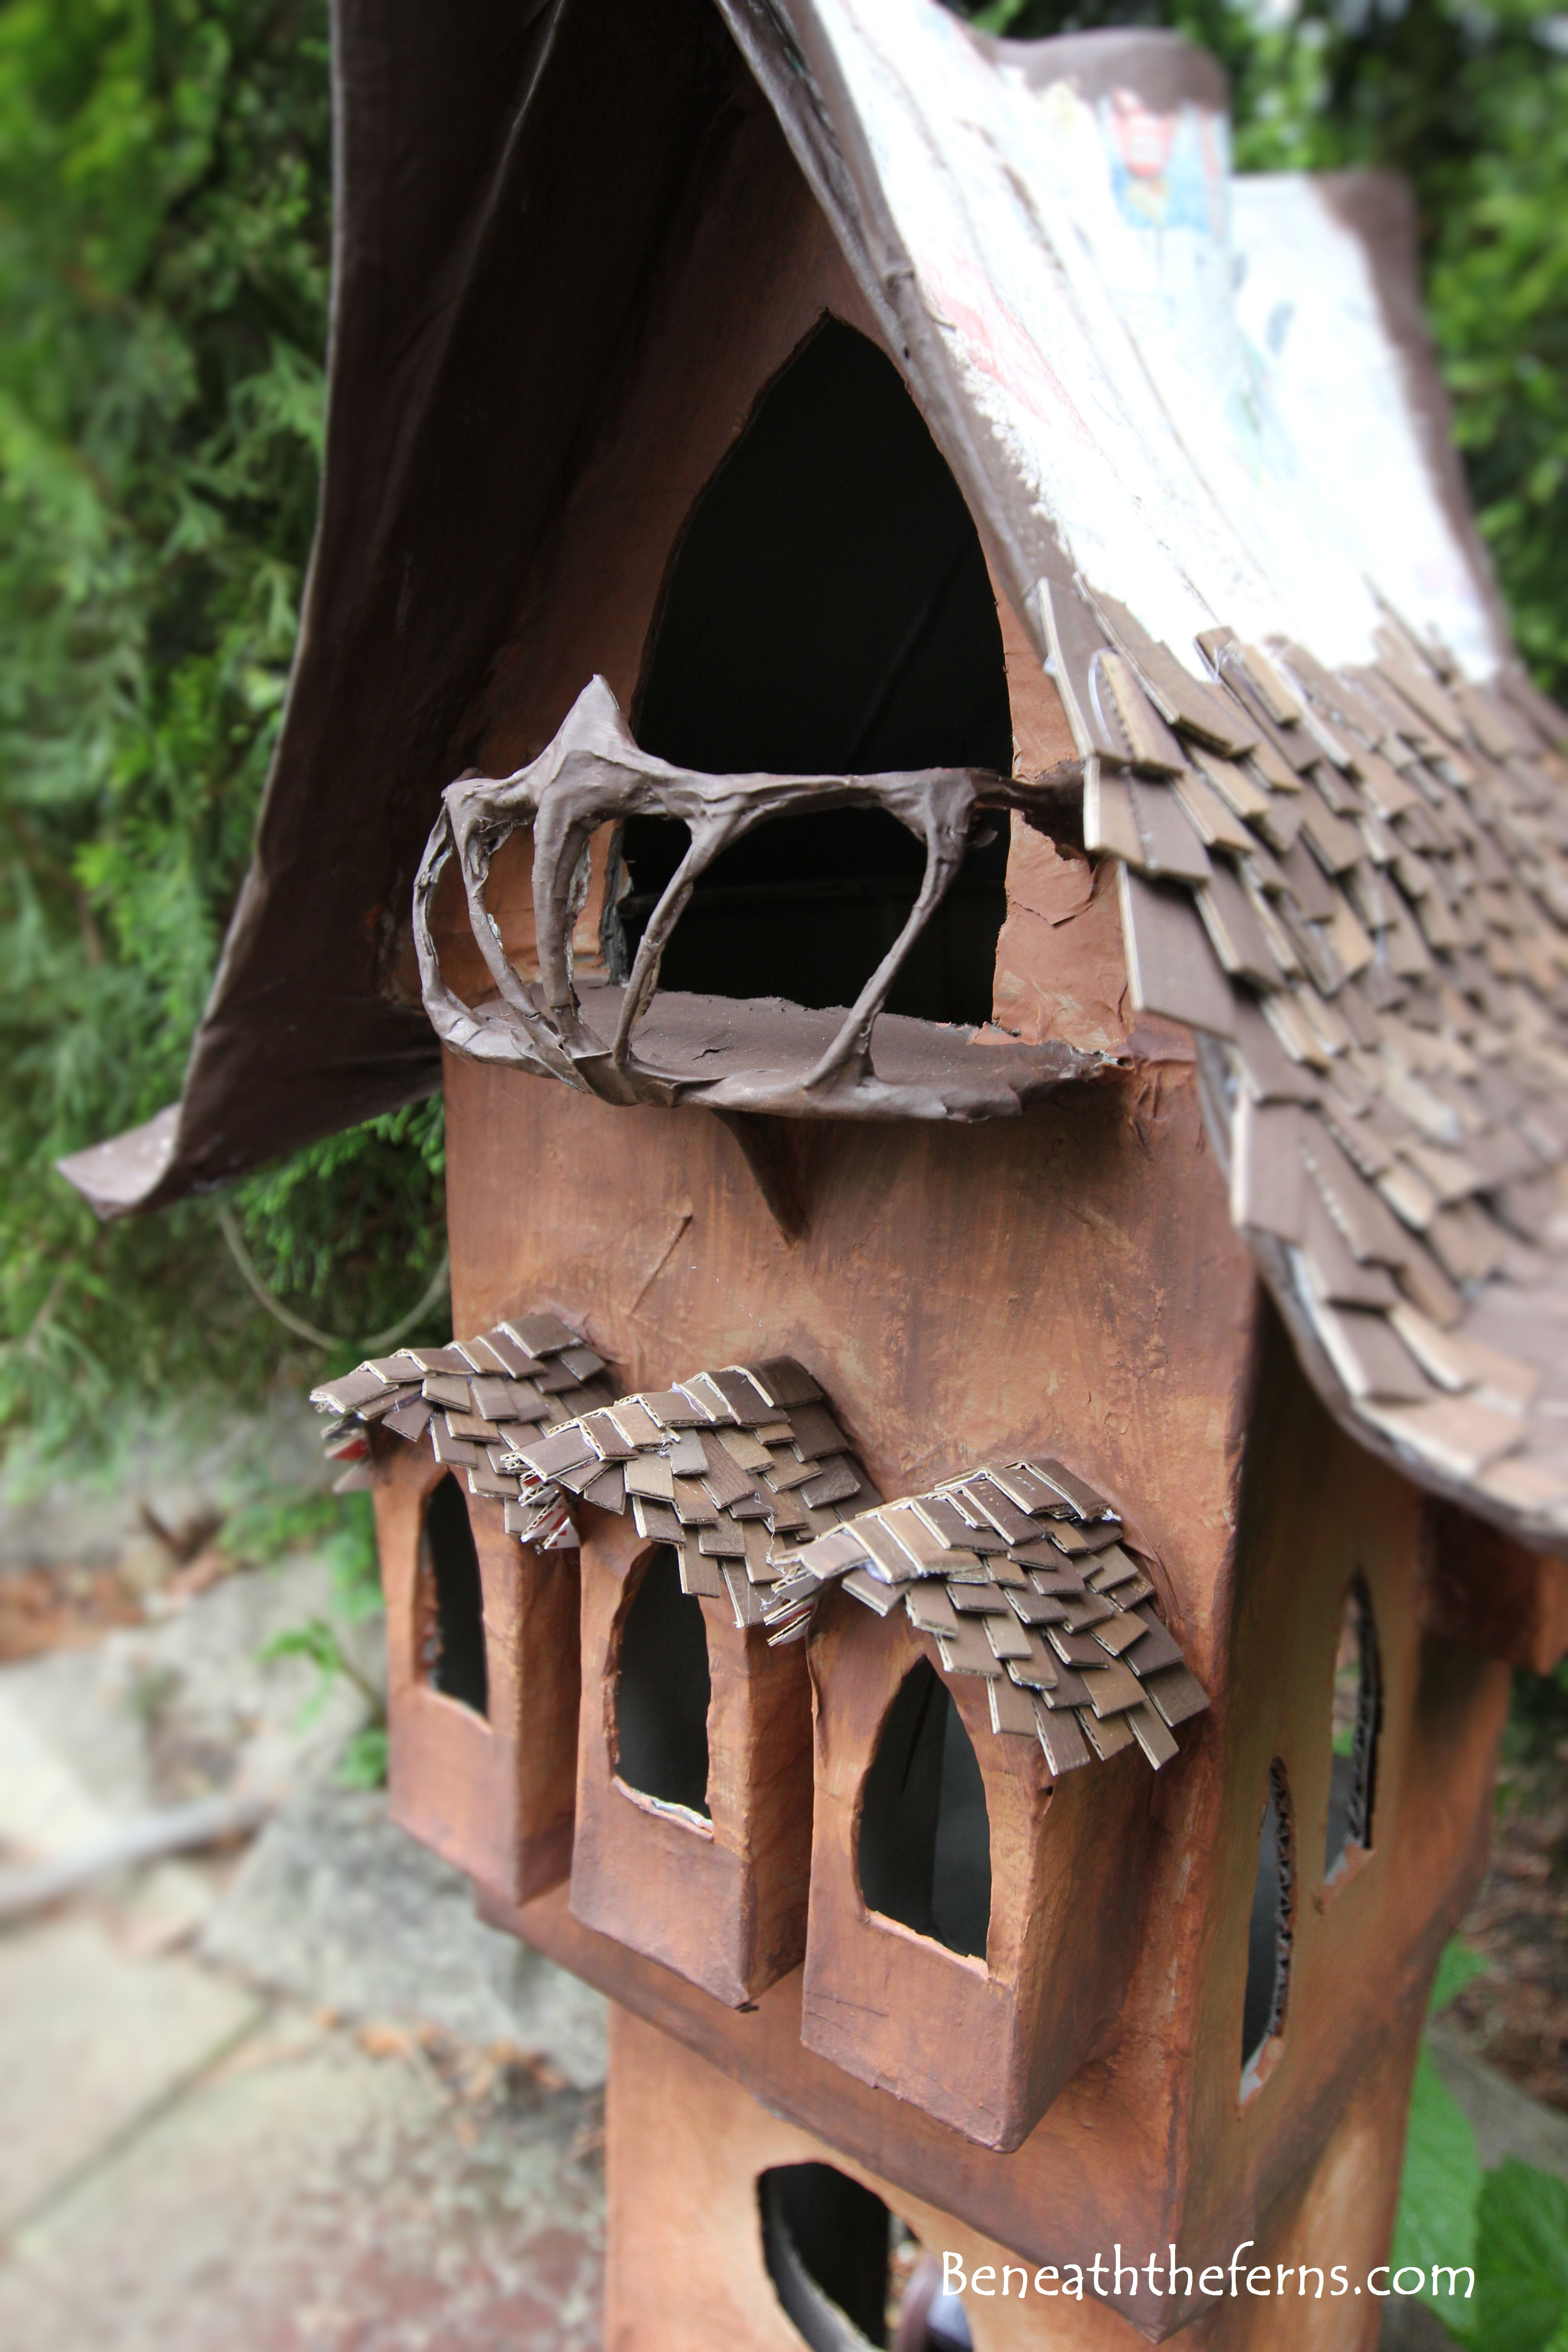
I’ve just added some paint to the fairy house, and am starting the shake roof. It takes a long time! (And a lot of glue!)

The smaller areas call for smaller shake shingles…

Progress…
I finally have the roof done!!!
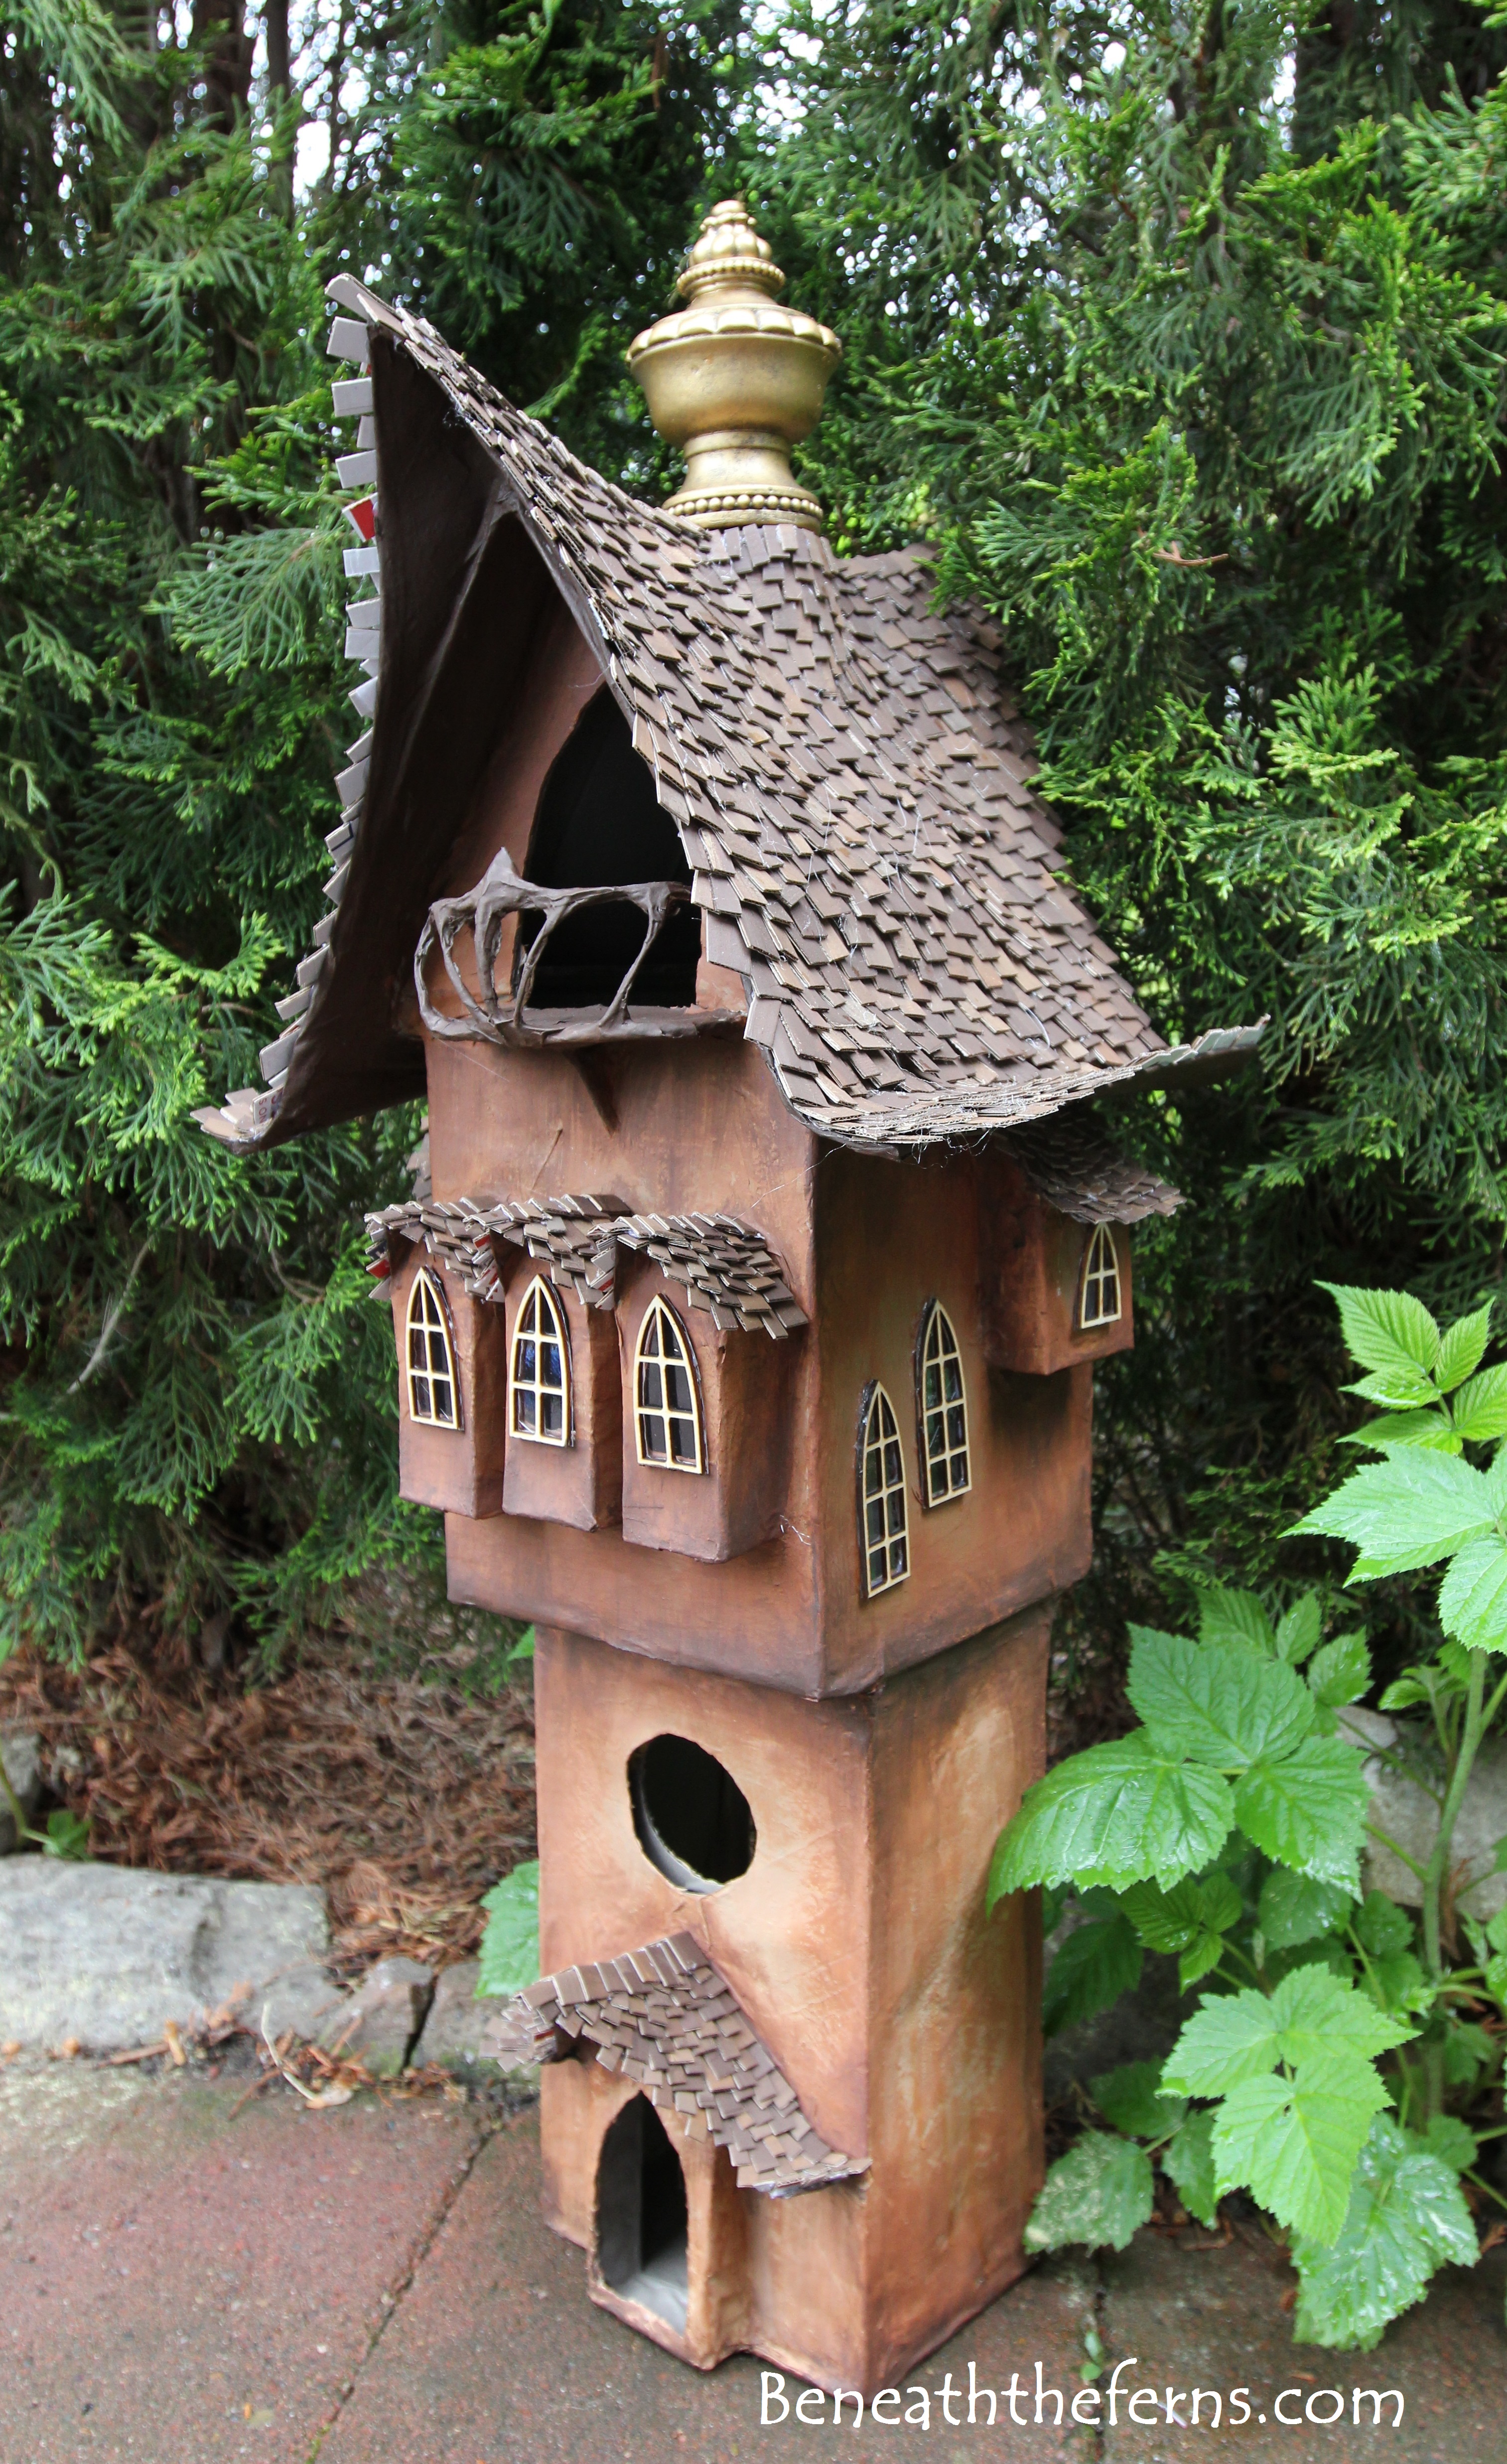


This door is going to have a bridge attached to it that leads to another fairy house…

Front view of the fairy tower…

Why can’t I live here????

Thanks so much for looking! I still have a lot more to do, but will have to take a break since I’m having a baby soon, and there isn’t time for much else when they are so little! I’ll post more pictures as I get more done, and feel free to check out the other houses in my gallery section ♥
~Jessi


Fantastic, love the Fairy House, please show the bridge leading to the next house!
LikeLiked by 1 person
Thanks Diane! I’ll be sure to post pictures when I get that part done! 🙂
LikeLike
what material did you use for the roof ‘shakes’ and what kind of glue did you use? they look great!!!
LikeLiked by 1 person
Thanks Connie! I used cardboard for the shingles, and glued them on with a hot glue gun. Next time I’d like to use real wood shingles that could hold up better if they were outside. 🙂
LikeLike
This is GORGEOUS! Wonderful job! ♥
LikeLike
Wow!!! They’re all really Beautiful! Thankyou for sharing!!!
LikeLiked by 1 person
Thank you! 🙂
LikeLike