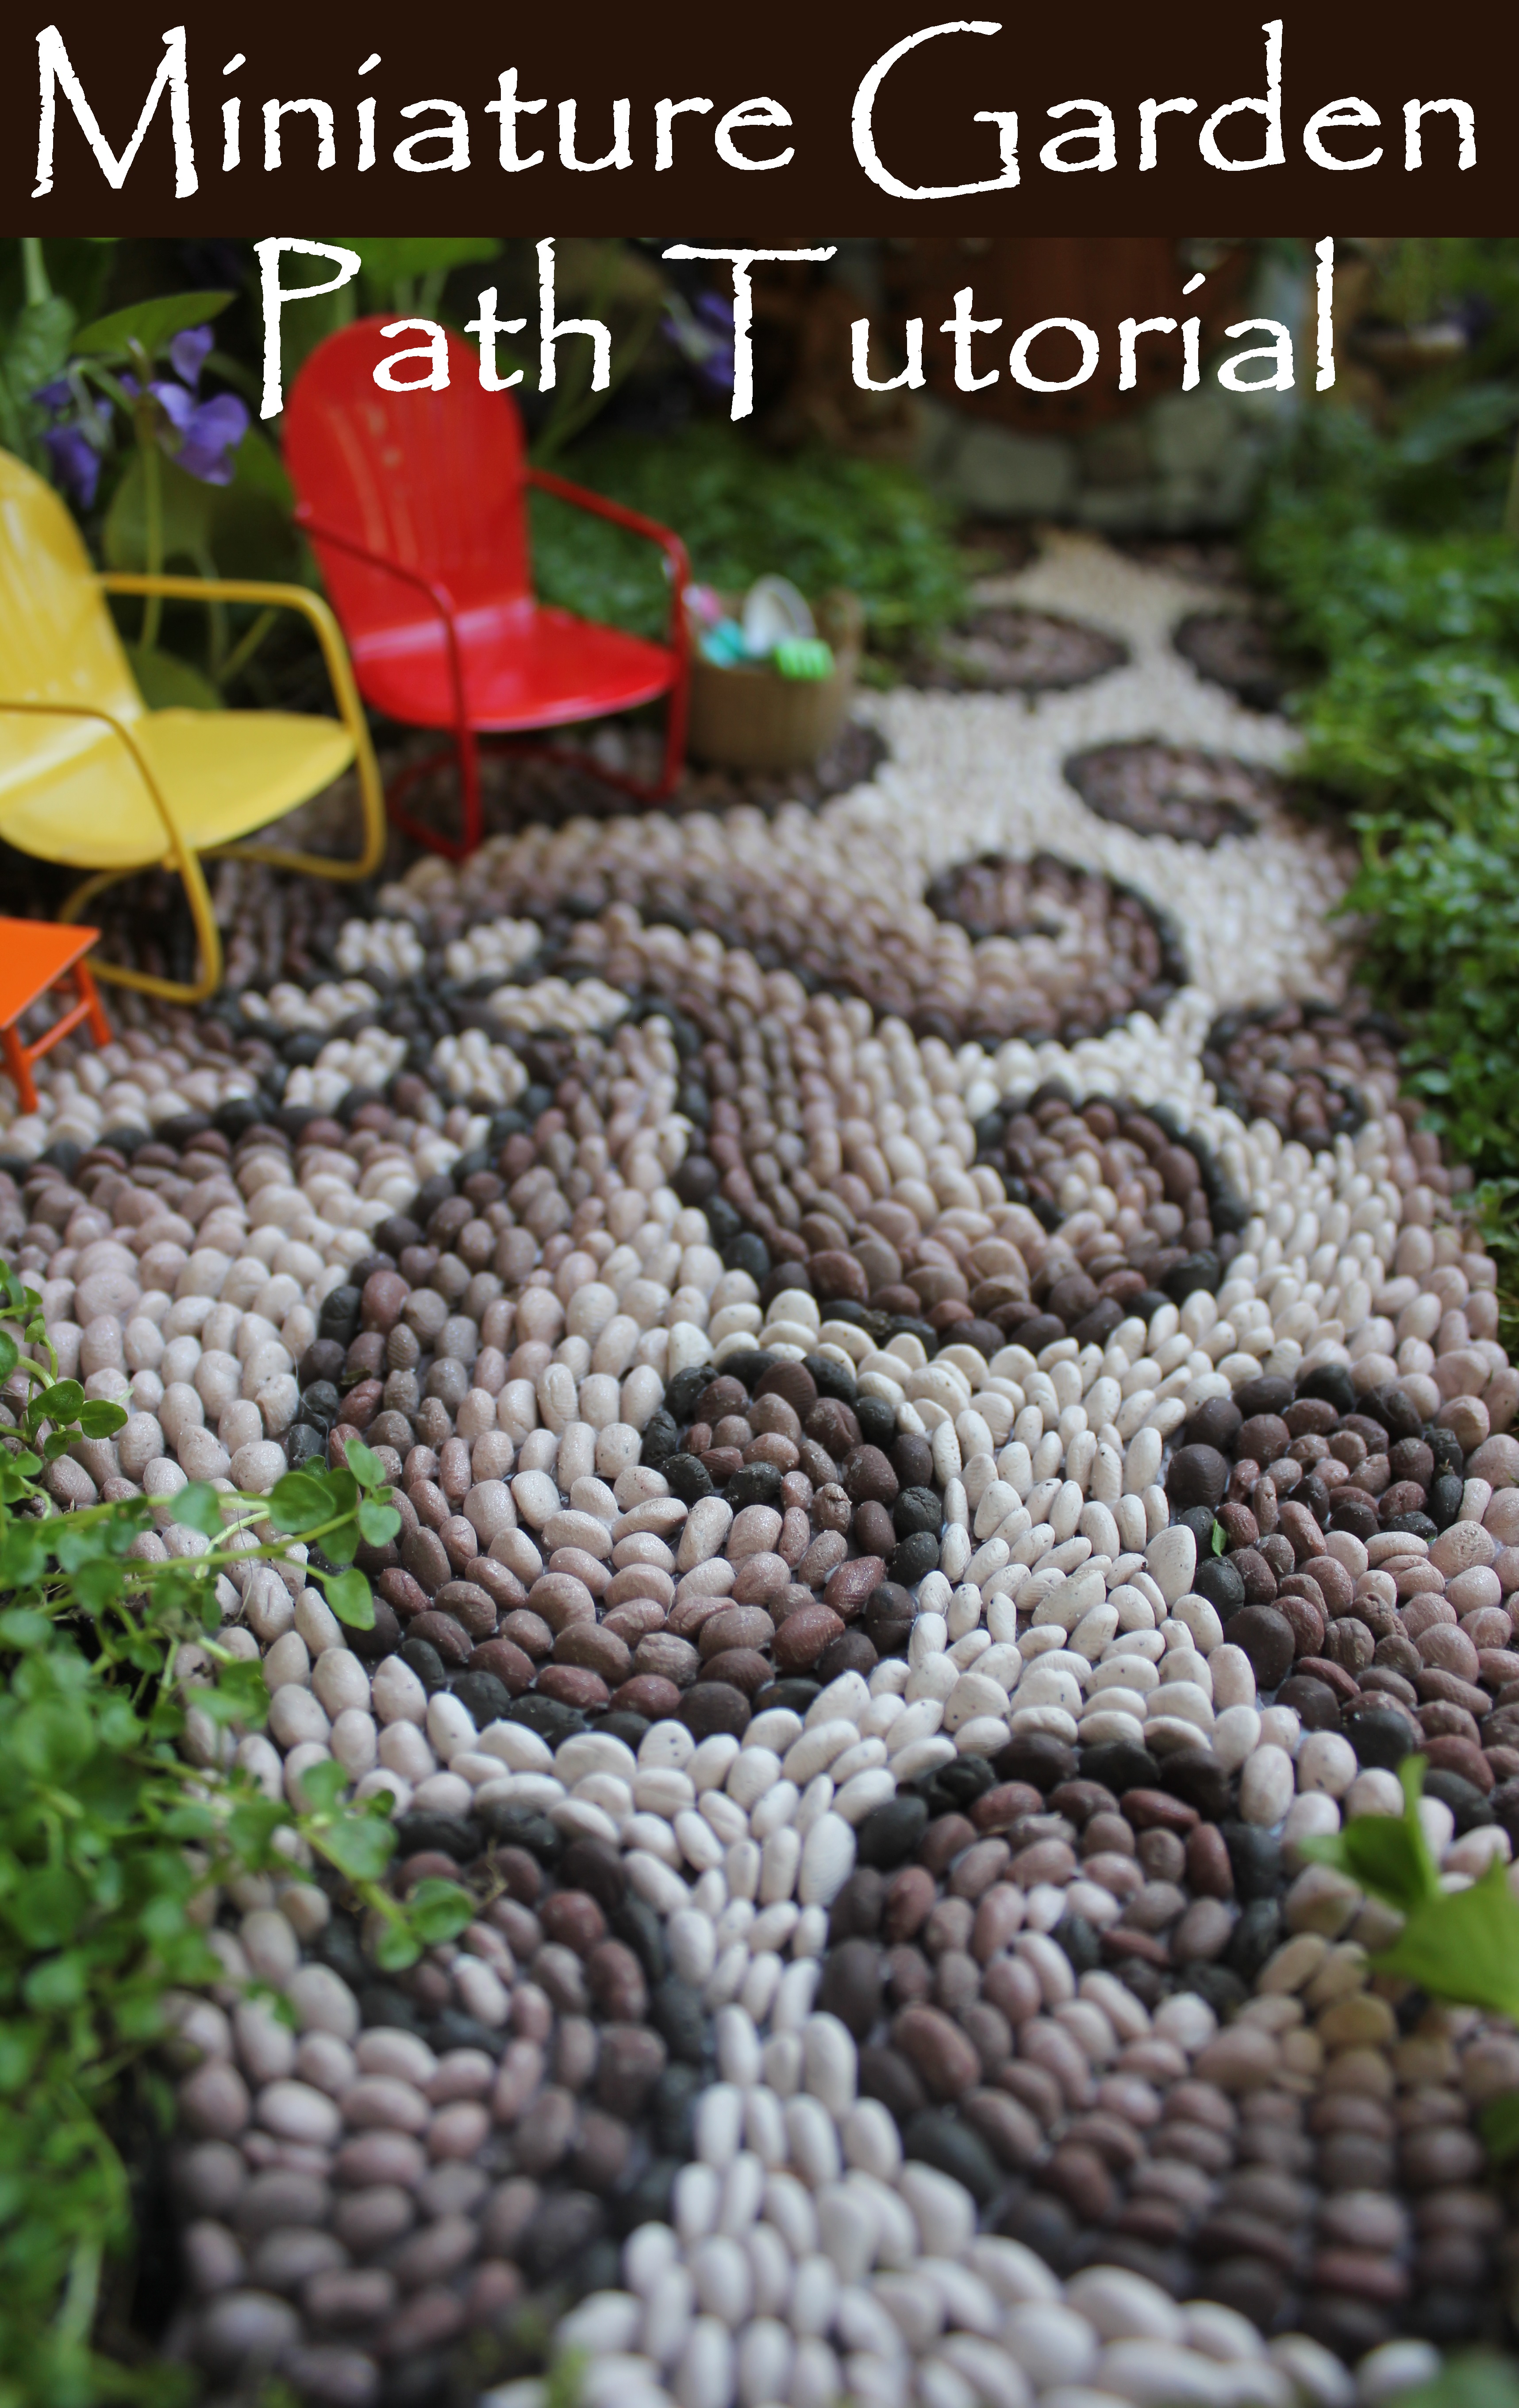
Last year I made a little “Hobbit House”, and wanted to have someplace outside where I could do some landscaping around it. I could just imagine the little people who might come and move into this fairy house, and wanted to make it as nice as possible for them! One idea I always have wanted for my own garden is a pebble mosaic garden path. So rather than build one full sized, I decided my little fairy friends might like one too!
Materials:
1. Polymer Clay in different shades, white, tan, brown, stone (This comes in different colors, but has little speckles to make it look like real rock): about $10.00
2. Sheet of thin board from craft store: $2.79
3. Brown acrylic craft paint: $1.79
4. White craft glue (Elmer’s style): $1.99
5. Patience: priceless
Total for project: $16.57
1) Start with different colors of polymer clay. I like to use some of the rock-effect clay to give each block a different look. Warm clay is stickier to work with, so may need to be thrown in the freezer for a few minutes to cool off.
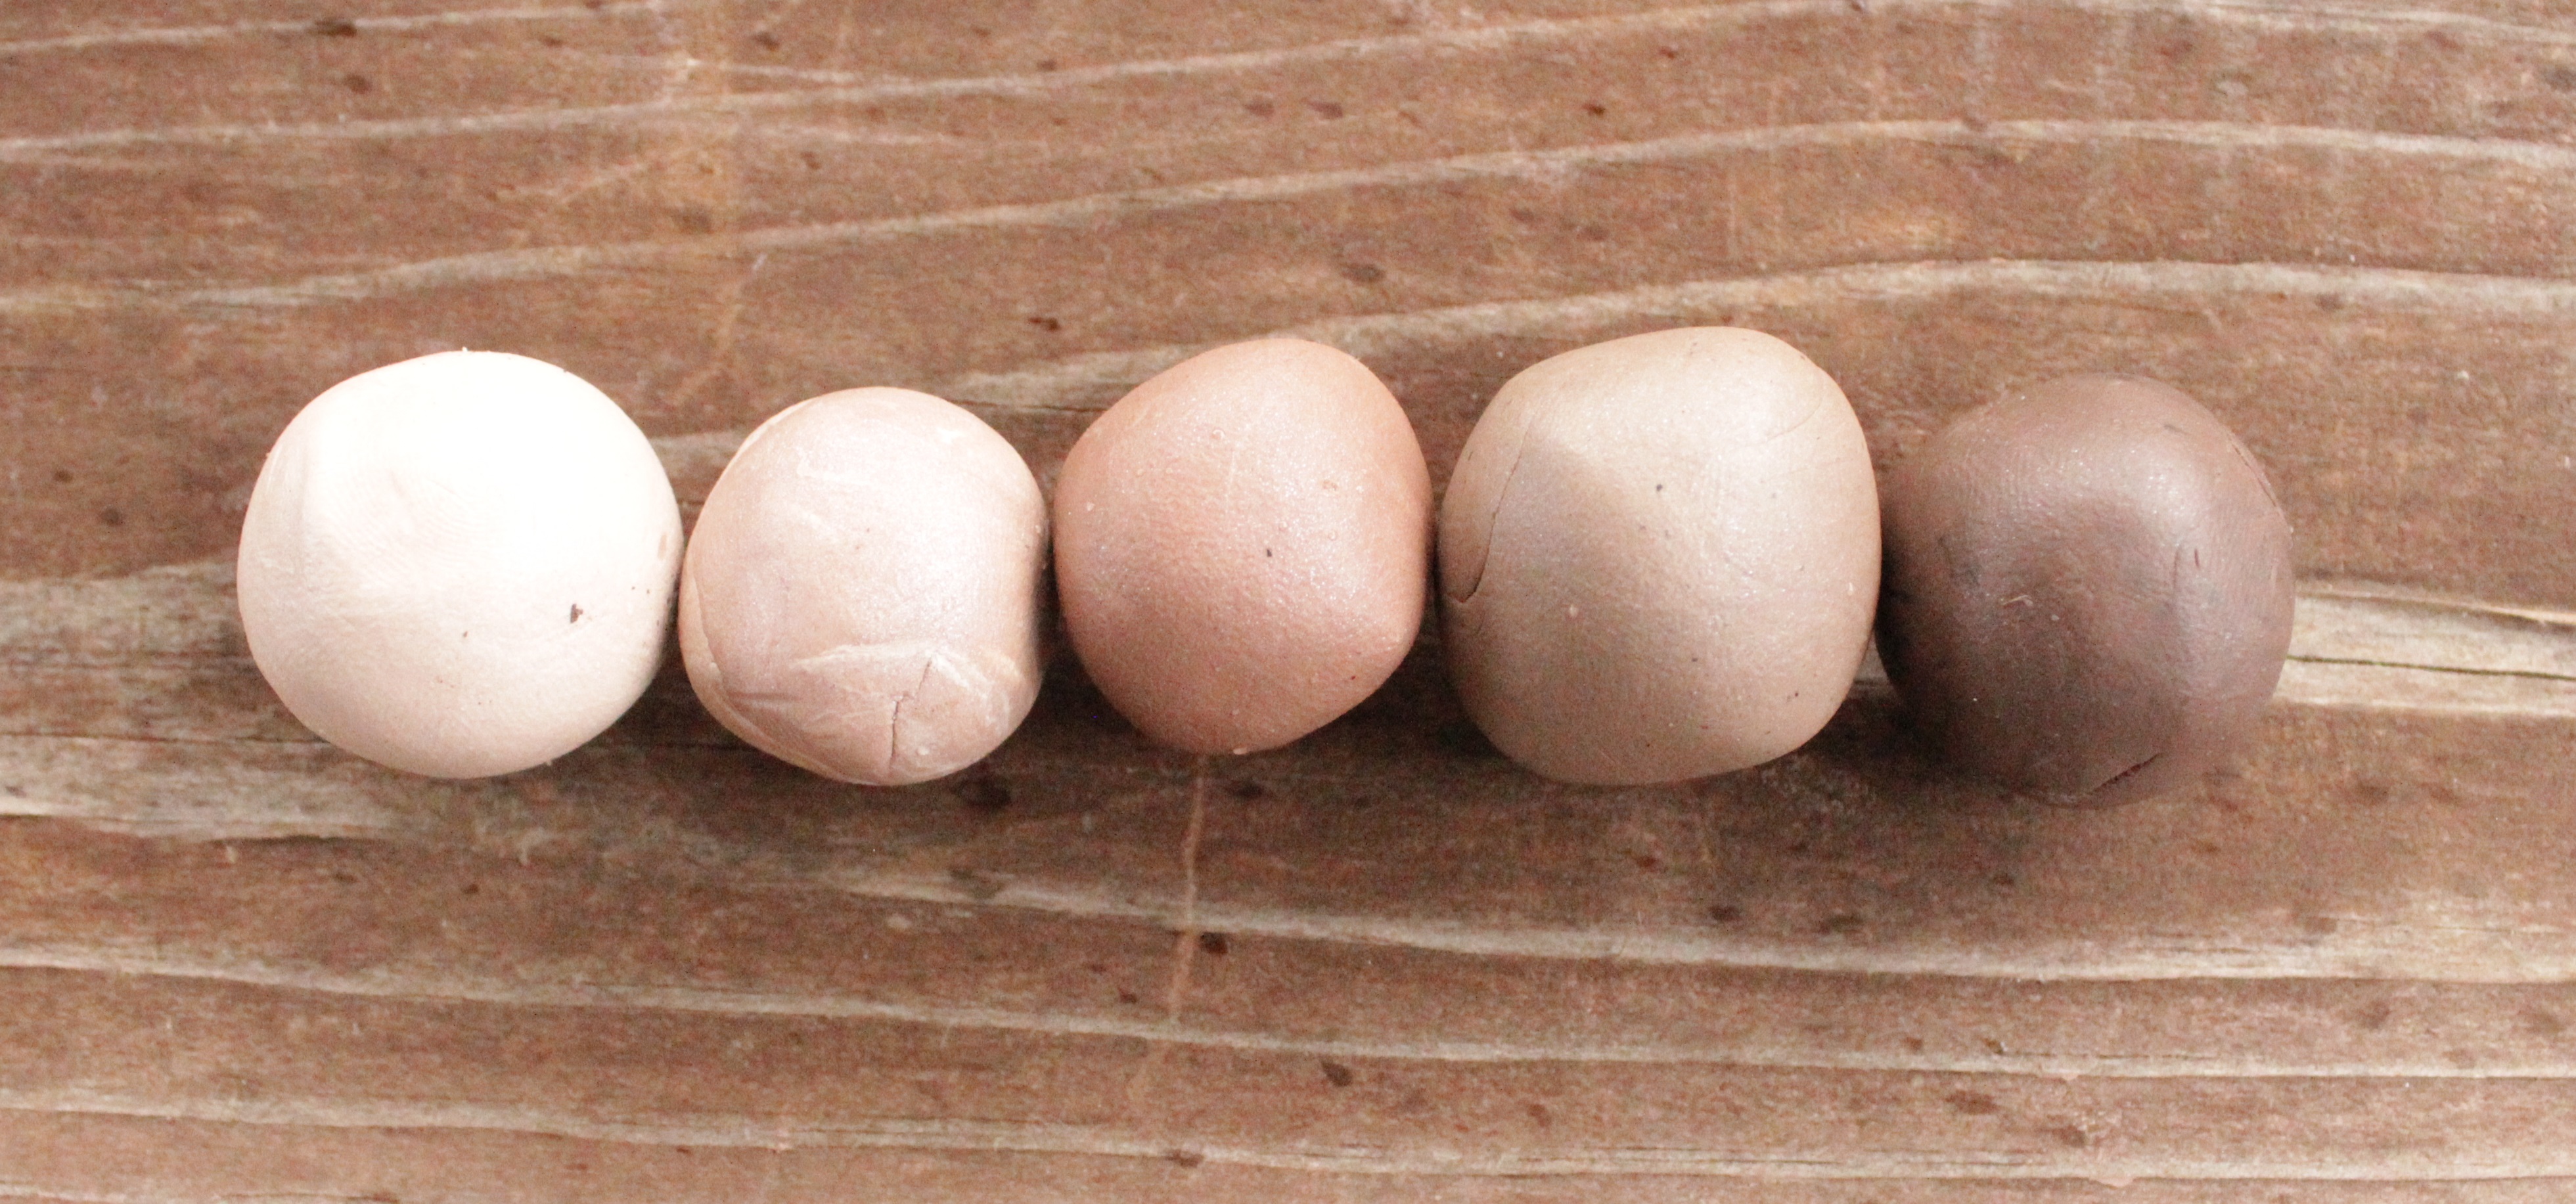
2) Start rolling each color into the small “stones” that you will end up using. Remember, just like real rocks, each stone is going to be a different size and shape.


3) After you roll them out, flatten each piece, then cut them in half with a sharp blade. Putting them in the freezer for a few minutes helps them to stiffen up if they are too warm and pliable, which I really found happened at this point. Once they are cut in half, bake them according to the instructions on the package.

4) Cut the base piece to the size and shape you want. If you don’t have a saw, get a thin enough piece of wood, which can actually be cut with scissors. Then glue the pieces together, and you are ready to go. I wanted mine to be sturdy, so I glued additional braces on the bottom where the glued seams were.


5) Paint your board. I chose brown because that would be the color of the sand and dirt below the “rocks” if this were a real path. Then draw your design on with a pencil, or white colored pencil.
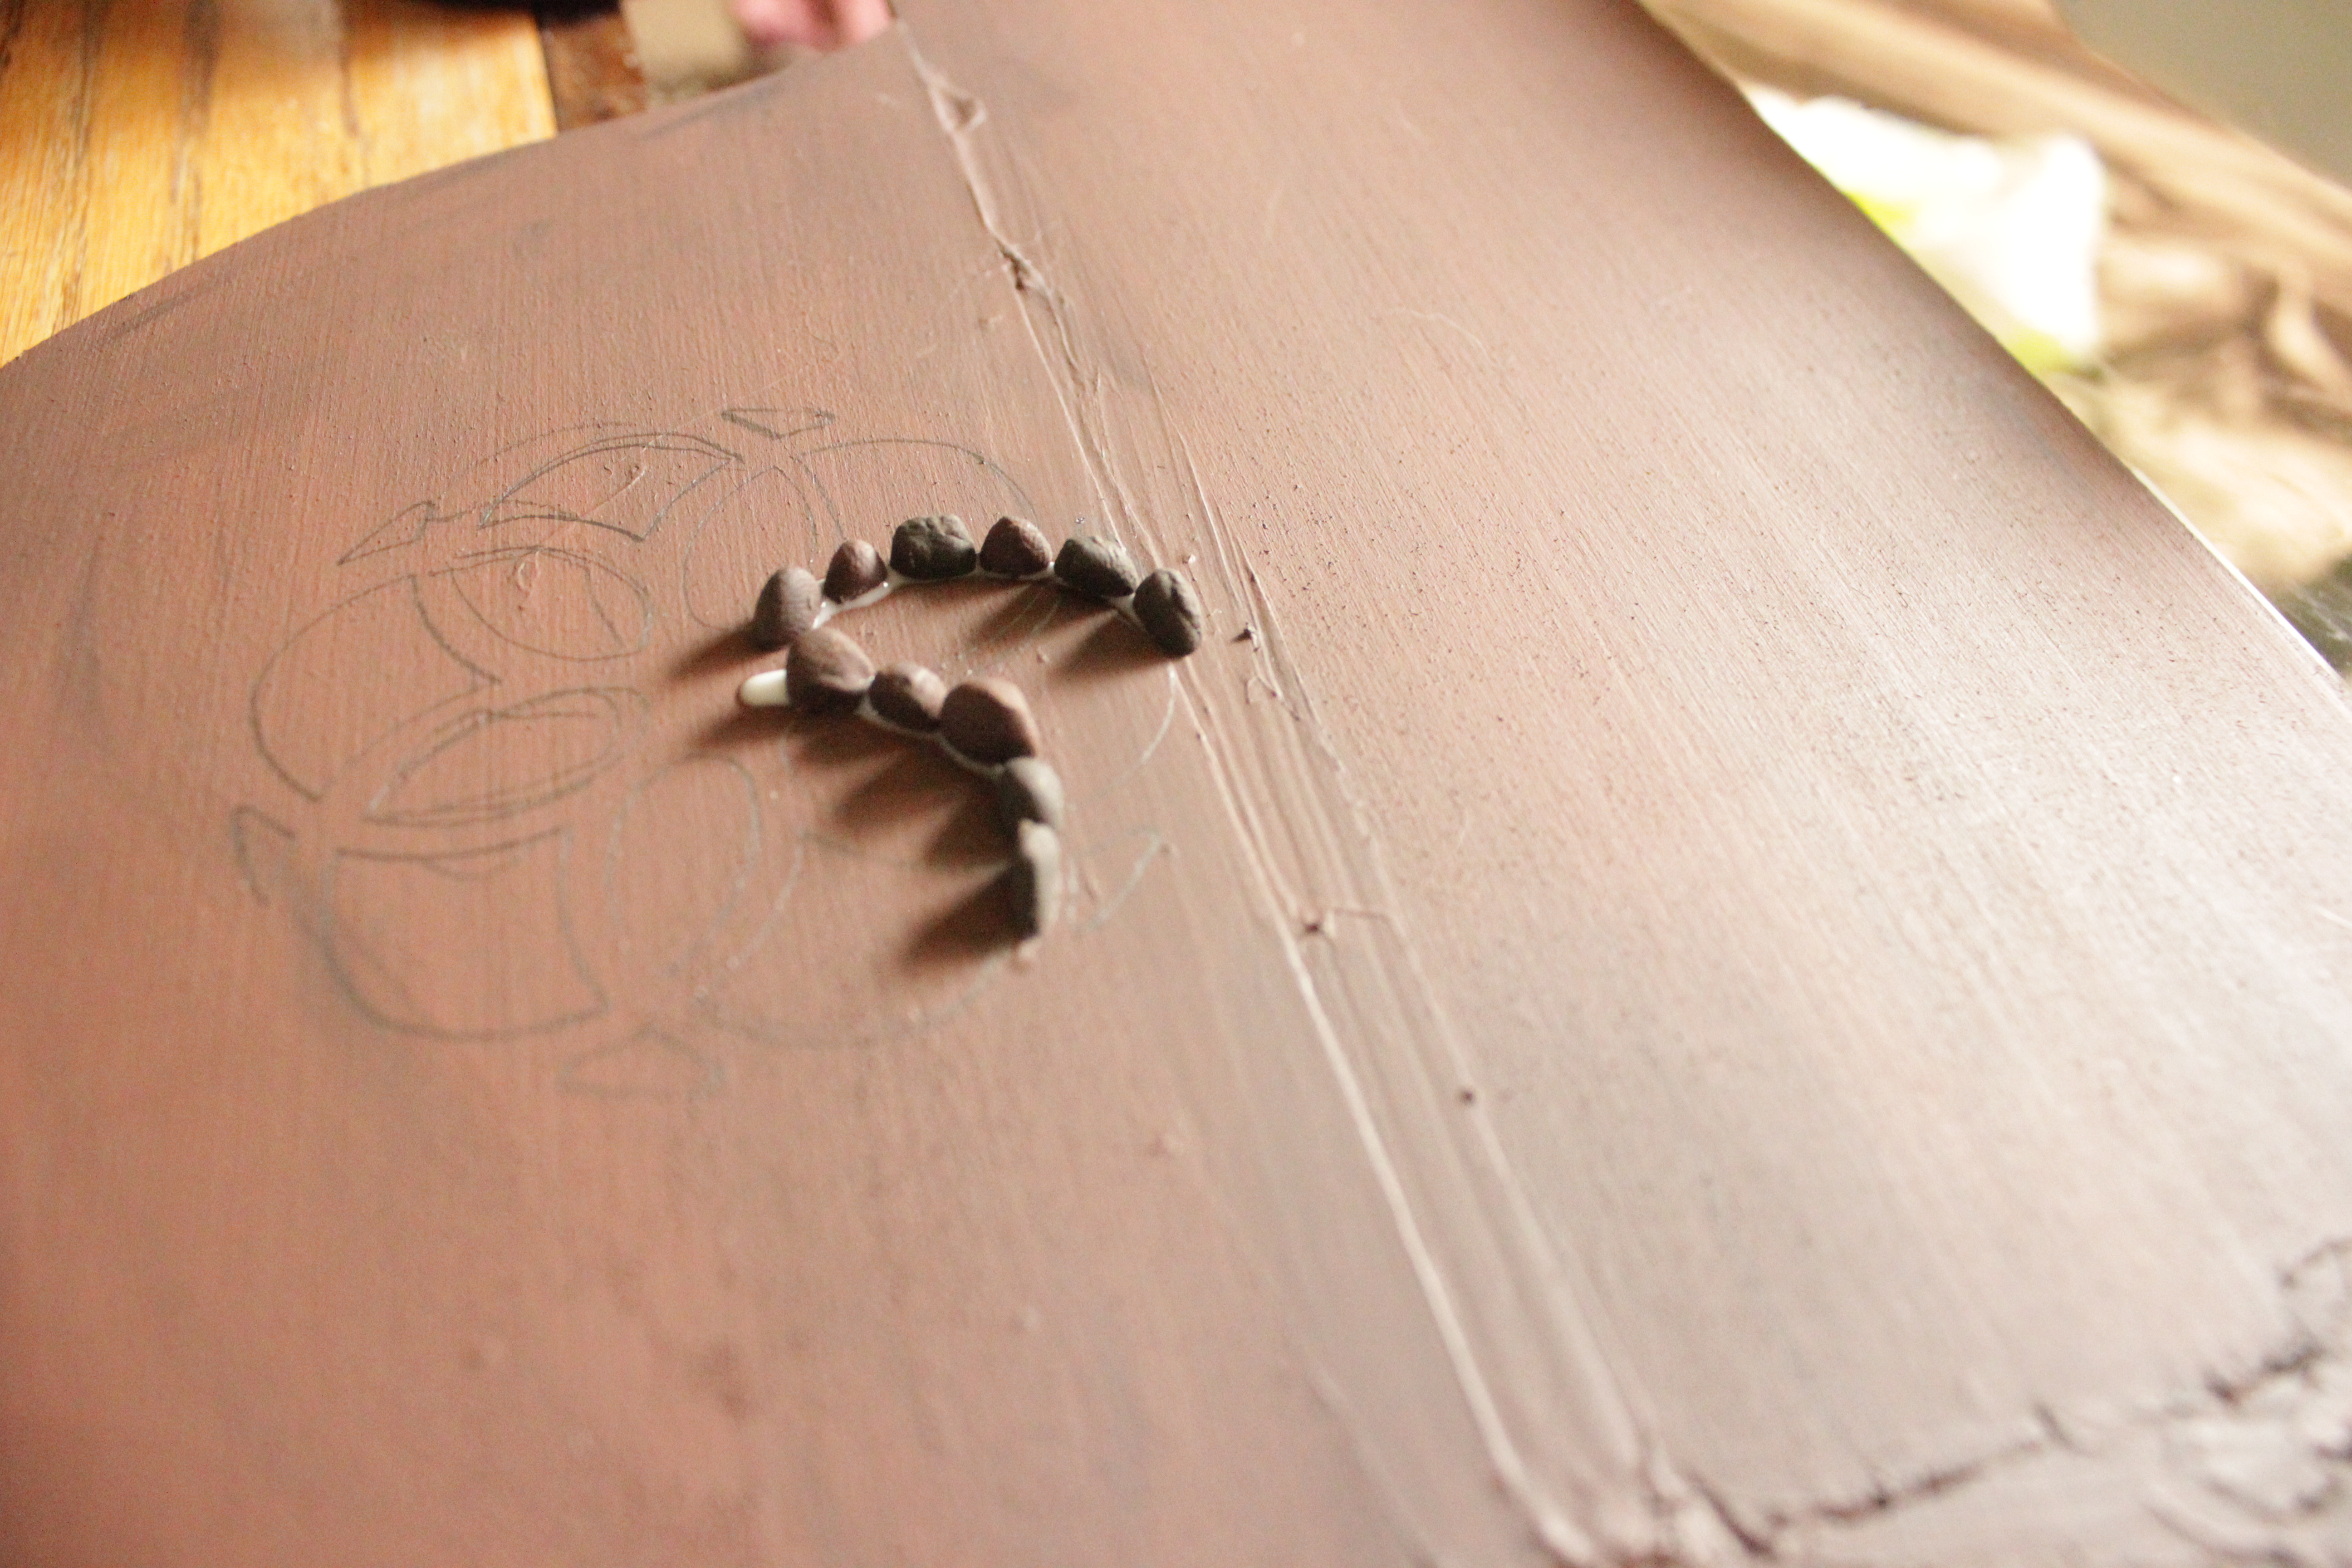
6) Let the fun begin! Glue each “stone” on one at a time according to your design. I recommend sitting down with a good movie and getting comfortable. You’re going to be here for a while. (Might I also add that I have a two year old daughter who was out of town when I made this project….no way could I have ever finished it with her tiny hands “helping” me! ♥)


I love seeing the fingerprints on each “stone” below. It shows that a human made each and every one of them!


Getting close to being done, and neat to see the design taking form! (I’m on my third movie by now…)


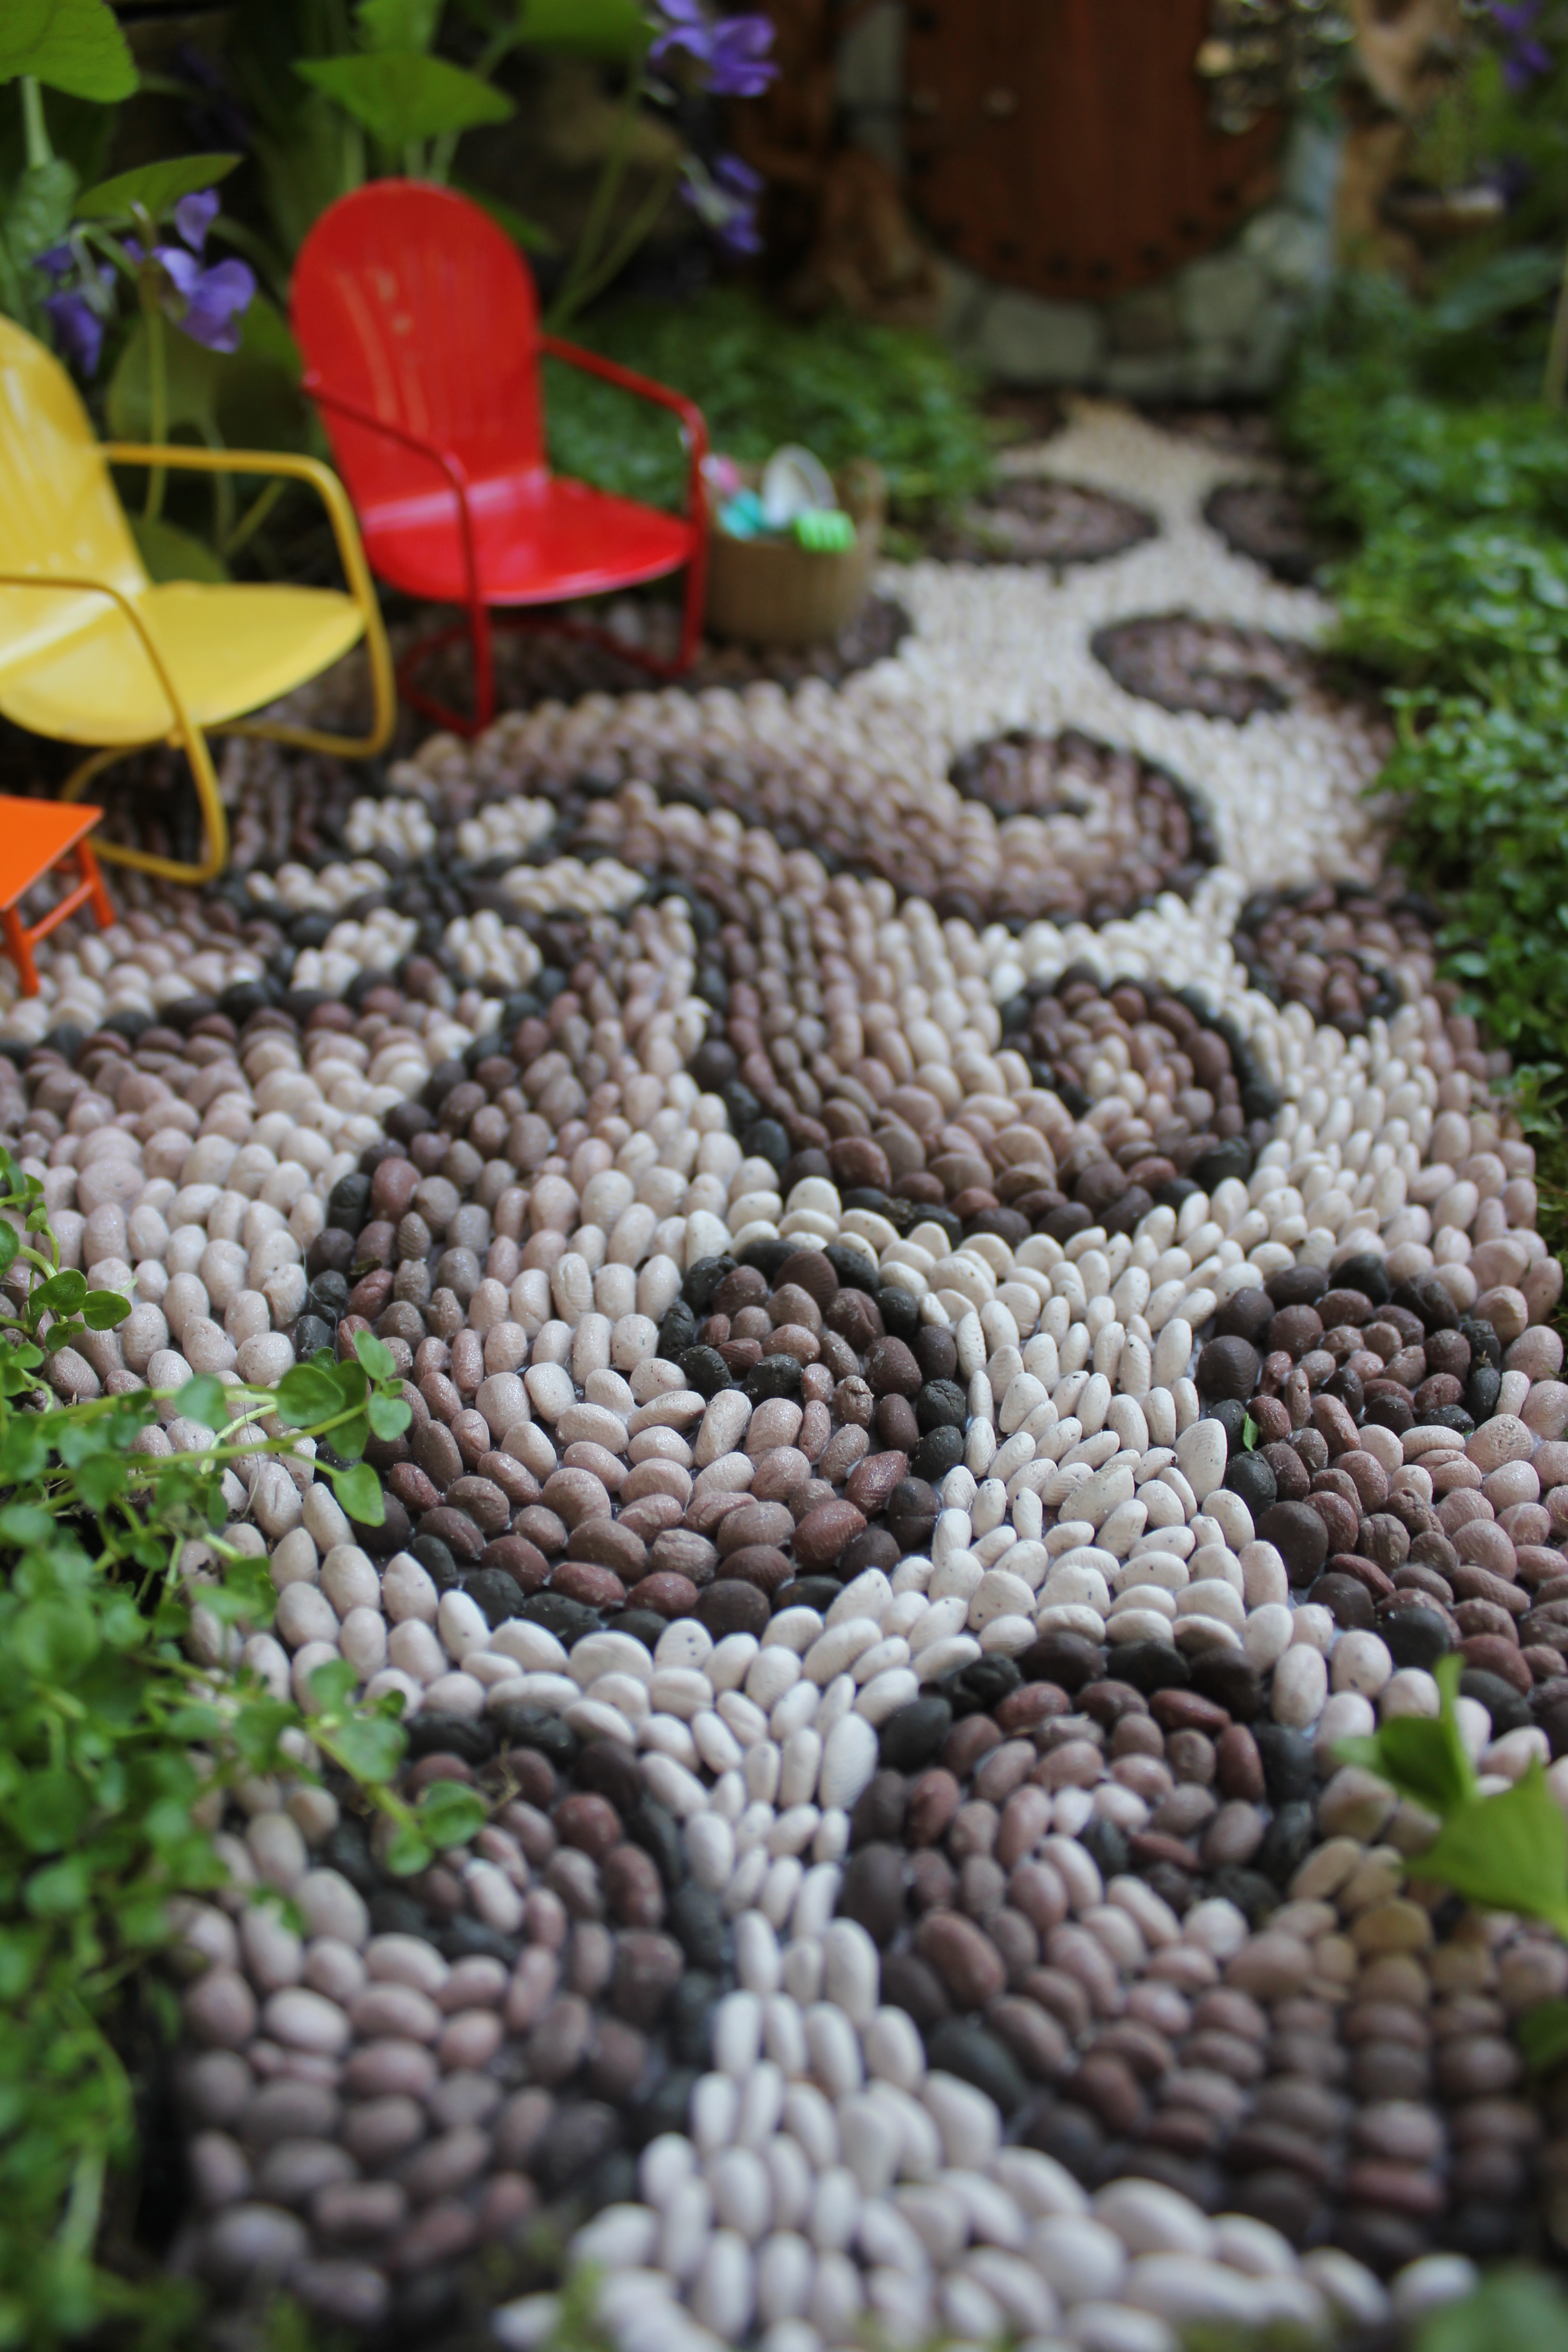
Now it’s time to do some landscaping around the path to see if it will fit in the fairy garden or not…


I landscaped with some succulents and violets that were already well established, then added some Corsican mint. I made a sitting area where mom, dad, and little one could sit and take a break after working hard in the garden 🙂
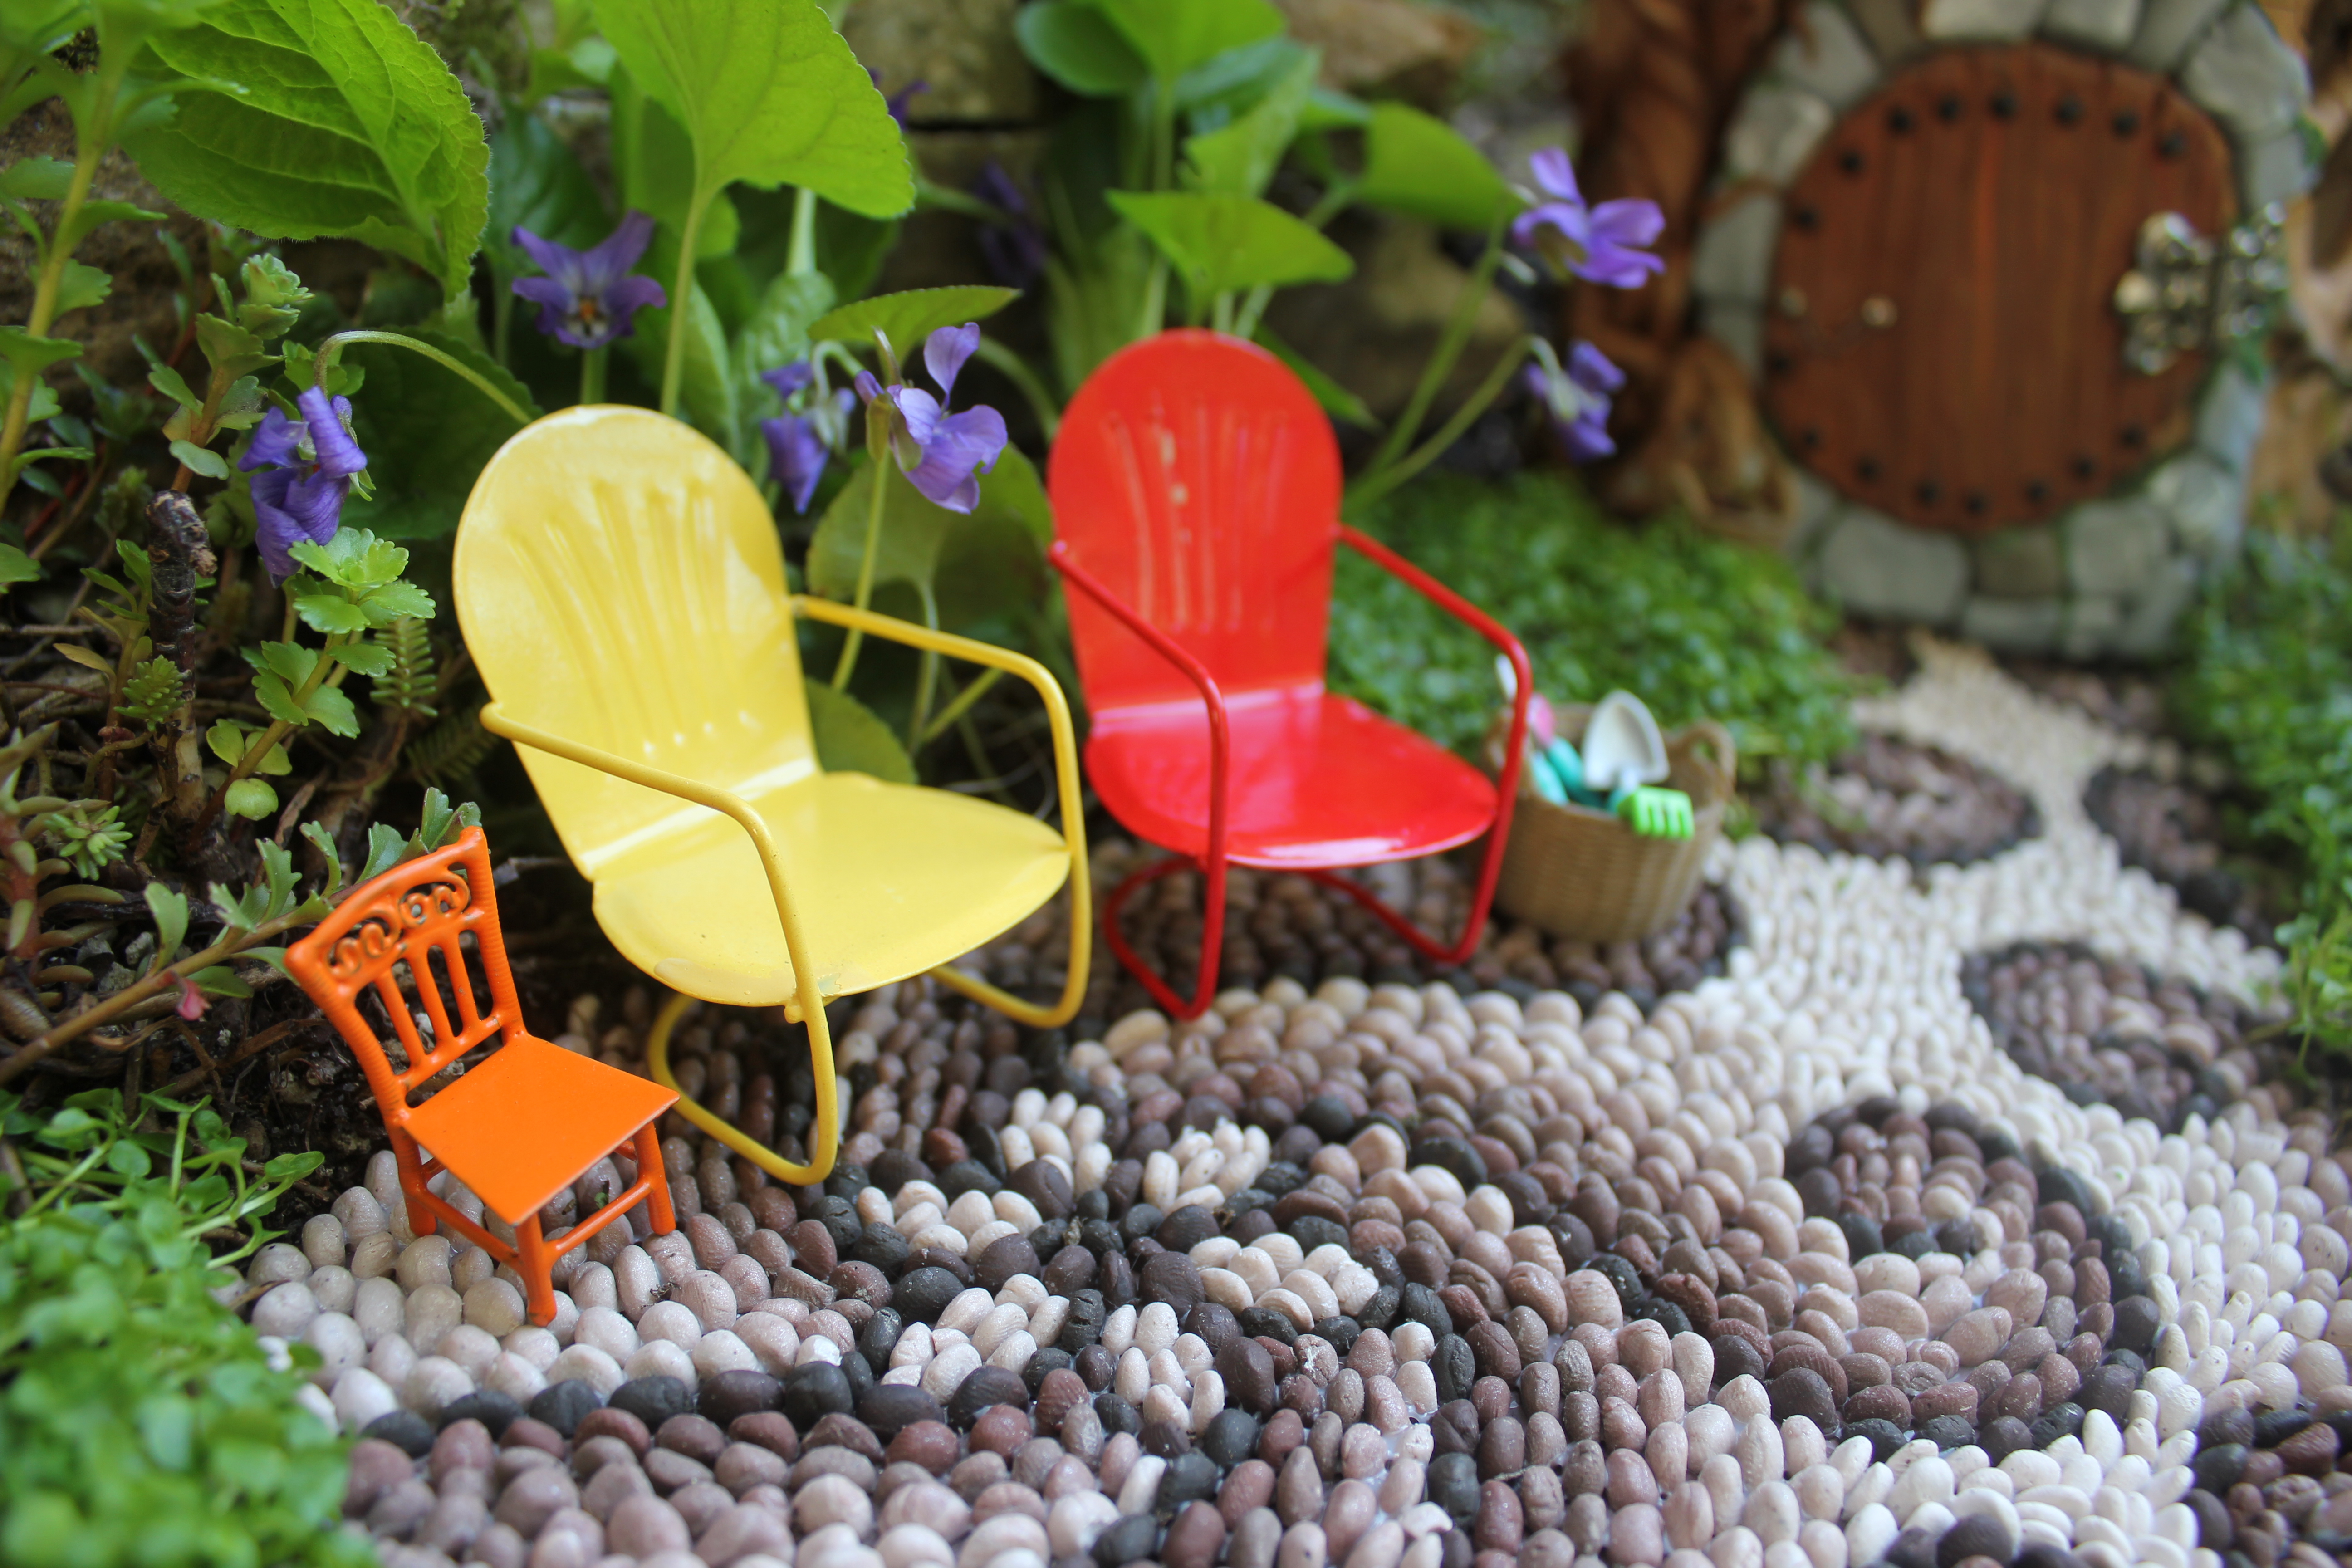
Tools nicely stored in a miniature basket…


Fairy house garden path

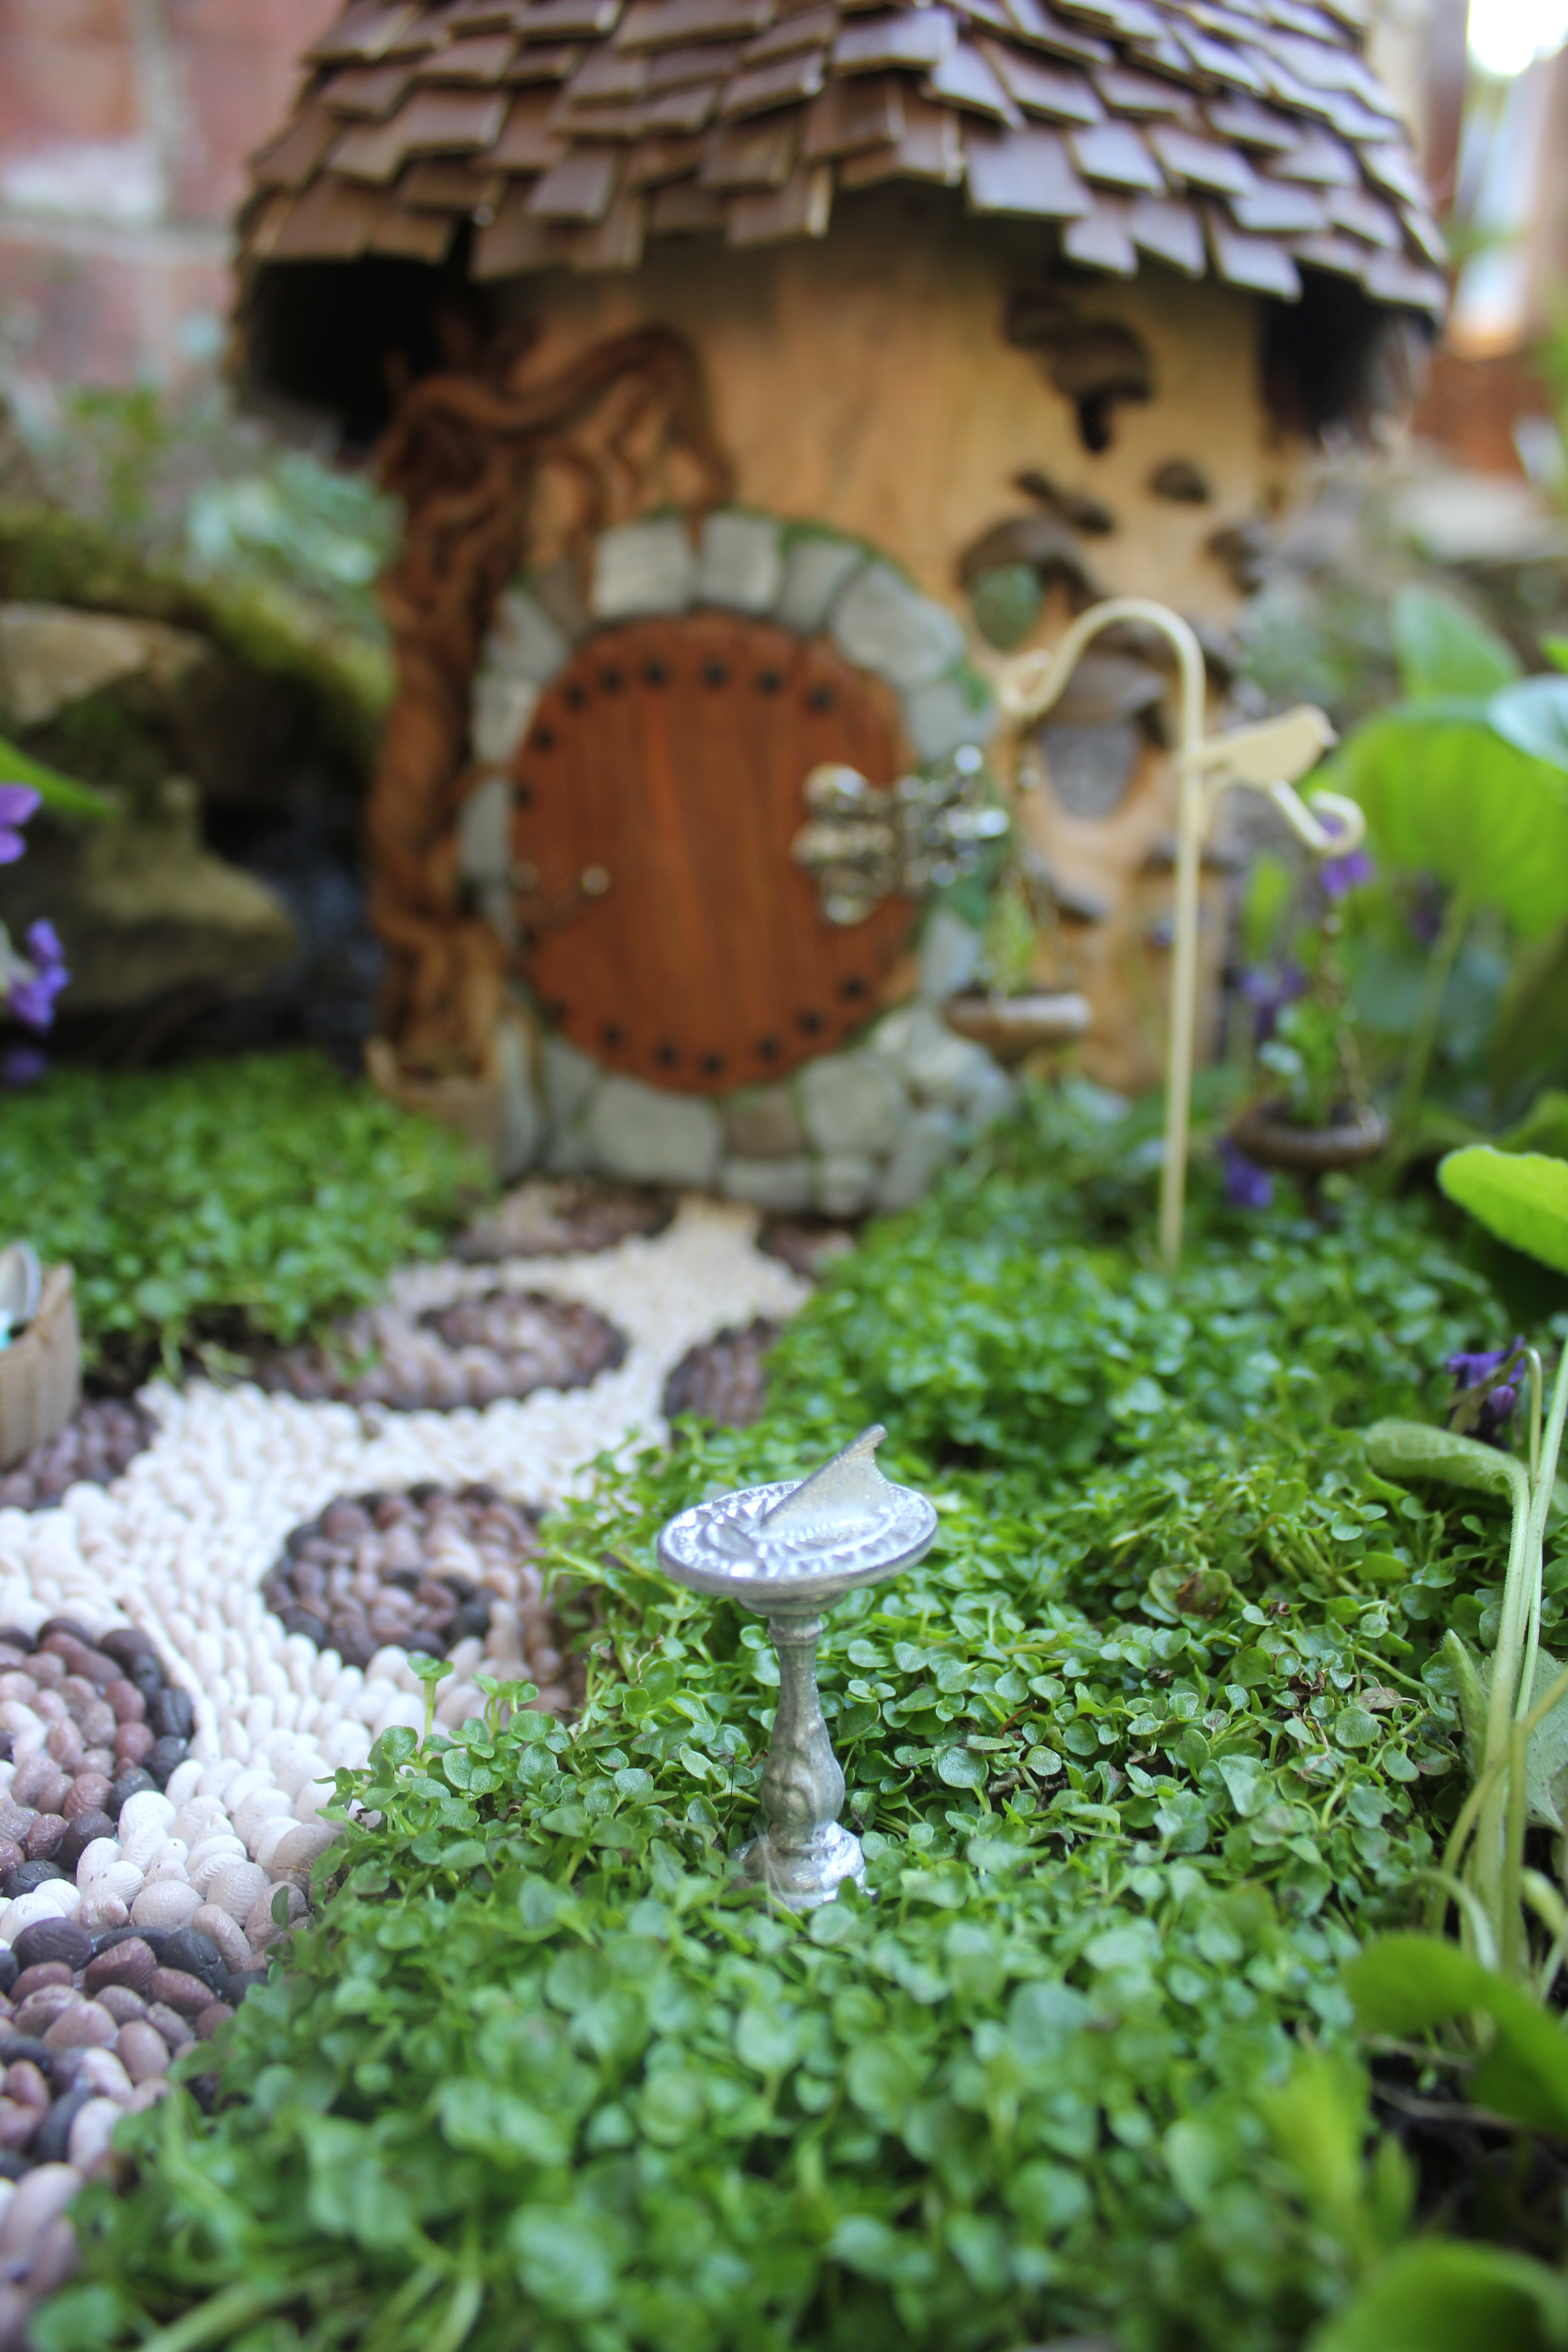
A little sun dial to tell when lunch is.
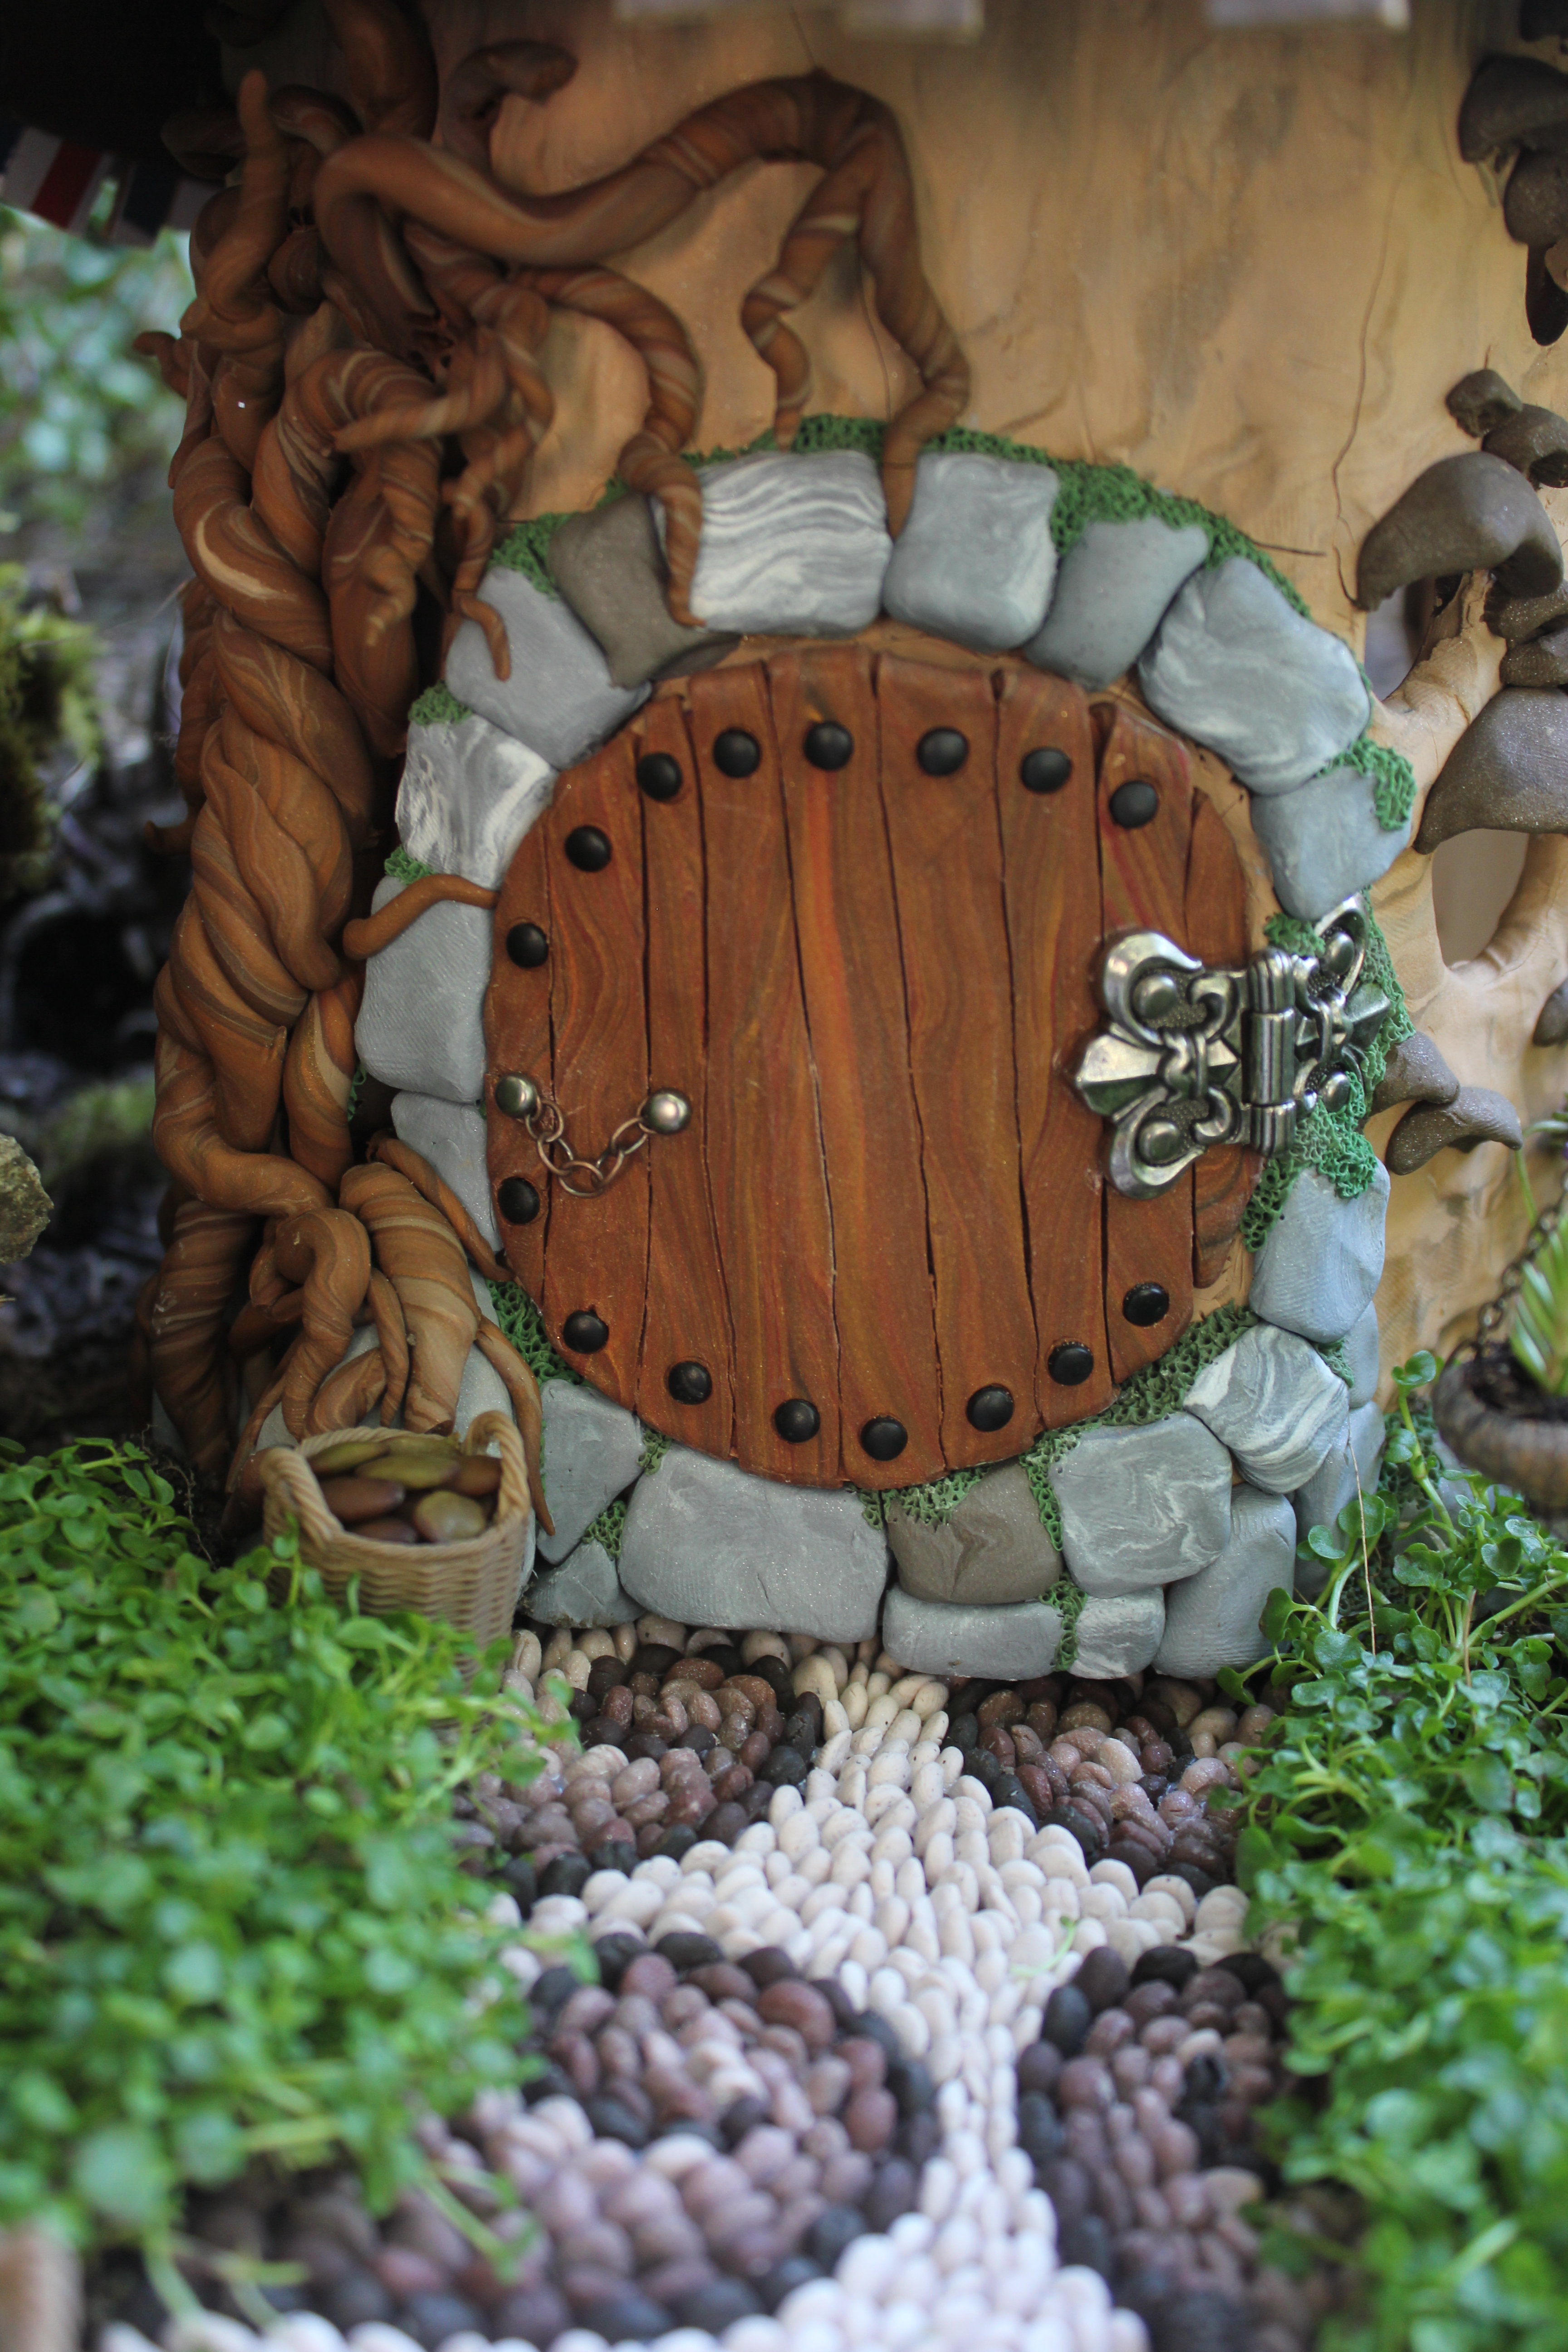
A basket of seeds to plant.

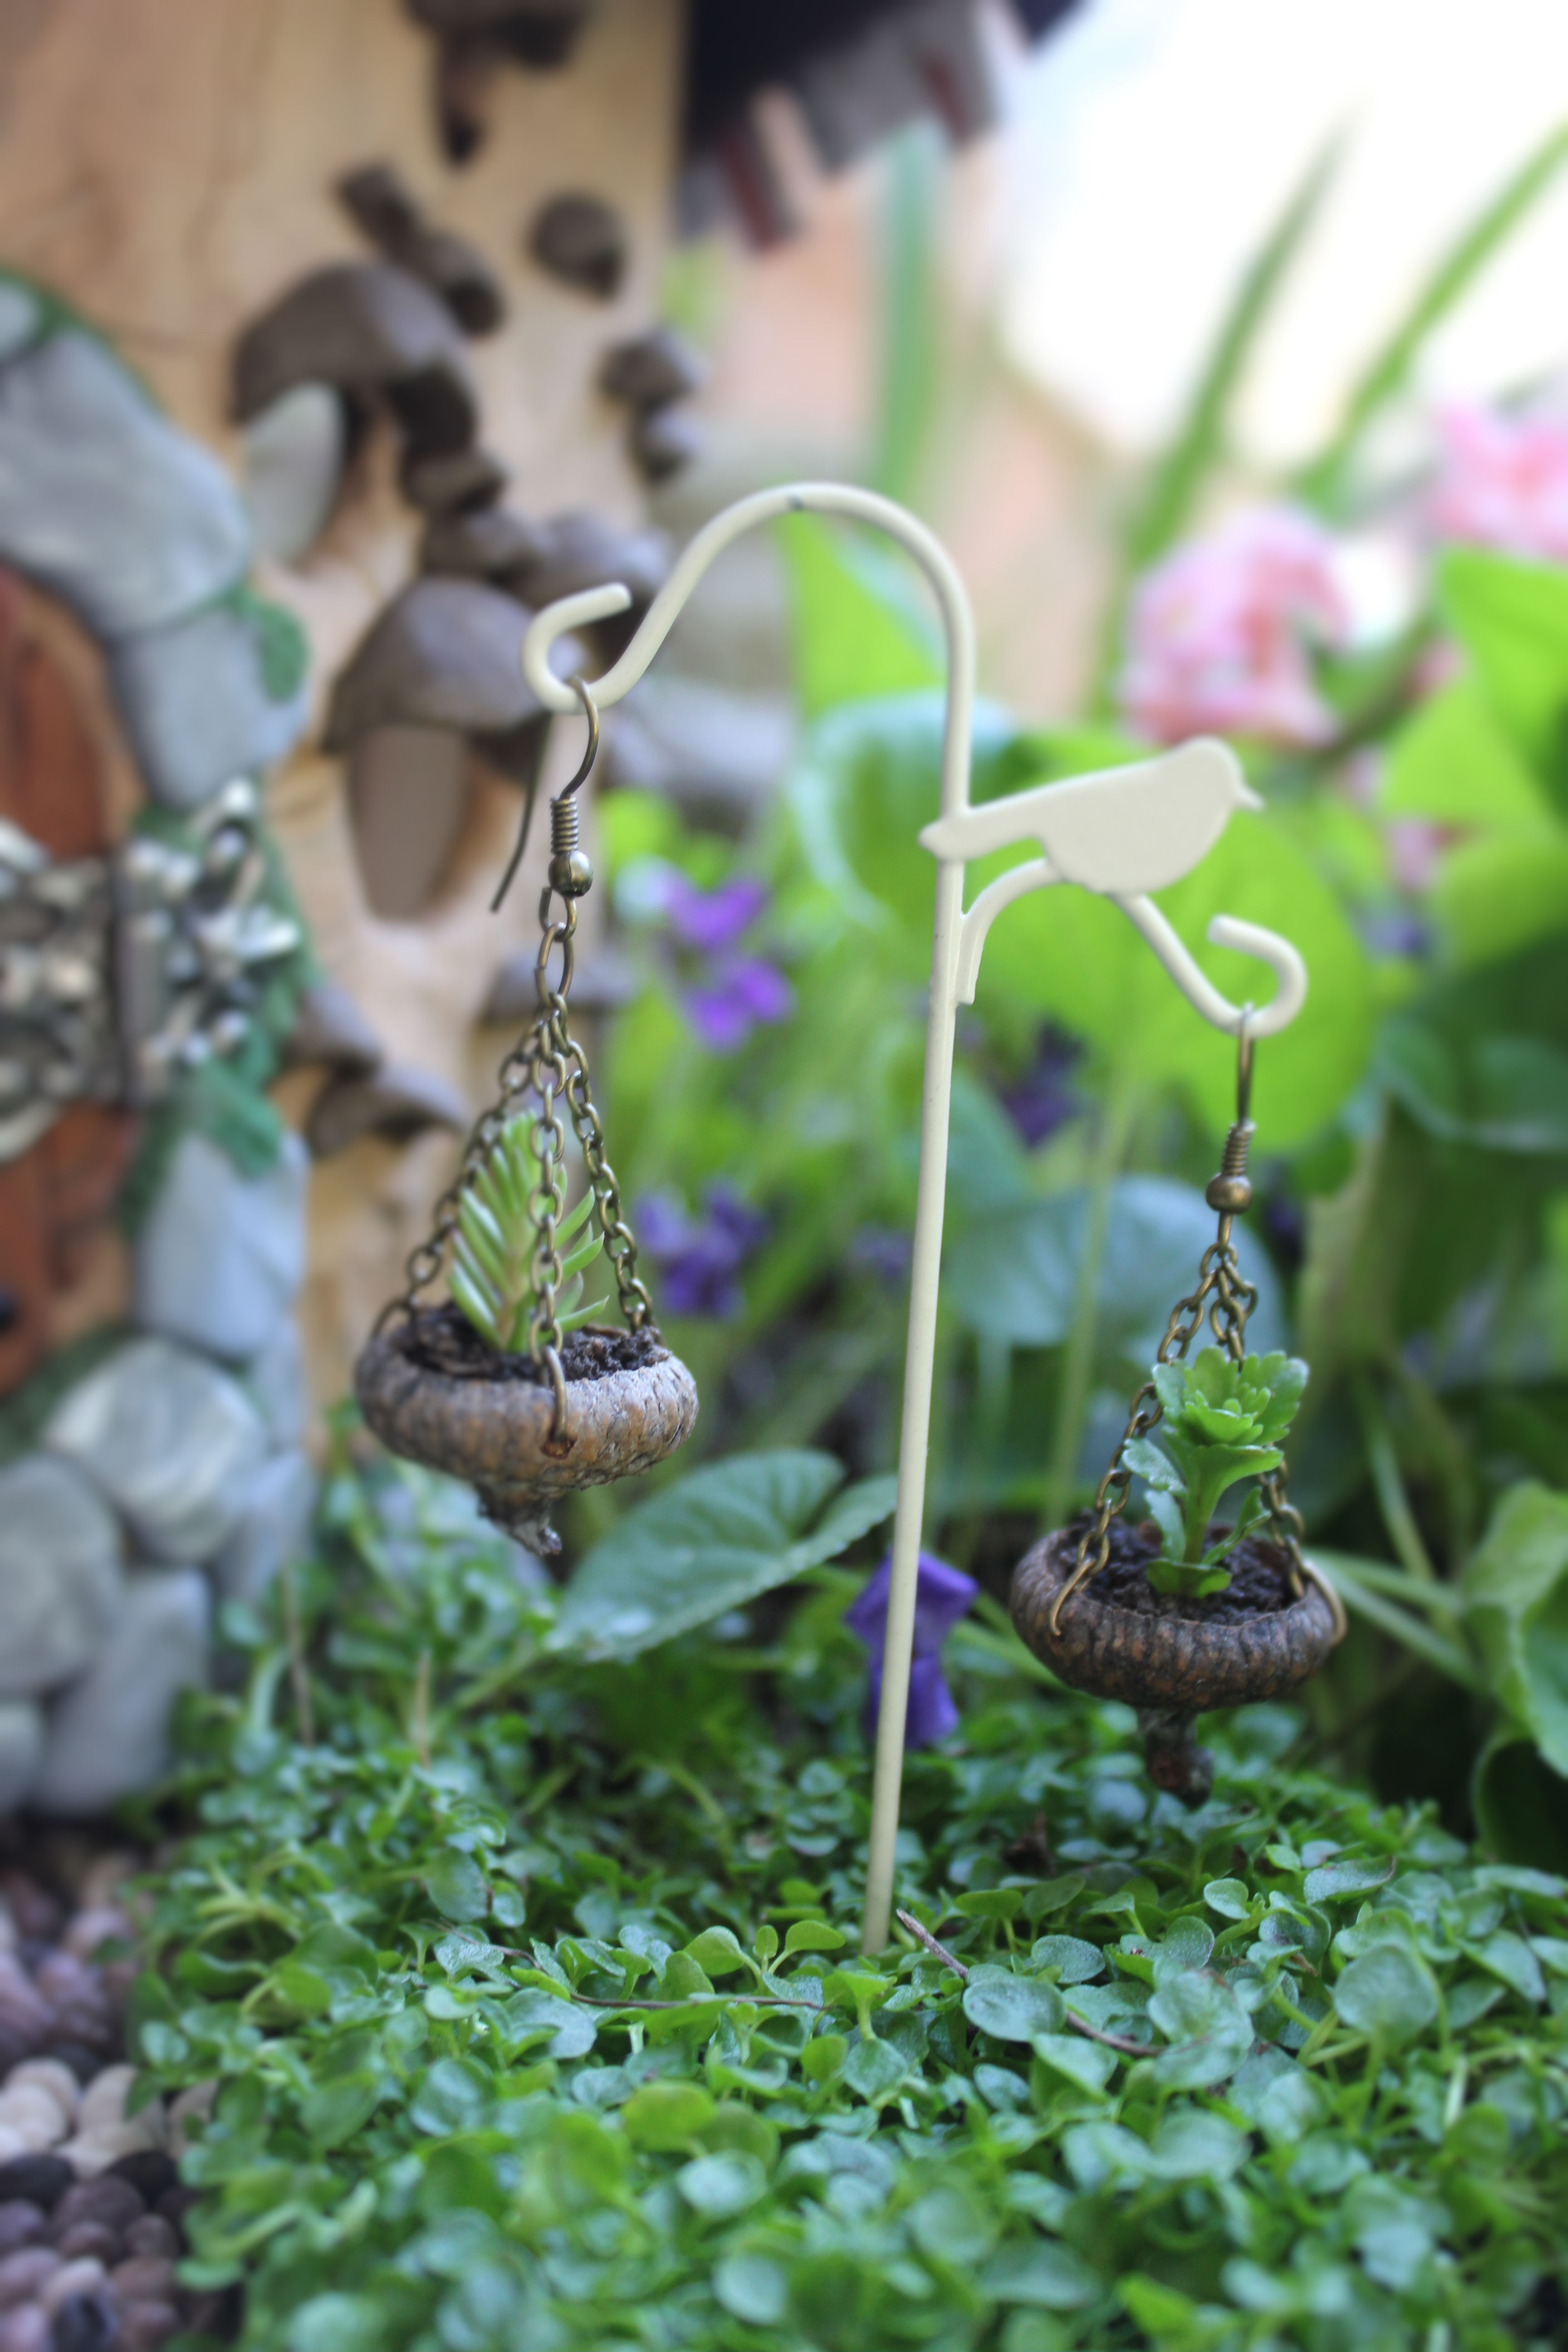
I made hanging baskets from acorn caps and planted little succulents inside.
The front door of their cozy home.


I didn’t know if this process would work or not, but I’m glad I took the chance! Now I’ll have to brainstorm my next design… Thanks for reading, and feel free to visit my other fairy garden tutorials HERE!
~ Jessi
(Don’t want to forget this? Just pin for later: ♥)


how absolutely wonderful!!! How has your path held up to the weather? I’d hate to do all this work and hv it fall apart.
LikeLiked by 1 person
Thanks Lynn! I actually had to bring it inside because the humidity made the board start to bend. Once it dried out it flattened back to the original size. I now realize I should have used a thicker board, and sealed it with a polyurethane. So if I do another one, I will do it a little differently! 🙂
LikeLiked by 1 person
Beautiful. I wonder how it would hold up outdoors.
LikeLiked by 1 person
This sounds like a great summertime project! I have been looking for a good fairy garden path diy I am so glad I found your page!
LikeLiked by 1 person
Thanks Lucy! I hope you share pictures if you make one!
LikeLike
Pingback: My Second Fairy Garden…come and take a tour | My Enchanting Whims
You’re a creative genius! I too wanted such a real garden. I too, will settle for the miniature now that I know how.
Did you seal it when you were finished?
LikeLiked by 1 person
Awe, you are too kind! I haven’t sealed it yet (so it is back indoors for the winter), but I think I would if I make another. Share some pictures when you make your own garden! 🙂
LikeLike
The path is beautiful. But where did you find the house? 🙂
LikeLike
Thanks Amy! I made the house out of wood and polymer clay. I made the roof from paper mâché, then glued shingles to it 🙂
LikeLike
Pingback: Fairy Gardens - Think Crafts by CreateForLess
What is the size of your beautiful pathwst.
LikeLike
It is only about 10″ by 15″, but the small size made it easier to complete than a full sized path might be!
LikeLike
wow
LikeLiked by 1 person
Very Nice ! Can you make a picture from s little distance so we can see the dimensions ? Does anyone know other designs of this kind of fairy pathways?
LikeLiked by 1 person
I want to try something like this for outside so I am thinking of using a line of bricks for a base (path, seating area, and base for the house) and will probably use real aquarium gravel since it comes in every possible color and I don’t have the patience to roll, shape, cut and bake a million garden stones. I want this to stay outside, then plants on either side, that way I could put some perennials in and just change up the annuals.
LikeLiked by 1 person
That would be really pretty (and easier!) and you could choose the color of the gravel to match your plants. Send us a picture if you end up doing this! 🙂
LikeLike
Pingback: 15 Enchanted Garden Fairies Ideas – Diy Food Garden & Craft Ideas
Beautiful 😊
LikeLike
very nice ! I am looking for some design simular or this one any ideas ? I am sending you a private message 🙂
LikeLiked by 1 person
If you didn’t want to glue it all to a board, but wanted it fairly stable, could you/would you/should you… Make the pattern on a sheet of parchment or tracing paper, and make your stones have a pick using sewing pins? The tracing paper would go away with time and watering, and the pins might hold the stones in place? I saw the full size version of this idea in a Sunset Magazine thing on garden paths, and I liked it then, but I REALLY want to try this in my miniature garden!
I love what you did here, and it’s really inspiring me to “try this at home!” (and if my computer crashes and I lose my enormous list of bookmarks for this project, I will cry!
LikeLiked by 2 people
You could make a base using cement and not have to take it inside. Make a form to pour the cement into and let it set, it doesn’t have to be very thick, do all the design while still in the form.
LikeLiked by 1 person